Esta versão pode conter edições incorretas. Mude para o último instantâneo verificado.
O que você precisa
-
Este passo não foi traduzido. Ajude a traduzi-lo
-
To begin, turn the device over so that the bottom is facing up. There are 9 black clips that attach the plastic body to the case. Remove these clips from the case.
-
-
Este passo não foi traduzido. Ajude a traduzi-lo
-
Use a Phillips #2 screwdriver to remove the screw that attaches the top cover to the rear of the device. This will allow you to remove the cover.
-
-
-
Este passo não foi traduzido. Ajude a traduzi-lo
-
Locate the motherboard within the red rectangle.
-
Locate the power supply within the orange rectangle.
-
-
Este passo não foi traduzido. Ajude a traduzi-lo
-
The screws securing the motherboard in are labeled with red circles and the wires are labeled with orange rectangles.
-
Use your screwdriver with a PH2 sized head and unscrew these 1.2mm screws labeled with red circles.
-
Detach the wires connected the motherboard from the disc drive that are labeled in orange.
-
-
Este passo não foi traduzido. Ajude a traduzi-lo
-
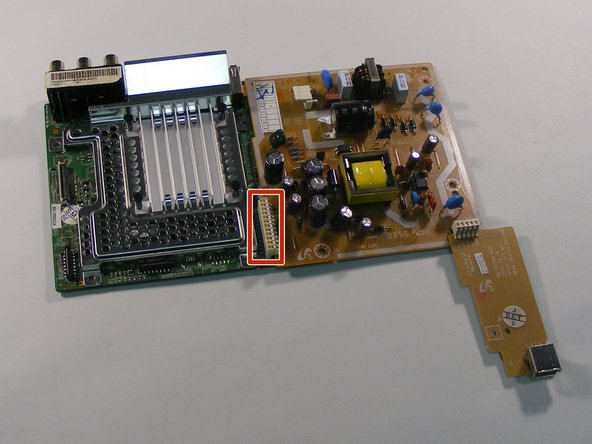
Labeled with a red rectangle is the location where they are connected. Grab the motherboard in one hand and the power supply in the other, and pull the motherboard up and push the power supply down. The motherboard and power supply should then disconnect.
-


