Introdução
This guide will be showing step-by-step instructions on how to get to and replace the trigger of the airsoft gun.
O que você precisa
-
-
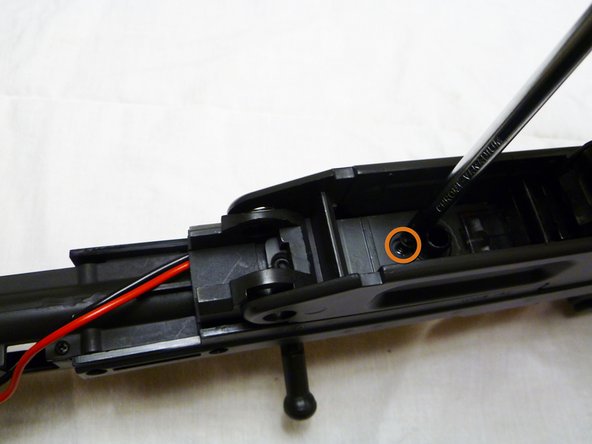
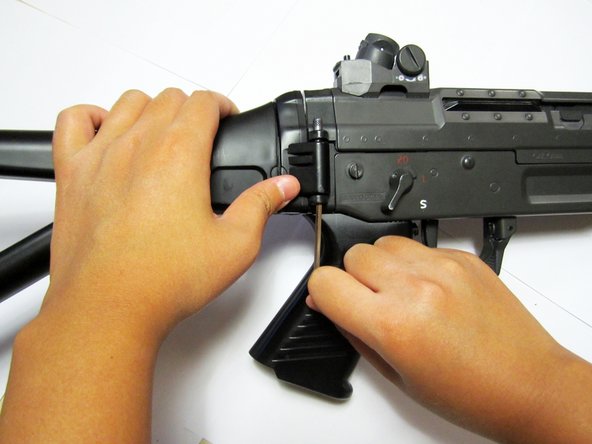
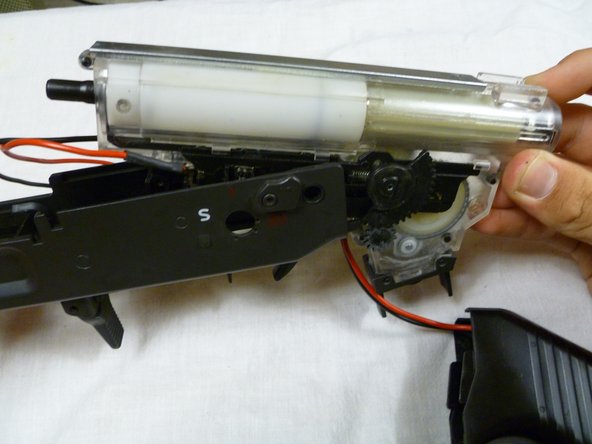
Using a flathead screwdriver, remove the pin holding the hand guard in place.
-
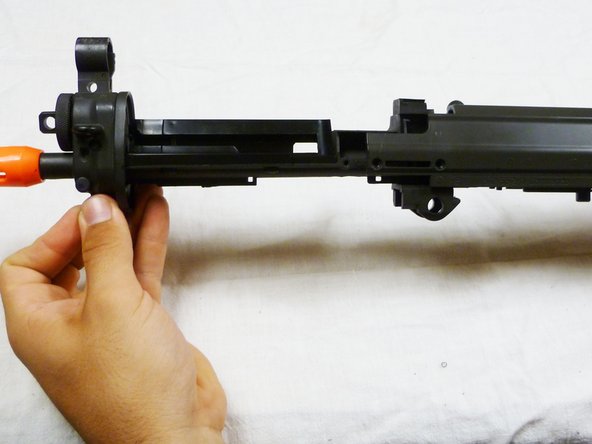
Remove the hand guard.
-
-
-
-
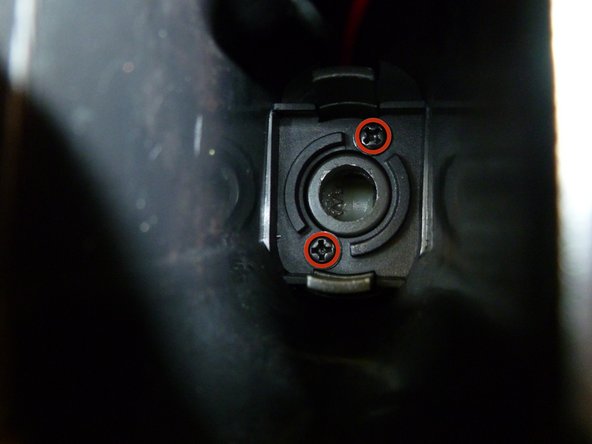
Using a Phillips #1 screwdriver, remove the following screws:
-
Remove these four 15mm screws.
-
Remove this single 8mm screw.
-
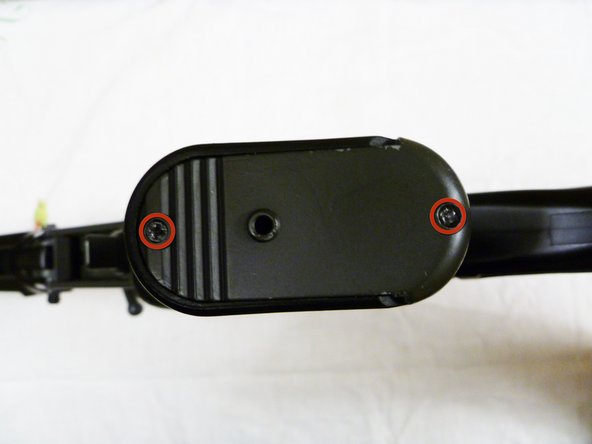
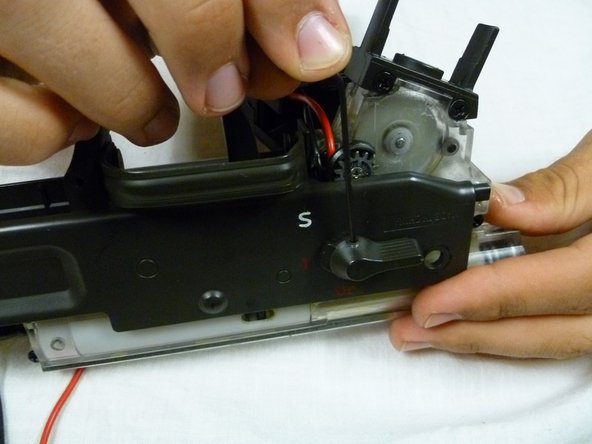
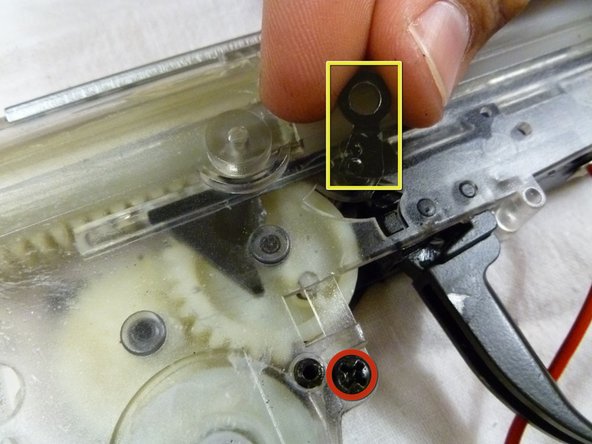
Using a Phillips #0 screwdriver, remove the following screws:
-
Remove this single 14mm screw.
-
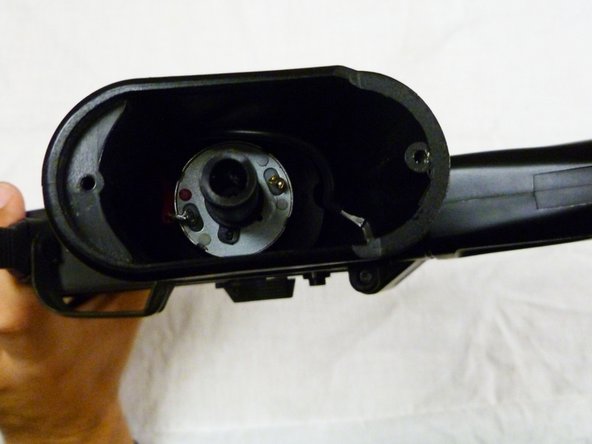
Remove this single 3mm screw.
-
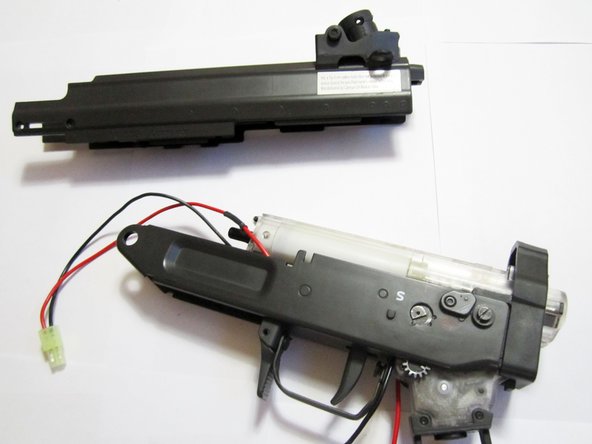
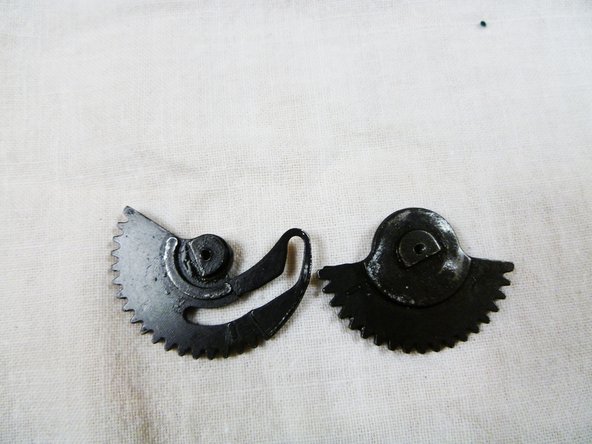
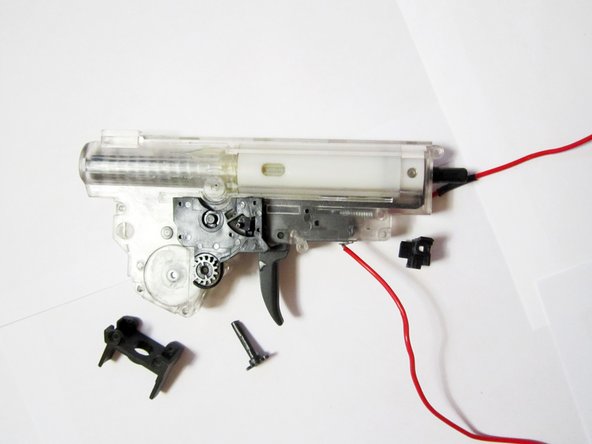
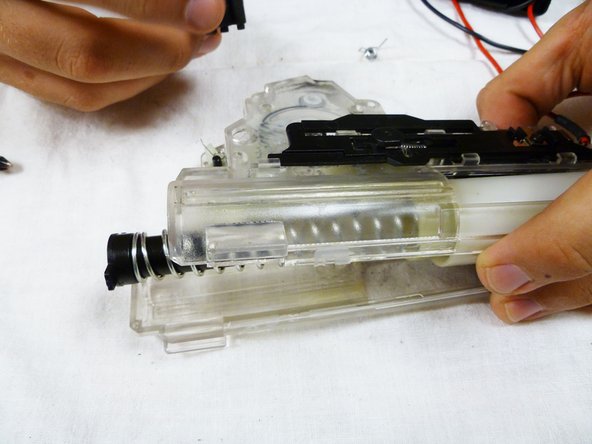
Detach the pieces unscrewed from the gearbox.
-


To reassemble your device, follow these instructions in reverse order.
To reassemble your device, follow these instructions in reverse order.
Cancelar: não concluí este guia.
Uma outra pessoa concluiu este guia.
Equipe

Cal Poly, Team 18-41, Regan Fall 2012 Membro de Cal Poly, Team 18-41, Regan Fall 2012
CPSU-REGAN-F12S18G41
Membros da 6
Autoria de 6 guias