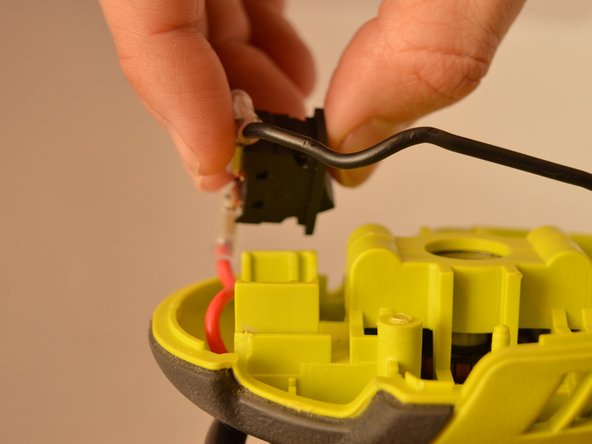
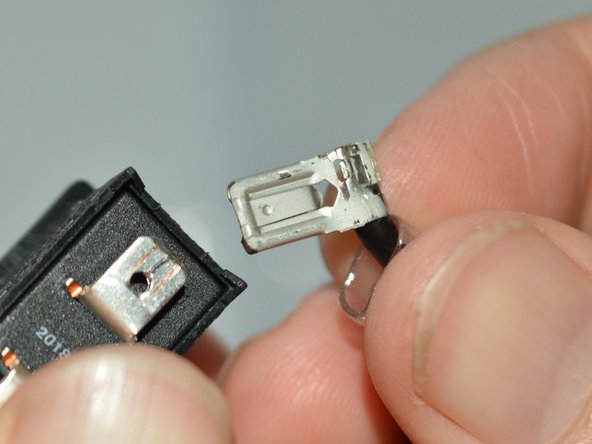
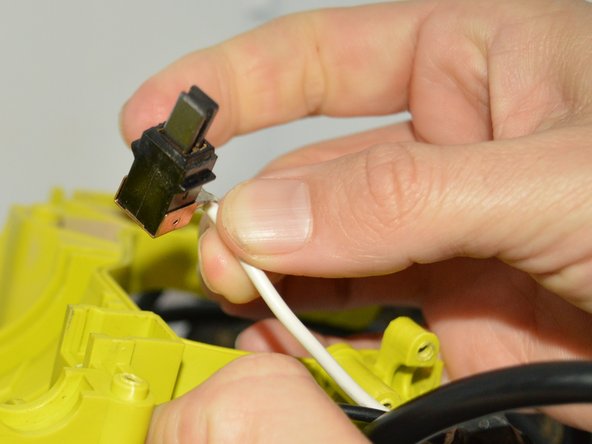
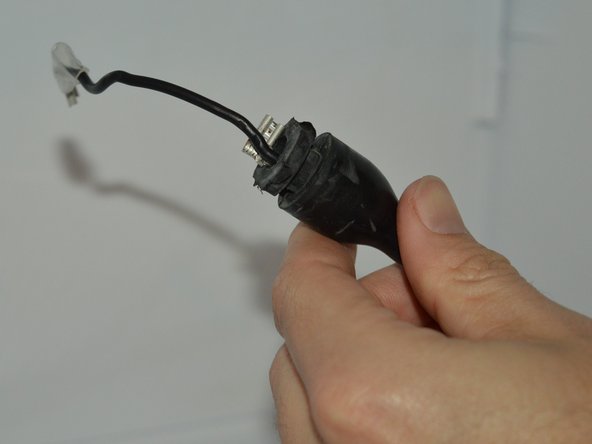
Ir para o conteúdo principal

Ryobi RS290G Power Cord Replacement

O que você precisa

  1. Ryobi RS290G Power Cord Replacement, Top Cap: passo 1, imagem 1 %32
    • Remove two 20mm and one 16mm Phillips #2 screws from the housing assembly and exhaust port.

  2. Ryobi RS290G Power Cord Replacement: passo 2, imagem 1 %32
    • Remove the three 16mm Phillips #2 screws from the top cap/upper grip.

  3. Ryobi RS290G Power Cord Replacement: passo 3, imagem 1 %32
    • Remove the top cap.

  4. Ryobi RS290G Power Cord Replacement, Switch Trigger: passo 4, imagem 1 %32
    • Remove the switch trigger.

  5. Ryobi RS290G Power Cord Replacement, Power Cord: passo 5, imagem 1 %32
    • Remove the two 16mm Phillips #2 screws from the inner housing assembly.

  6. Ryobi RS290G Power Cord Replacement: passo 6, imagem 1 %32
    • Remove the two 14mm Phillips #2 screws from the cord clamp.

  7. Ryobi RS290G Power Cord Replacement: passo 7, imagem 1 %32 Ryobi RS290G Power Cord Replacement: passo 7, imagem 2 %32
    • Slide the power switch out of the housing assembly, carefully gripping the switch and pulling it upward.

  8. Ryobi RS290G Power Cord Replacement: passo 8, imagem 1 %32 Ryobi RS290G Power Cord Replacement: passo 8, imagem 2 %32
    • Remove the black lead from the power switch using a spudger.

  9. Ryobi RS290G Power Cord Replacement: passo 9, imagem 1 %32
    • Carefully slide the housing assembly apart, avoiding damage or pulling on wires.

  10. Ryobi RS290G Power Cord Replacement: passo 10, imagem 1 %32 Ryobi RS290G Power Cord Replacement: passo 10, imagem 2 %32
    • Slide out the brush assembly with the white lead from the inner housing assembly.

  11. Ryobi RS290G Power Cord Replacement: passo 11, imagem 1 %32
    • Remove the white lead from the brush assembly.

  12. Ryobi RS290G Power Cord Replacement: passo 12, imagem 1 %32 Ryobi RS290G Power Cord Replacement: passo 12, imagem 2 %32
    • Slide the bend relief off of the old power cord to reuse on the new power cord if there is no damage.

Conclusão

To reassemble your device, follow these instructions in reverse order. Make sure to perform an operational check after reassembling.

0 comentários

Adicione um comentário

Exibir estatísticas:

Últimas 24 horas: 2

Últimos 7 dias: 6

Últimos 30 dias: 15

Duração total: 415