Ir para o conteúdo principal

Roconia Q6 Button Replacement

O que você precisa

  1. Roconia Q6 Button Replacement, Top Cover: passo 1, imagem 1 %32 Roconia Q6 Button Replacement, Top Cover: passo 1, imagem 2 %32
    • Flip your device upside down so that the interface is facing downwards.

  2. Roconia Q6 Button Replacement: passo 2, imagem 1 %32 Roconia Q6 Button Replacement: passo 2, imagem 2 %32 Roconia Q6 Button Replacement: passo 2, imagem 3 %32
    • The device is supported by rubber pieces located at the bottom extremities.

    • There are screws beneath the rubber pieces that can be removed. Remove all four 1.1 mm Phillips #1 screws by using the Phillips #0 screwdriver.

  3. Roconia Q6 Button Replacement: passo 3, imagem 1 %32 Roconia Q6 Button Replacement: passo 3, imagem 2 %32 Roconia Q6 Button Replacement: passo 3, imagem 3 %32
    • Turn device over again and pry open the device to remove the cover.

  4. Roconia Q6 Button Replacement: passo 4, imagem 1 %32 Roconia Q6 Button Replacement: passo 4, imagem 2 %32 Roconia Q6 Button Replacement: passo 4, imagem 3 %32
    • Pull out the cable that is connected to the top cover to fully separate.

  5. Roconia Q6 Button Replacement, Button: passo 5, imagem 1 %32 Roconia Q6 Button Replacement, Button: passo 5, imagem 2 %32
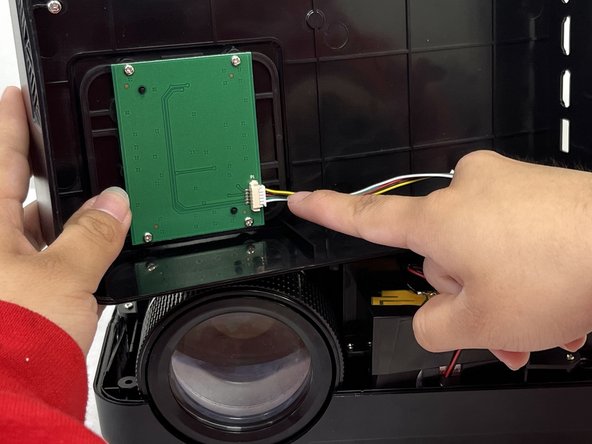
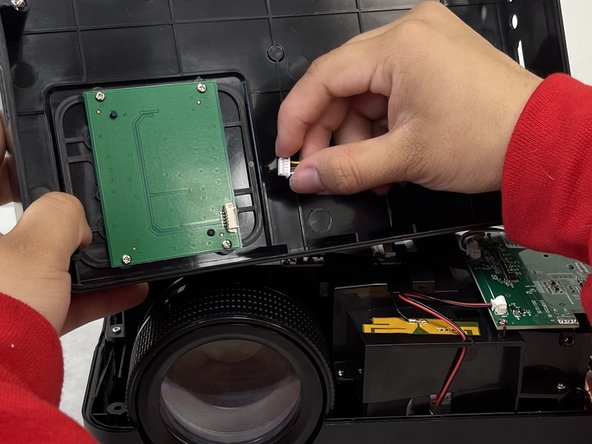
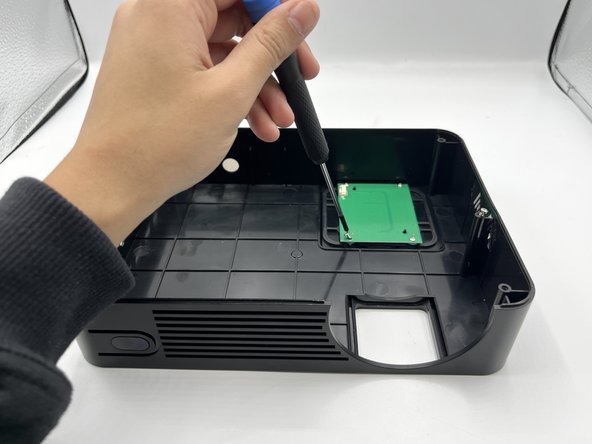
    • Use a Phillips #0 screwdriver to remove each of the 5.2 mm screws from the sensor board inside the cover.

  6. Roconia Q6 Button Replacement: passo 6, imagem 1 %32 Roconia Q6 Button Replacement: passo 6, imagem 2 %32 Roconia Q6 Button Replacement: passo 6, imagem 3 %32
    • Remove the motherboard and you will see the the pieces that help control the buttons.

    • Locate where the OK button is placed.

    • Remove the part that helps control the OK button by pulling it out

Conclusão

To reassemble your device, follow these instructions in reverse order.

0 comentários

Adicione um comentário

Exibir estatísticas:

Últimas 24 horas: 0

Últimos 7 dias: 1

Últimos 30 dias: 11

Duração total: 49