Ir para o conteúdo principal

Ridgid JobMax R2851 Series B Motor Replacement

O que você precisa

  1. Ridgid JobMax R2851 Series B Motor Replacement, Motor: passo 1, imagem 1 %32 Ridgid JobMax R2851 Series B Motor Replacement, Motor: passo 1, imagem 2 %32
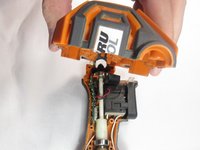
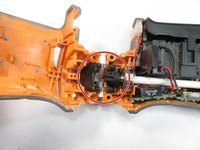
    • Unplug the device from the wall.

    • Orient the device so that the trigger is facing downwards.

    • Place your thumb and index finger on the two buttons located on the head of the tool.

    • Press the two buttons in and pull the head of the tool off.

  2. Ridgid JobMax R2851 Series B Motor Replacement: passo 2, imagem 1 %32
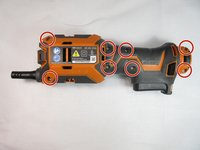
    • Loosen all eight 15mm T10 Torx screws.

    • You do not need to fully remove the screws yet; just loosen them enough that the device shell starts to open.

  3. Ridgid JobMax R2851 Series B Motor Replacement: passo 3, imagem 1 %32
    • Orient the device so that the cord end is facing upwards.

    • Take a small cutting tool, and cut down the seam in the back, ensuring that you only cut the sticker.

    • Make a shallow cut to avoid damaging internal hardware.

  4. Ridgid JobMax R2851 Series B Motor Replacement: passo 4, imagem 1 %32 Ridgid JobMax R2851 Series B Motor Replacement: passo 4, imagem 2 %32
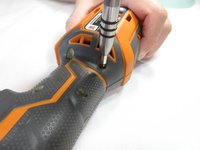
    • Completely remove all eight 15mm T10 Torx screws.

  5. Ridgid JobMax R2851 Series B Motor Replacement: passo 5, imagem 1 %32 Ridgid JobMax R2851 Series B Motor Replacement: passo 5, imagem 2 %32 Ridgid JobMax R2851 Series B Motor Replacement: passo 5, imagem 3 %32
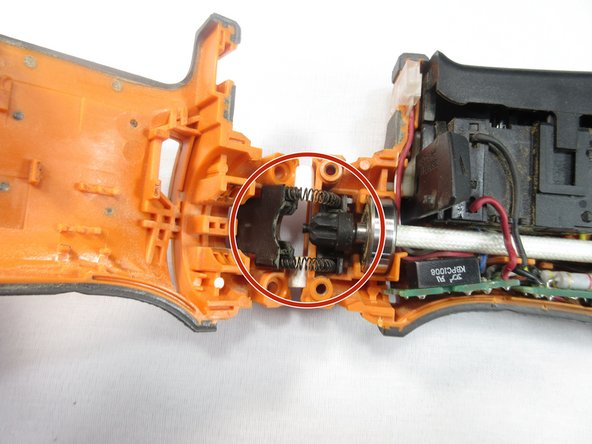
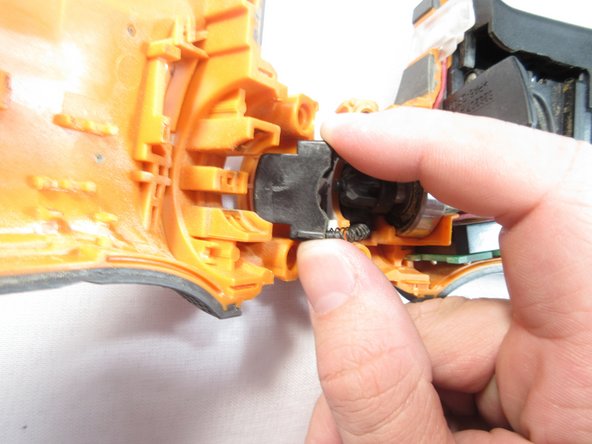
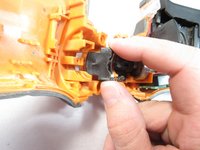
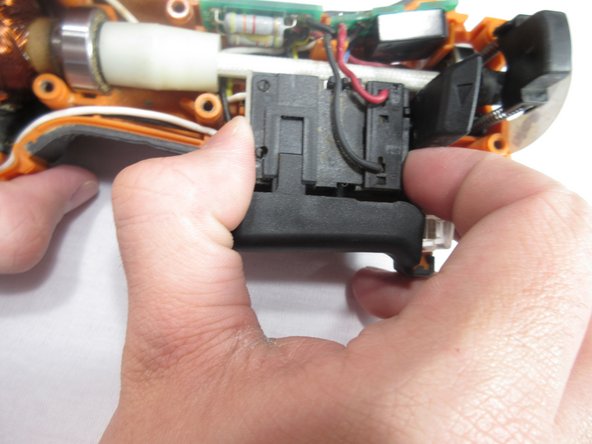
    • Pull the device case off, gripping at the back of the case and rotating it towards the front of the device.

    • Once the device has been separated gently pull on the trigger assembly to remove it from one side of the case.

    • Watch out for the locking mechanism for the head of the device when removing.

  6. Ridgid JobMax R2851 Series B Motor Replacement: passo 6, imagem 1 %32 Ridgid JobMax R2851 Series B Motor Replacement: passo 6, imagem 2 %32
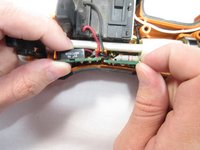
    • Grip each of the sides of the two green circuit boards and slide them up.

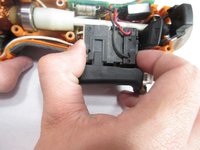
    • Grip each side of the device trigger, and slide it up.

    • You do not need to completely remove these parts. Sliding them upward provides the needed room.

  7. Ridgid JobMax R2851 Series B Motor Replacement: passo 7, imagem 1 %32 Ridgid JobMax R2851 Series B Motor Replacement: passo 7, imagem 2 %32
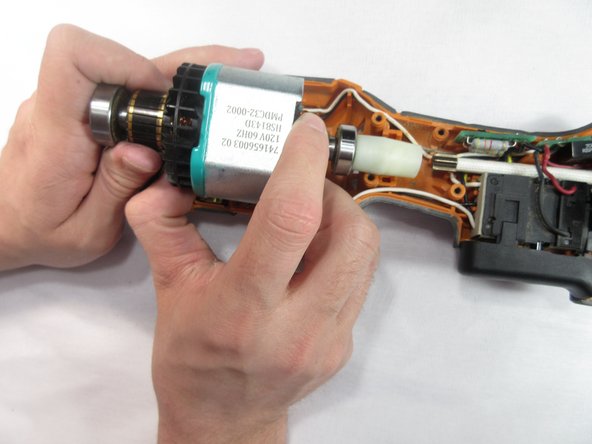
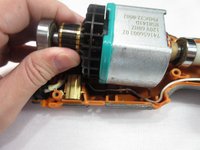
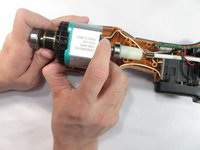
    • Grip the motor firmly and pull towards the back of the tool, rotating back forth until the motor is free.

    • When reinstalling the motor, use a spudger to pull back the brushes. This allows the motor to slide into place.

Conclusão

To reassemble your device, follow these instructions in reverse order.

2 outras pessoas executaram este guia.

0 comentários

Adicione um comentário

Exibir estatísticas:

Últimas 24 horas: 1

Últimos 7 dias: 3

Últimos 30 dias: 11

Duração total: 687