Este guia tem alterações mais recentes. Mudar para a última versão não verificada.
Introdução
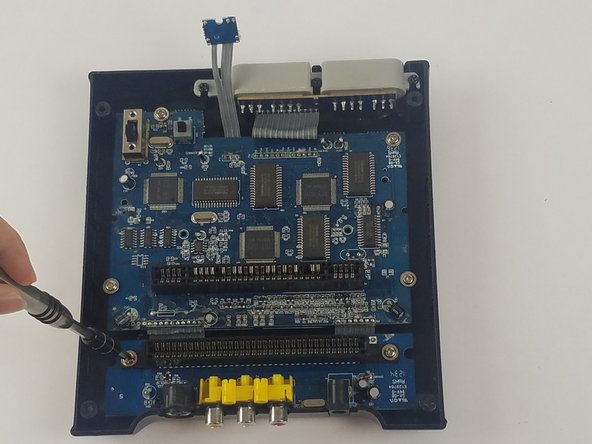
The circuit board is essential to the console's functions. Using Phillips #0 and Phillips #2 screwdrivers, you can replace it.
O que você precisa
-
-
With the console on its top, remove the four 12 mm Phillips #2 screws.
-
Flip the console on its feet. Carefully lift the top casing from the back (where the AV/S and power ports are).
-
-


To reassemble your device, follow these instructions in reverse order.
To reassemble your device, follow these instructions in reverse order.
Equipe

USF Tampa, Team S4-G4, Eyestone Fall 2017 Membro de USF Tampa, Team S4-G4, Eyestone Fall 2017
USFT-EYESTONE-F17S4G4
Membros da 3
Autoria de 10 guias
Um comentário
I hope you show the second part were you replace the 72pin connector. Please include part source.
The 72 pin connector grabs too tightly on the cart.
Thanks.