Ir para o conteúdo principal

Replacing Cog and Lockring on the Rear Wheel of a Retrospec Fixed-Gear Bicycle

O que você precisa

  1. Replacing Cog and Lockring on the Rear Wheel of a Retrospec Fixed-Gear Bicycle, Cog and lockring: passo 1, imagem 1 %32
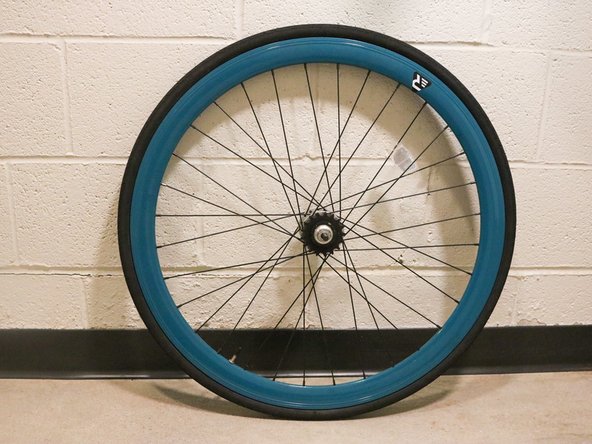
    • Remove the 9.5mm bolts on the rear wheel with an adjustable wrench. There is a bolt on each side of the wheel.

  2. Replacing Cog and Lockring on the Rear Wheel of a Retrospec Fixed-Gear Bicycle: passo 2, imagem 1 %32 Replacing Cog and Lockring on the Rear Wheel of a Retrospec Fixed-Gear Bicycle: passo 2, imagem 2 %32 Replacing Cog and Lockring on the Rear Wheel of a Retrospec Fixed-Gear Bicycle: passo 2, imagem 3 %32
    • Loosen the 4mm by 50.8mm chain tension screw with a hex key. There is a screw on each side of the wheel.

  3. Replacing Cog and Lockring on the Rear Wheel of a Retrospec Fixed-Gear Bicycle: passo 3, imagem 1 %32 Replacing Cog and Lockring on the Rear Wheel of a Retrospec Fixed-Gear Bicycle: passo 3, imagem 2 %32
    • Remove the chain from the rear wheel cog. Remove the rear wheel from the frame of the bike.

  4. Replacing Cog and Lockring on the Rear Wheel of a Retrospec Fixed-Gear Bicycle: passo 4, imagem 1 %32 Replacing Cog and Lockring on the Rear Wheel of a Retrospec Fixed-Gear Bicycle: passo 4, imagem 2 %32
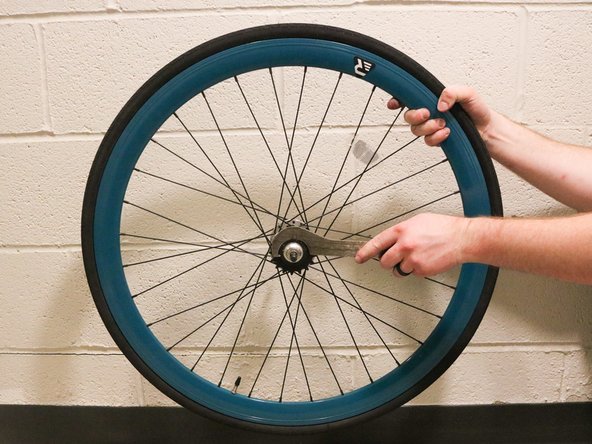
    • Remove the lockring on the back tire using a lockring wrench. To loosen the lockring twist the wrench clockwise.

  5. Replacing Cog and Lockring on the Rear Wheel of a Retrospec Fixed-Gear Bicycle: passo 5, imagem 1 %32 Replacing Cog and Lockring on the Rear Wheel of a Retrospec Fixed-Gear Bicycle: passo 5, imagem 2 %32
    • Loosen the cog using a chain whip and adjustable pliers. Rap the chain whip around the cog. Push the chain whip handle down so that the cog twists counterclockwise.

    • It will take a lot of force to loosen the cog.

  6. Replacing Cog and Lockring on the Rear Wheel of a Retrospec Fixed-Gear Bicycle: passo 6, imagem 1 %32 Replacing Cog and Lockring on the Rear Wheel of a Retrospec Fixed-Gear Bicycle: passo 6, imagem 2 %32
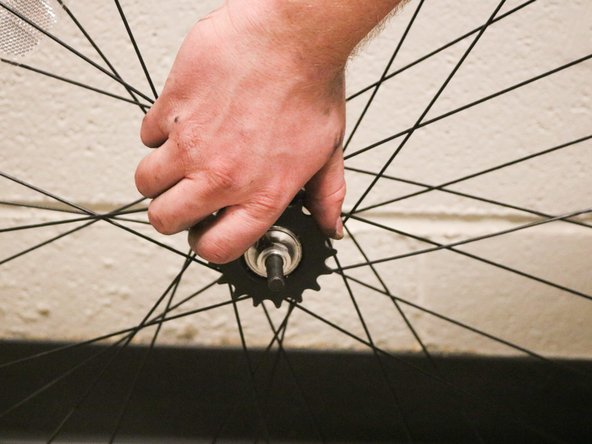
    • Remove the cog the rest of the way with your hand. Replace with a new cog.

Linha de Chegada

Uma outra pessoa concluiu este guia.

0 comentários

Adicione um comentário

Exibir estatísticas:

Últimas 24 horas: 1

Últimos 7 dias: 20

Últimos 30 dias: 62

Duração total: 3,882