Introdução
Before you can start on this repair, you have to open up the machine. Please use the guide for a plastic frame model or the one for a metal frame model.
These instructions may also help with other Saeco models and with coffee makers from Philips and Gaggia—they are all made by the same manufacturer and have a very similar design.
O que você precisa
-
-
First check which model you have in front of you: is the decorative frame made of chromed metal (image 1) or made of metalized plastic (image 2). In the first case use this guide, in the second case use this guide. Then come back here.
-
-
-
If the support plate for the exchangeable bean container has already been removed, you can skip this step.
-
The carrier plate is attached with five Torx T10 screws. turn them out.
-
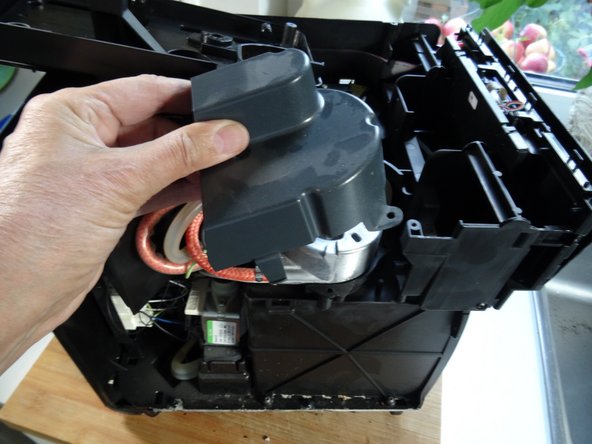
Lift the carrier plate up and place it on the device.
-
Don't lift the plate all the way out yet. It is still connected to a sensor cable. The cable does not necessarily have to be detached.
-
-
-
-
Remove the Phillips #2 screw on the thermal switch holder.
-
Lift off the holder and thermal switches.
-
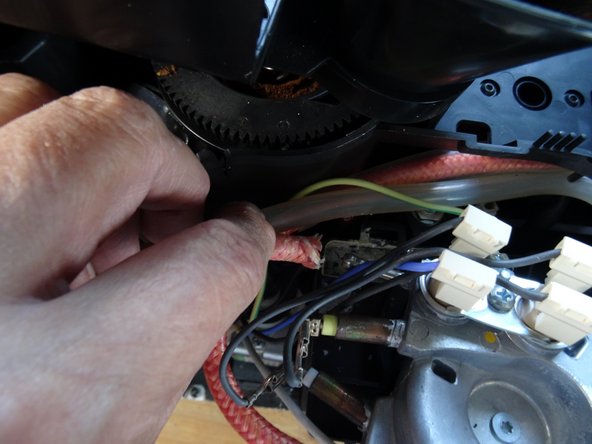
Disconnect the spade connectors on the heater connections.
-
Apply thermal paste to the replacement part and attach the holder and thermal switches.
-
Plug in the flat plugs for the heater.
-


Follow the steps in reverse order to reassemble your device.
Follow the steps in reverse order to reassemble your device.
Cancelar: não concluí este guia.
Uma outra pessoa concluiu este guia.
Um agradecimento especial a esses tradutores:
100%


Estes tradutores estão nos ajudando a consertar o mundo! Quer contribuir?
Comece a traduzir ›
Equipe

Repair is War on Entropy Membro de Repair is War on Entropy
Community
Membros da 26
Autoria de 1.186 guias
Um comentário
es gibt auch noch auf der unterseite des Erhitzers einen Thermosensor, der ebenfalls entfernt und mit Wärmeleitpaste an dem Austauschteil befestigt werden muss