Introdução
A "pulled LAN wire" broke the "click retainer" on the RJ45 socket for an HP LaserJet CP1525nw printer. Replacement with a metal-frame from an RJ45 Coupler is a permanent fix (much better than tape, etc.).
The total cost was $7.00 (USA) for 6-Couplers (only sold as 6), plus a drop of E6000 Industrial Adhesive (Everyone should keep a tube of this around the house, it is an exceptional adhesive).
Perhaps this approach will fix your broken RJ45 socket, as it did ours ;-)
O que você precisa
-
-
I purchased an "RJ45 Coupler" (Brand: Huakan) on Amazon. At the time of repair 6 couplers were sold for $6.99 ... now they are $9.99 (USA). These couplers have a thin stainless-steel frame on each side where the LAN cable "clicks" into the coupler.
-
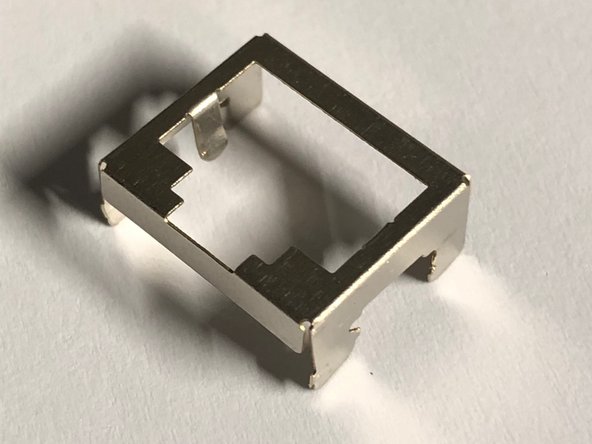
1- Using a hacksaw blade, carefully cut lengthwise through the black ABS plastic covering. Use fine needle-nose pliers to peel-off the outer plastic layer. Use same pliers, to break/peel off the green rectangular circuit board.
-
-
-
-
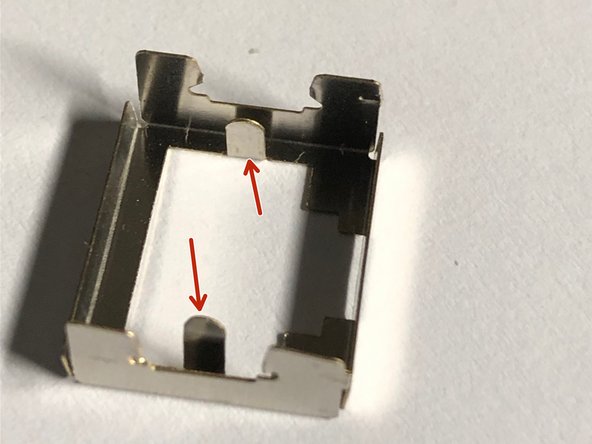
5- Slide the stainless-steel Frame over the existing RJ45 socket. The stainless-steel face frame has 2-prongs which can be made "snug" with tweezers (or similar) to provide a good fit over the edge of the existing (broken) RJ45 socket. TEST THE FIT ... adjust as needed, the stainless-steel prongs may need slight adjustment.
-
-
-
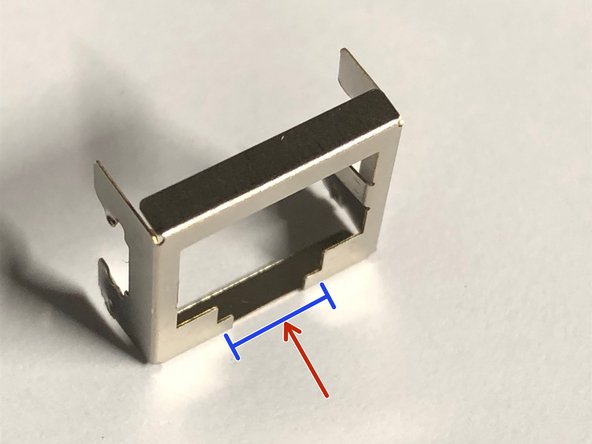
5- I used "E6000" Industrial Glue/Adhesive (any hardware store). This makes a permanent bond . IMPORTANT: place only a very tiny amount of glue (pin-head) onto the stainless-steel face frame 'sides' (NOT the "click retainer" side) ... CAREFULLY fix the face frame in EXACTLY the alignment so the 'CLICK RETAINER' ALIGNs THE SAME AS ON THE SOCKET.
-
-
-
6- SNUG the new stainless-steel face frame down to firmly/tightly SEAT IT to it's maximum tightness over the existing RJ45 Socket. NOTE: I pre-tested the connection by holding the stainless-steel frame in place with a small screwdriver, then plugging in the LAN cable and checking to make sure the connection was working (lighting up).
-
-
-
8- IF ALL IS WORKING ... PLACE A BIT OF 'DUCT-TAPE' in-place onto the RJ45 socket and snug the frame down as deeply as it will go. WAIT 24 HRS for full cure. NOTE: be VERY careful when placing the pin-head bits of adhesive,DO NOT spill or get adhesive onto the interior of the RJ45 socket connectors, for obvious reasons ;-).
-


To reassemble your device, follow these instructions in reverse order.
To reassemble your device, follow these instructions in reverse order.
Cancelar: não concluí este guia.
2 outras pessoas executaram este guia.
2 comentários
Thanks for the tip! I just repaired a Yaesu FT-891 socket that would have been a nightmare to de-solder and install a new jack. This should be just fine. Thanks again!
I have to say, this is IMHO simply a stroke of genius and at the same time so weird nobody has thought of this fix before. There must be tons of idiots like me with a busted plastic socket on a device from a cable that got yanked out by accident. I just ordered a few of these couplers to salvage the faceplate. Thanks a lot for sharing!