Ir para o conteúdo principal

Le Pan II Charging Port Replacement

O que você precisa

  1. Le Pan II Charging Port Replacement, Screen: passo 1, imagem 1 %32 Le Pan II Charging Port Replacement, Screen: passo 1, imagem 2 %32
    • Insert metal spudger between front and back panel to pry apart.

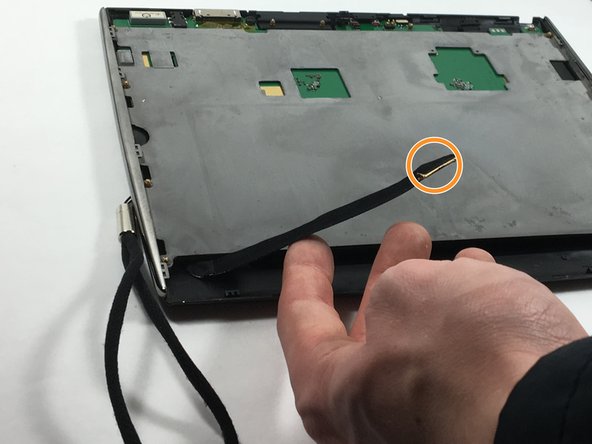
    • Continue to pry while moving the metal spudger along the crevice to completely separate two panels.

    • Avoid using metal when opening devices, as it can damage or crack the screen.

  2. Le Pan II Charging Port Replacement: passo 2, imagem 1 %32 Le Pan II Charging Port Replacement: passo 2, imagem 2 %32
    • Use the plastic opening tool to disconnect the flat ribbon cable from the motherboard connector.

    • Disconnect the flat ribbon by gently pulling it out from its connecting port.

  3. Le Pan II Charging Port Replacement: passo 3, imagem 1 %32 Le Pan II Charging Port Replacement: passo 3, imagem 2 %32
    • Use the plastic opening tool to disconnect the display cable from its motherboard connector.

    • Disconnect the display cable by gently pulling it out from its connecting port.

  4. Le Pan II Charging Port Replacement: passo 4, imagem 1 %32
    • Remove grey metal backing from screen.

  5. Le Pan II Charging Port Replacement: passo 5, imagem 1 %32
    • Flip the tablet so the screen is facing upward, and use the metal spudger to pry apart the screen from the side pieces.

  6. Le Pan II Charging Port Replacement: passo 6, imagem 1 %32
    • Lift and carefully remove the LCD display from the front cover.

  7. Le Pan II Charging Port Replacement, Charging Port: passo 7, imagem 1 %32
    • Use the Phillips 00 screwdriver head to unscrew the screws to the motherboard.

    • Reminder: There should be 8 (3.5 mm) screws to the motherboard.

  8. Le Pan II Charging Port Replacement: passo 8, imagem 1 %32
    • Use the Phillips 00 screwdriver head to unscrew the screws to the fan.

    • Reminder: There should be 4 (1mm) screws to the fan.

  9. Le Pan II Charging Port Replacement: passo 9, imagem 1 %32
    • Use the metal spudger to pry off the charging port from the motherboard.

Conclusão

To reassemble your device, follow these instructions in reverse order.

Kelly Moniz

Membro desde: 10/20/16

513 Reputação

Autoria de 5 guias

Equipe

UMass Dartmouth, Team 6-3, Martin Fall 2016 Membro de UMass Dartmouth, Team 6-3, Martin Fall 2016

UMASSD-MARTIN-F16S6G3

Membros da 3

Autoria de 10 guias

Um comentário

I have had no luck getting in touch with anyone in the customer service department.I have left several messages but have not heard from anyone yet. I just need to know how I can get a charge port for my daughters tablet. She had it 6 months before the charge port went out.

tashiarmarshall - Responder

Adicione um comentário

Exibir estatísticas:

Últimas 24 horas: 0

Últimos 7 dias: 0

Últimos 30 dias: 2

Duração total: 1,208