Ir para o conteúdo principal

Esta versão pode conter edições incorretas. Mude para o último instantâneo verificado.

O que você precisa

  1. Este passo não foi traduzido. Ajude a traduzi-lo

    : passo 1, imagem 1 %32 : passo 1, imagem 2 %32 : passo 1, imagem 3 %32
    Ferramenta utilizada nesse passo:
    Safety Glasses
    $3.19
    Comprar
    • If your display glass is cracked, keep further breakage contained and prevent bodily harm during your repair by taping the glass.

    • Lay overlapping strips of clear packing tape over the iPad's display until the whole face is covered. For particularly bad breaks, you may need to lay down two layers.

    • This will keep glass shards contained and provide structural integrity when prying and lifting the display.

    • Do your best to follow the rest of the guide as described. However, once the glass is broken, it will likely continue to crack as you work, and you may need to use a metal prying tool to scoop the glass out.

    • Protect your eyes! This procedure will cause small pieces of glass to fly directly toward your face. Do not attempt without safety glasses.

  2. , Aquecimento da bolsa térmica iOpener: passo 2, imagem 1 %32 , Aquecimento da bolsa térmica iOpener: passo 2, imagem 2 %32
    • Recomendamos que você limpe o micro-ondas antes de prosseguir, pois qualquer sujeira desagradável na parte inferior pode acabar grudando no iOpener.

    • Coloque o iOpener no centro do micro-ondas.

    • Para microondas com prato giratório: certifique-se de que o prato esteja girando livremente. Se o iOpener ficar preso, ele poderá superaquecer e queimar.

  3. : passo 3, imagem 1 %32
    • Aqueça o iOpener por trinta segundos.

    • Durante o procedimento de reparo, à medida que o iOpener esfriar, reaqueça-o no micro-ondas por mais 30 segundos de cada vez.

    • Tenha cuidado para não superaquecer o iOpener durante o reparo. O superaquecimento pode fazer com que o iOpener se rompa.

    • Nunca toque no iOpener se ele parecer inchado.

    • Se o centro do iOpener ainda estiver muito quente para ser tocado, continue a usá-lo enquanto espera que ele esfrie um pouco mais antes de reaquecê-lo. Um iOpener aquecido adequadamente deve permanecer quente por até 10 minutos.

  4. : passo 4, imagem 1 %32
    • Remova o iOpener do micro-ondas, segurando-o em uma das duas pontas finas, evitando o centro dele, que está quente.

    • O iOpener estará muito quente, portanto tenha cuidado ao manuseá-lo. Use uma luva de forno, se necessário.

  5. , Método de aquecimento alternativo do iOpener: passo 5, imagem 1 %32 , Método de aquecimento alternativo do iOpener: passo 5, imagem 2 %32
    • Se você não tiver um micro-ondas, siga este passo para aquecer o iOpener em água fervida.

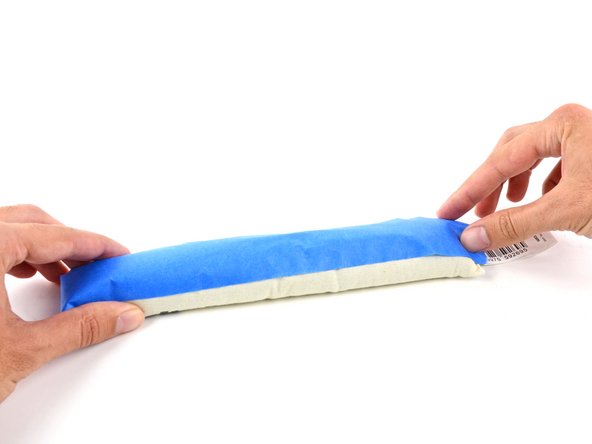
    • Encha uma panela ou frigideira com água suficiente para submergir completamente um iOpener.

    • Aqueça a água até ferver. Desligue o fogo.

    • Coloque um iOpener na água quente por 2 a 3 minutos. Certifique-se de que o iOpener esteja totalmente submerso na água.

    • Use um pegador para retirar o iOpener aquecido da água quente.

    • Seque bem o iOpener com uma toalha.

    • O iOpener estará muito quente, portanto, tenha cuidado para segurá-lo apenas pelas abas das extremidades.

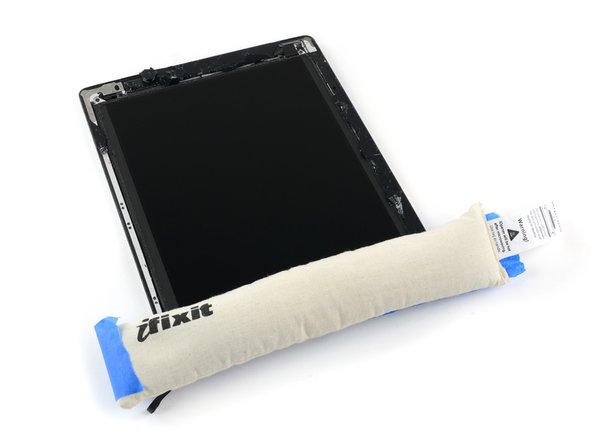
    • Sua bolsa térmica iOpener está pronta para o uso! Se precisar reaquecer o iOpener, aqueça a água até ferver, desligue o fogo e coloque o iOpener na água por 2 a 3 minutos.

  6. Este passo não foi traduzido. Ajude a traduzi-lo

    : passo 6, imagem 1 %32
    • Use your hot iOpener to heat up all four edges of the front panel. Let the iOpener rest on each edge for at least 90 seconds, microwaving for 30 seconds at a time as needed.

    • Take your time and ensure the entire bezel is warm. The more time you spend on this, the less time you'll spend picking out glass shards in the next steps.

    • Once all of the adhesive is warmed, pick out the edge with the largest uncracked section of glass.

    • Try using a suction up to pull up on this section, and then wedge a guitar pick beneath the glass.

    • If the glass is too badly cracked for the suction cup to grab, apply more heat and force the pick in, careful not to damage the LCD.

  7. Este passo não foi traduzido. Ajude a traduzi-lo

    : passo 7, imagem 1 %32 : passo 7, imagem 2 %32
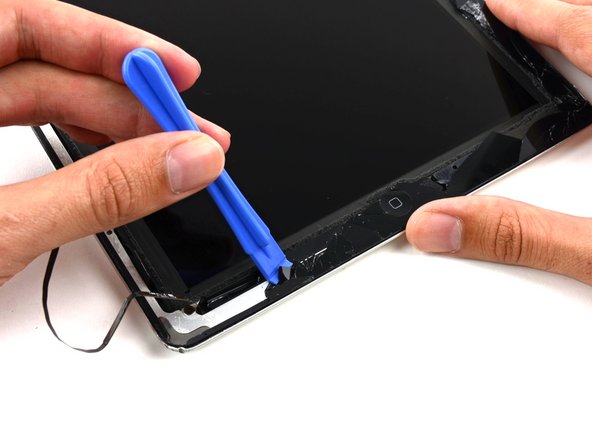
    • Work your way around the entire perimeter of the front panel with an opening pick.

    • Much of the glass around the bezel will break off from the rest of the panel, and will stay adhered to the rear case of the iPad. Work your way past these pieces to free as much of the glass panel as possible.

    • When you get to the digitizer and (on iPad 4) home button cables, you may find it helpful to cut these cables, rather than risk ripping them out of their sockets and damaging the logic board.

    • Remove the taped-together glass panel from the iPad. Be careful as this will have sharp edges and may drop pieces of glass. Dispose of safely.

  8. Este passo não foi traduzido. Ajude a traduzi-lo

    : passo 8, imagem 1 %32 : passo 8, imagem 2 %32 : passo 8, imagem 3 %32
    • For the next step, you'll need to apply your iOpener directly to the broken glass left adhered to the iPad.

    • To protect your iOpener from the glass and keep it from filling with glass dust, stick some masking tape to one side.

    • Heat the iOpener and apply it to one edge of the iPad, directly on top of the pieces of glass that are still adhered to the rear case of the iPad.

    • Leave the iOpener there for at least 90 seconds, to soften the adhesive holding these small pieces in place.

    • Be careful not to touch or otherwise disturb the LCD.

  9. Este passo não foi traduzido. Ajude a traduzi-lo

    : passo 9, imagem 1 %32 : passo 9, imagem 2 %32
    • Did you take off your safety glasses? If so, put them back on now. Seriously.

    • Grab your favorite plastic tool and start prying out the remaining pieces of glass from the iPad frame.

    • This is a slow and tedious process, but benefits greatly from heating the adhesive.

    • There is a serious risk of cutting yourself while working with this glass. Work slowly and with controlled force. You may wish to wear thin leather gloves.

    • Remove all of the glass and residual adhesive and continue your repair.

Linha de Chegada

17 outras pessoas executaram este guia.

Andrew Optimus Goldheart

Membro desde: 10/17/09

502.786 Reputação

Autoria de 407 guias

Equipe

iFixit Membro de iFixit

Staff

Membros da 135

Autoria de 16.767 guias

Um comentário

During step 9, if you can manage to grab an end of the adhesive going under glass, see if you can slowly pull it out and to the side of the frame. If the strip doesn’t break too much, this should greatly reduce shard spread and increase speed!

Zachary Pontius - Responder

Adicione um comentário

Exibir estatísticas:

Últimas 24 horas: 2

Últimos 7 dias: 20

Últimos 30 dias: 67

Duração total: 11,742