Introdução
This procedure is not for the faint of heart. It is very difficult, and can be dangerous if you are not careful and properly equipped. Read the entire procedure before you begin to be sure you're up to the task.
This guide is intended as a generic supplement guide, and should be followed alongside the standard front panel replacement guide for any iPad or iPad Mini.
O que você precisa
Vídeo de Apresentação
-
Ferramenta utilizada neste passo:Safety Glasses$3.19
-
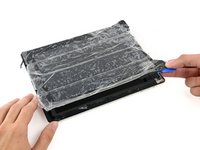
If your display glass is cracked, keep further breakage contained and prevent bodily harm during your repair by taping the glass.
-
Lay overlapping strips of clear packing tape over the iPad's display until the whole face is covered. For particularly bad breaks, you may need to lay down two layers.
-
Do your best to follow the rest of the guide as described. However, once the glass is broken, it will likely continue to crack as you work, and you may need to use a metal prying tool to scoop the glass out.
-
-
-
-
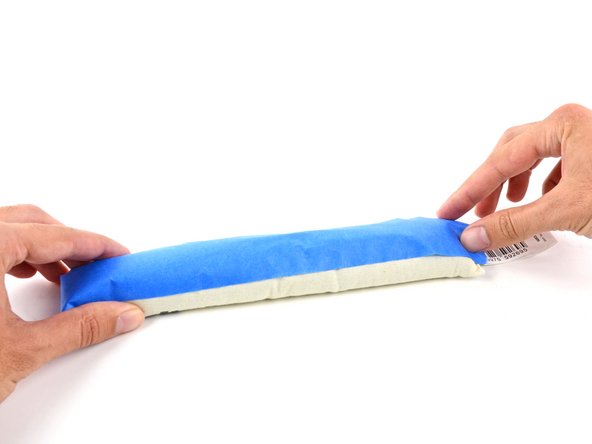
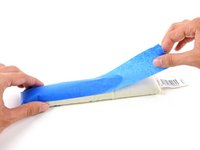
Fill a pot or pan with enough water to fully submerge an iOpener.
-
Heat the water to a boil. Turn off the heat.
-
Place an iOpener into the hot water for 2-3 minutes. Make sure the iOpener is fully submerged in the water.
-
Use tongs to extract the heated iOpener from the hot water.
-
Thoroughly dry the iOpener with a towel.
-
Your iOpener is ready for use! If you need to reheat the iOpener, heat the water to a boil, turn off the heat, and place the iOpener in the water for 2-3 minutes.
-
-
-
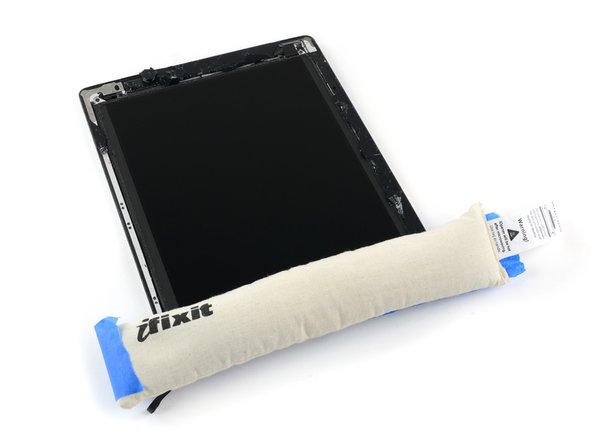
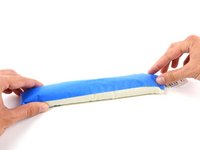
Use your hot iOpener to heat up all four edges of the front panel. Let the iOpener rest on each edge for at least 90 seconds, microwaving for 30 seconds at a time as needed.
-
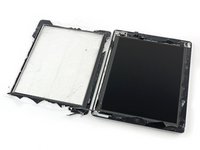
Once all of the adhesive is warmed, pick out the edge with the largest uncracked section of glass.
-
-
-
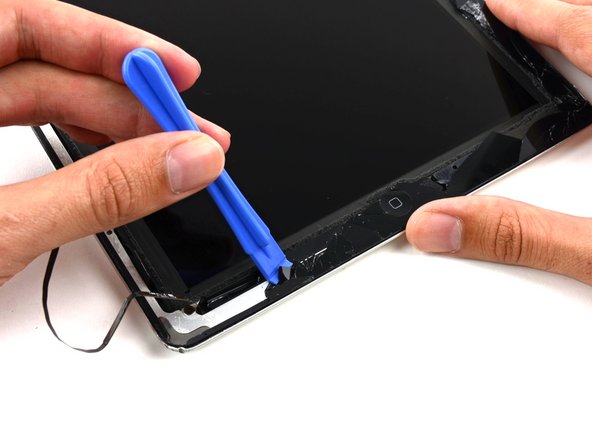
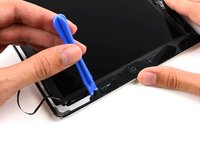
To protect your iOpener from the glass and keep it from filling with glass dust, stick some masking tape to one side.
-
Heat the iOpener and apply it to one edge of the iPad, directly on top of the pieces of glass that are still adhered to the rear case of the iPad.
-
Leave the iOpener there for at least 90 seconds, to soften the adhesive holding these small pieces in place.
-


To reassemble your device, follow these instructions in reverse order.
To reassemble your device, follow these instructions in reverse order.
Cancelar: não concluí este guia.
17 outras pessoas executaram este guia.

Um comentário
During step 9, if you can manage to grab an end of the adhesive going under glass, see if you can slowly pull it out and to the side of the frame. If the strip doesn’t break too much, this should greatly reduce shard spread and increase speed!