Ir para o conteúdo principal
Raidmax Alpha Case Graphics Card Replacement

Raidmax Alpha Case Graphics Card Replacement

Julia Strecker

Julia Strecker e 2 outros colaboradores

Última atualização em March 9, 2023

15 - 30 minutos
Moderado

Introdução

Ir para o passo 1

The purpose of this guide is to instruct a user on how to replace a computer graphics card in a Raidmax Alpha case. A computer graphics card is a piece of computer hardware that produces the image seen on a monitor. This card renders an image to the monitor by converting data into a signal the monitor can understand. If this card is not present in a computer, the graphics will not be displayed. Using a better quality graphics card can give a better image that is output on the screen.

The user will need to have some basic background information on how to replace computer parts. If the steps to recycle the power in the computer are not followed, there could be residual current left that could be dangerous to the user.

O que você precisa

A iFixit ganha comissão quando você compra por estes links.
  1. Raidmax Alpha Case Graphics Card Replacement, Graphics Card: passo 1, imagem 1 %32 Raidmax Alpha Case Graphics Card Replacement, Graphics Card: passo 1, imagem 2 %32 Raidmax Alpha Case Graphics Card Replacement, Graphics Card: passo 1, imagem 3 %32
    • Turn off the computer and the power supply to the computer.

  2. Raidmax Alpha Case Graphics Card Replacement: passo 2, imagem 1 %32 Raidmax Alpha Case Graphics Card Replacement: passo 2, imagem 2 %32
    • Recycle the power in the computer by pressing the power button on and off again. This removes any remaining current to the computer.

  3. Raidmax Alpha Case Graphics Card Replacement: passo 3, imagem 1 %32 Raidmax Alpha Case Graphics Card Replacement: passo 3, imagem 2 %32 Raidmax Alpha Case Graphics Card Replacement: passo 3, imagem 3 %32
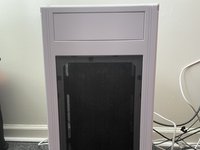
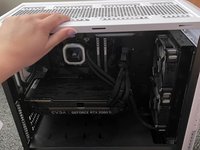
    • Access the glass side panel by turning the back of the case to the left when looking at it from the front.

  4. Raidmax Alpha Case Graphics Card Replacement: passo 4, imagem 1 %32 Raidmax Alpha Case Graphics Card Replacement: passo 4, imagem 2 %32 Raidmax Alpha Case Graphics Card Replacement: passo 4, imagem 3 %32
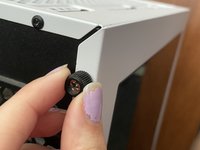
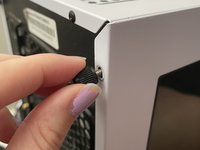
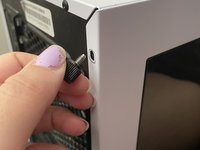
    • Remove the two screws on the glass side panel. These are thumb screws so they can simply be removed by twisting them to the left.

  5. Raidmax Alpha Case Graphics Card Replacement: passo 5, imagem 1 %32 Raidmax Alpha Case Graphics Card Replacement: passo 5, imagem 2 %32 Raidmax Alpha Case Graphics Card Replacement: passo 5, imagem 3 %32
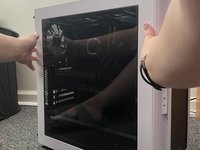
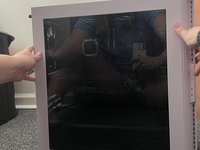
    • Carefully slide the glass panel to the left and then pull it off to remove it.

  6. Raidmax Alpha Case Graphics Card Replacement: passo 6, imagem 1 %32 Raidmax Alpha Case Graphics Card Replacement: passo 6, imagem 2 %32 Raidmax Alpha Case Graphics Card Replacement: passo 6, imagem 3 %32
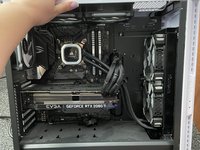
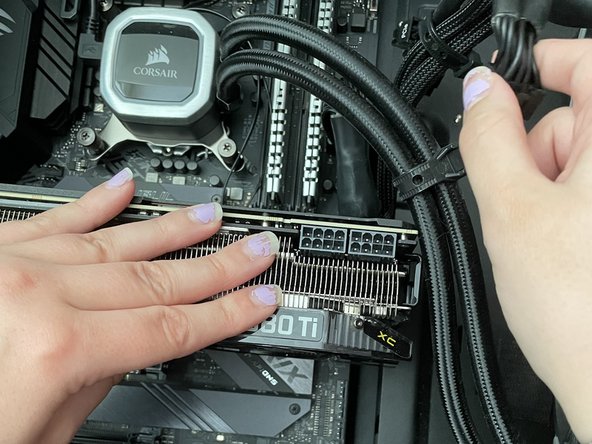
    • Tilt the case backward and lay it on its backside. This is done so the card will not pull down when being removed.

  7. Raidmax Alpha Case Graphics Card Replacement: passo 7, imagem 1 %32 Raidmax Alpha Case Graphics Card Replacement: passo 7, imagem 2 %32 Raidmax Alpha Case Graphics Card Replacement: passo 7, imagem 3 %32
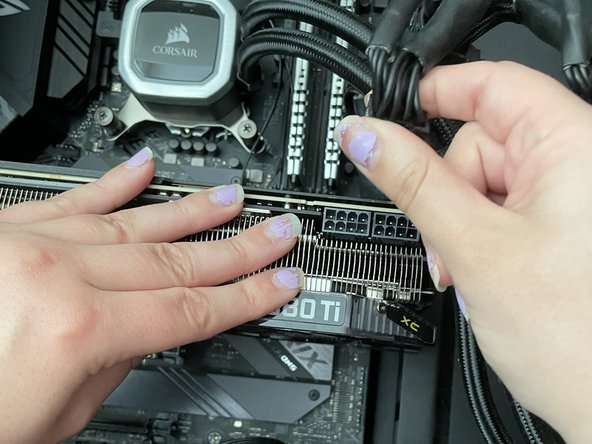
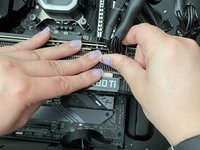
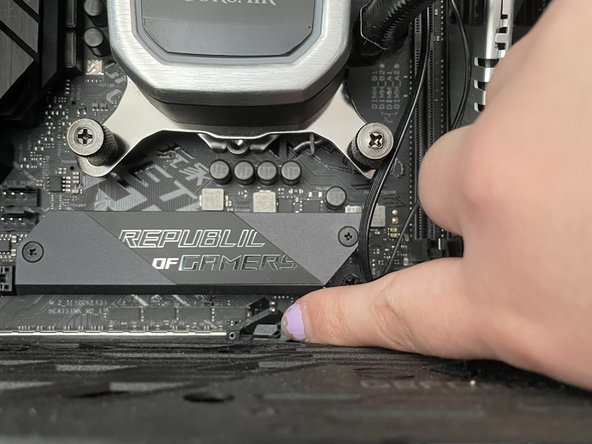
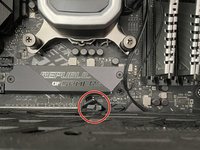
    • Undo the power connection to the card. Push the clip on the connector and pull the cable up.

  8. Raidmax Alpha Case Graphics Card Replacement: passo 8, imagem 1 %32 Raidmax Alpha Case Graphics Card Replacement: passo 8, imagem 2 %32 Raidmax Alpha Case Graphics Card Replacement: passo 8, imagem 3 %32
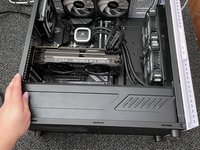
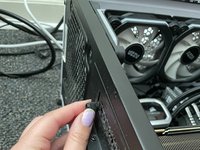
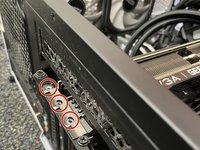
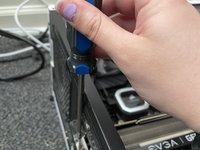
    • Remove three 6.3 mm screws to the card located on the left side of the case using a Phillips #2 screwdriver.

  9. Raidmax Alpha Case Graphics Card Replacement: passo 9, imagem 1 %32 Raidmax Alpha Case Graphics Card Replacement: passo 9, imagem 2 %32
    • Push down the clip to the motherboard circled in red.

  10. Raidmax Alpha Case Graphics Card Replacement: passo 10, imagem 1 %32 Raidmax Alpha Case Graphics Card Replacement: passo 10, imagem 2 %32 Raidmax Alpha Case Graphics Card Replacement: passo 10, imagem 3 %32
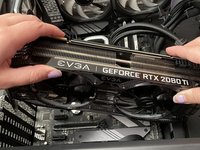
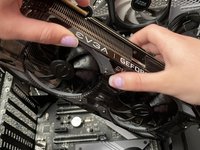
    • Carefully grip the old graphics card with two hands and lift it out of the case.

Conclusão

To reassemble your device, follow these instructions in reverse order.

7 outras pessoas executaram este guia.

0Comentários do guia

Comentar

Visualizações:

Últimas 24 horas: 2

Últimos 7 dias: 16

Últimos 30 dias: 97

Ao todo: 3,806