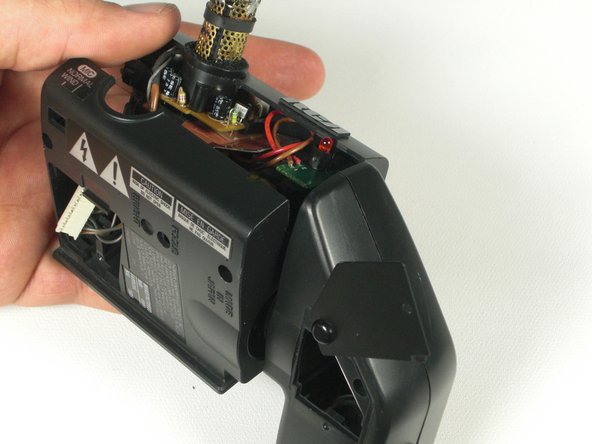
Ir para o conteúdo principal

RCA CC310 Viewfinder Replacement

O que você precisa

  1. RCA CC310 Viewfinder Replacement, Viewfinder: passo 1, imagem 1 %32 RCA CC310 Viewfinder Replacement, Viewfinder: passo 1, imagem 2 %32
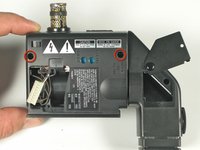
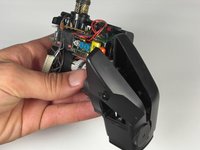
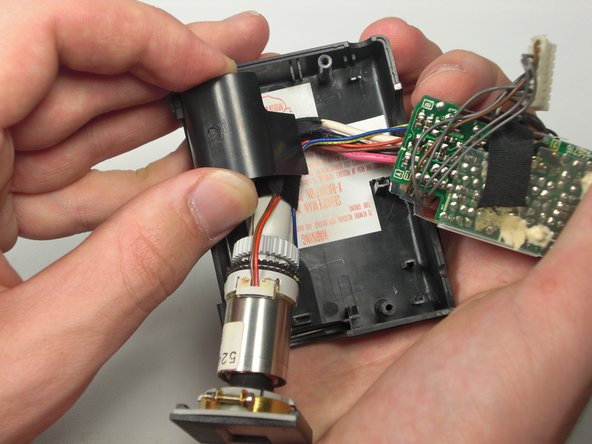
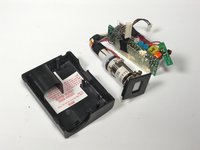
    • Slide a spudger between the plastic rail and the metal tab on the left side of the rail. Push away from the camcorder to release the flap.

    • Pushing the viewfinder assembly to the right makes lifting the flap easier.

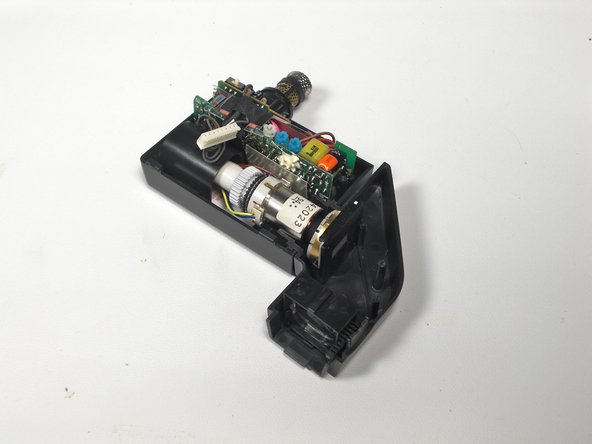
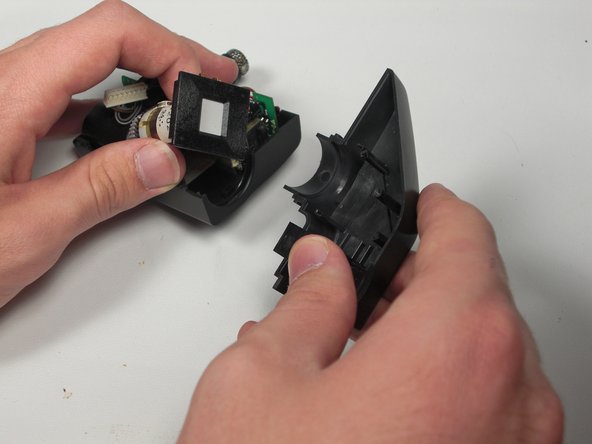
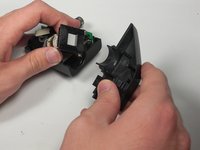
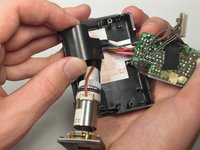
    • Slide the lifted flap towards the viewfinder assembly until the viewfinder is free from the rail.

  2. RCA CC310 Viewfinder Replacement: passo 2, imagem 1 %32 RCA CC310 Viewfinder Replacement: passo 2, imagem 2 %32 RCA CC310 Viewfinder Replacement: passo 2, imagem 3 %32
    • Unscrew the 7mm ph#0 screw on the underside where the cable connects.

    • Lift the plastic where the cable connects off of the viewfinder assembly.

    • Disconnect the cable inside by pulling it apart.

  3. RCA CC310 Viewfinder Replacement: passo 3, imagem 1 %32 RCA CC310 Viewfinder Replacement: passo 3, imagem 2 %32
    • Unscrew two 7.0mm ph#0 screws on the underside of the viewfinder assembly.

    • Lift the viewfinder plastic assembly up and remove.

  4. RCA CC310 Viewfinder Replacement: passo 4, imagem 1 %32
    • Flip back the viewfinder access tab.

    • Unscrew the 7.0mm ph #0 screw next to the mirror.

  5. RCA CC310 Viewfinder Replacement: passo 5, imagem 1 %32 RCA CC310 Viewfinder Replacement: passo 5, imagem 2 %32 RCA CC310 Viewfinder Replacement: passo 5, imagem 3 %32
    • Lift off both sides of the plastic assembly.

    • When reassembling, if the housing doesn't connect properly, try turning the focus wheel.

  6. RCA CC310 Viewfinder Replacement: passo 6, imagem 1 %32 RCA CC310 Viewfinder Replacement: passo 6, imagem 2 %32
    • Lift the microphone circuit board straight up.

    • Unclip the cable connected to the circuit board.

  7. RCA CC310 Viewfinder Replacement: passo 7, imagem 1 %32 RCA CC310 Viewfinder Replacement: passo 7, imagem 2 %32 RCA CC310 Viewfinder Replacement: passo 7, imagem 3 %32
    • Lift plastic housing and guide the wires from underneath.

    • Lift out the entire circuit board and viewfinder.

    • Replace entire circuit board and viewfinder assembly.

Conclusão

To reassemble your device, follow these instructions in reverse order.

Oliver Adams

Membro desde: 01/19/11

629 Reputação

Autoria de 6 guias

Equipe

Cal Poly, Team 5-20, Amido Winter 2011 Membro de Cal Poly, Team 5-20, Amido Winter 2011

CPSU-AMIDO-W11S5G20

Membros da 4

Autoria de 7 guias

Um comentário

do you know where i can find a relacement one of these parts

Connor Byrley - Responder

Adicione um comentário

Exibir estatísticas:

Últimas 24 horas: 0

Últimos 7 dias: 2

Últimos 30 dias: 8

Duração total: 2,265