Ir para o conteúdo principal

Presto 0282202 Disassembly

O que você precisa

Documento em destaque

  1. Presto 0282202 Disassembly, Presto 0282202 Disassembly: passo 1, imagem 1 %32 Presto 0282202 Disassembly, Presto 0282202 Disassembly: passo 1, imagem 2 %32 Presto 0282202 Disassembly, Presto 0282202 Disassembly: passo 1, imagem 3 %32
    • Using the Phillips #2 screwdriver, remove the bottom two 25 mm screws off of the coffee percolator.

    • Lighty remove the bottom of the coffee percolator.

    • The wires will keep the two pieces connected.

  2. Presto 0282202 Disassembly: passo 2, imagem 1 %32 Presto 0282202 Disassembly: passo 2, imagem 2 %32 Presto 0282202 Disassembly: passo 2, imagem 3 %32
    • Using the Phillips #2 screwdriver, remove the center 10.8 mm screw holding in the metal strip.

    • Take off the metal strip.

  3. Presto 0282202 Disassembly: passo 3, imagem 1 %32 Presto 0282202 Disassembly: passo 3, imagem 2 %32 Presto 0282202 Disassembly: passo 3, imagem 3 %32
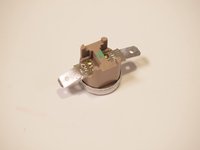
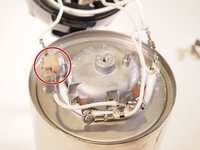
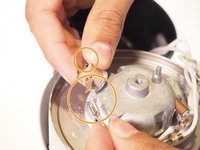
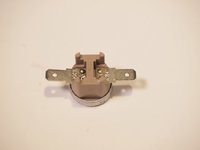
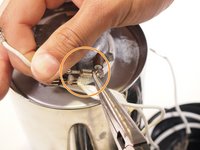
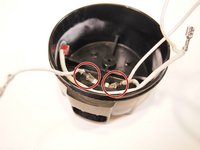
    • Lightly remove the right (bottom facing) thermal switch from its thermal paste.

    • Be careful as the thermal paste can be quite adhesive.

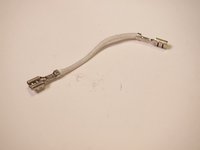
    • Using your small needle-nose pliers, take off the spade connectors connected to the thermal switch.

    • The easiest way to do this is to hold the thermal switch end with the pliers and tug the spade connector off.

  4. Presto 0282202 Disassembly: passo 4, imagem 1 %32 Presto 0282202 Disassembly: passo 4, imagem 2 %32 Presto 0282202 Disassembly: passo 4, imagem 3 %32
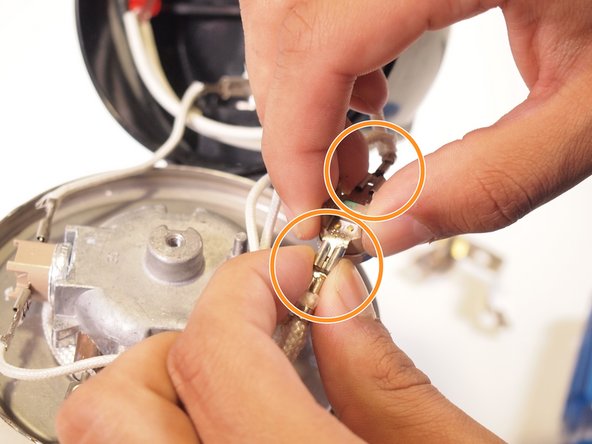
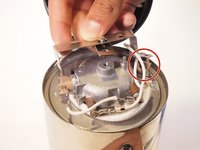
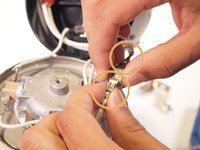
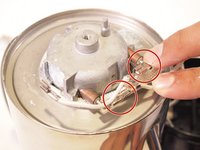
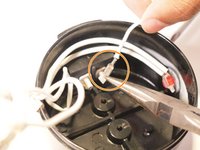
    • Lightly remove the left (side facing) thermal switch from its thermal paste.

    • Be careful as the thermal paste can be quite adhesive.

    • Using your small needle-nose pliers, take off the spade connectors connected to the thermal switch.

    • The easiest way to do this is to hold the thermal switch end with the pliers and tug the spade connector off.

  5. Presto 0282202 Disassembly: passo 5, imagem 1 %32 Presto 0282202 Disassembly: passo 5, imagem 2 %32 Presto 0282202 Disassembly: passo 5, imagem 3 %32
    • Remove the two spade connectors connected to the heating element.

    • The easiest way to do this is to hold the heating element end with the pliers and tug the spade connector off.

  6. Presto 0282202 Disassembly: passo 6, imagem 1 %32 Presto 0282202 Disassembly: passo 6, imagem 2 %32 Presto 0282202 Disassembly: passo 6, imagem 3 %32
    • Remove the two spade connectors connected to the power connector.

    • The easiest way to do this is to hold the power connector end with the pliers and tug the spade connector off.

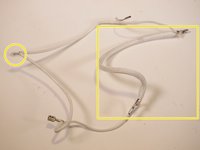
    • The final wire removed contains the small heating wire (the thick braided wire) and the signal light.

Conclusão

To reassemble your device, follow these instructions in reverse order.

3 outras pessoas executaram este guia.

Documentos anexados

0Comentários do guia

Comentar

Visualizações:

Últimas 24 horas: 1

Últimos 7 dias: 11

Últimos 30 dias: 54

Ao todo: 1,153