Ir para o conteúdo principal
Polaroid i533 Button Replacement

Polaroid i533 Button Replacement

Terichael Office

Terichael Office e 9 outros colaboradores

Última atualização em January 25, 2025

35 minutos
Moderado

Introdução

Ir para o passo 1

This guide will tell you exactly how to replace the buttons on your Polaroid i533 camera if they stop working properly. The only skill required to finish this guide are being able to use a screwdriver and to be able to work with small replacement parts.

O que você precisa

Ferramentas

Exibir mais…

  1. Polaroid i533 Button Replacement, Button: passo 1, imagem 1 %32 Polaroid i533 Button Replacement, Button: passo 1, imagem 2 %32 Polaroid i533 Button Replacement, Button: passo 1, imagem 3 %32
    • Using a #00 screw driver, remove all of the screws on the body of the camera. There are 9 screws total on the face of the camera

    • All of the screws used in the Polaroid i533 are the same size

    • Be sure to not misplace any screws as you will need them to put the camera back together.

  2. Polaroid i533 Button Replacement: passo 2, imagem 1 %32 Polaroid i533 Button Replacement: passo 2, imagem 2 %32
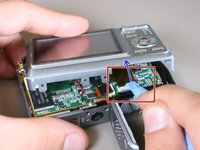
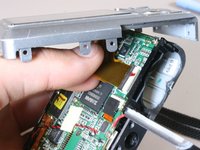
    • Slide open the battery door, then using the plastic opening tool, slightly open the side of the camera case.

    • Gently pull apart the cover from the body of the camera.

    • Do not pull the cover off completely because it is still attached to the logic board.

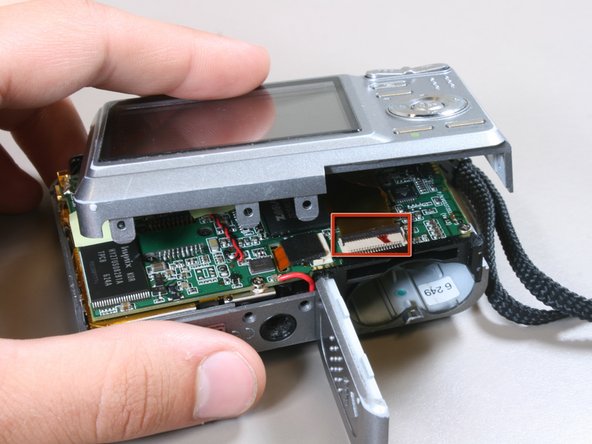
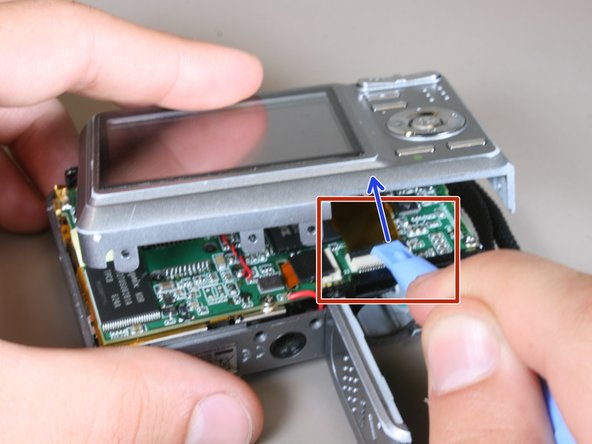
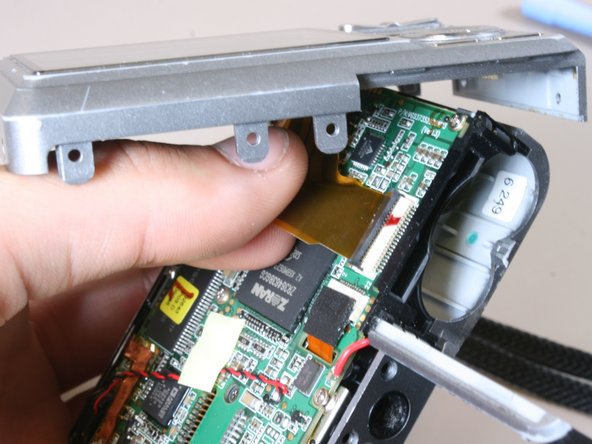
  3. Polaroid i533 Button Replacement: passo 3, imagem 1 %32 Polaroid i533 Button Replacement: passo 3, imagem 2 %32 Polaroid i533 Button Replacement: passo 3, imagem 3 %32
    • Locate the black tab where the LCD screen ribbon is attached to the logic board.

    • Using the plastic opening tool, flip the black tab towards the ribbon.

    • Gently pull the ribbon away from the logic board.

  4. Polaroid i533 Button Replacement: passo 4, imagem 1 %32
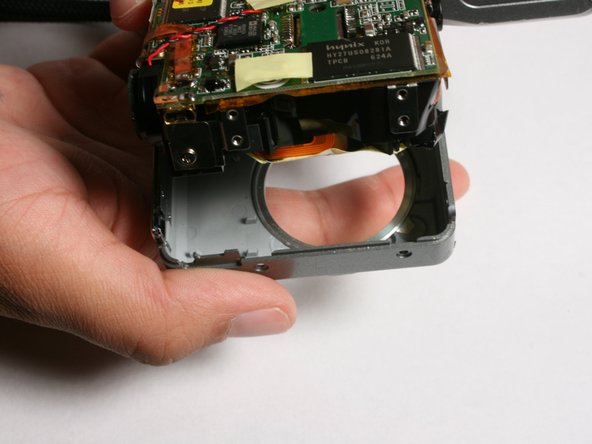
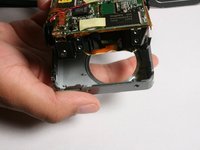
    • The back half of the camera with the LCD screen should now be separated from the front casing.

    • If you are experiencing problems with your menu buttons, you must replace the entire back half of the outer case (Not including the screen). move on to step 5.

    • If you are experiencing problems only with your snap button (the one that you push to take pictures), skip ahead to step 7.

  5. Polaroid i533 Button Replacement: passo 5, imagem 1 %32
    • Using a #00 screwdriver, remove the four screws located at each corner of the LCD screen.

  6. Polaroid i533 Button Replacement: passo 6, imagem 1 %32
    • Remove the LCD screen from the old casing.

    • attach the LCD screen to the new casing using the screws removed in step 5.

  7. Polaroid i533 Button Replacement: passo 7, imagem 1 %32 Polaroid i533 Button Replacement: passo 7, imagem 2 %32
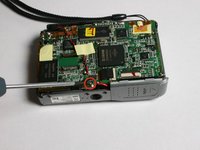
    • Using a #00 screw driver, remove the screw on the bottom of the logic board just above the tripod attachment.

    • Gently pull the front of the case away from the insides of the camera.

  8. Polaroid i533 Button Replacement: passo 8, imagem 1 %32 Polaroid i533 Button Replacement: passo 8, imagem 2 %32
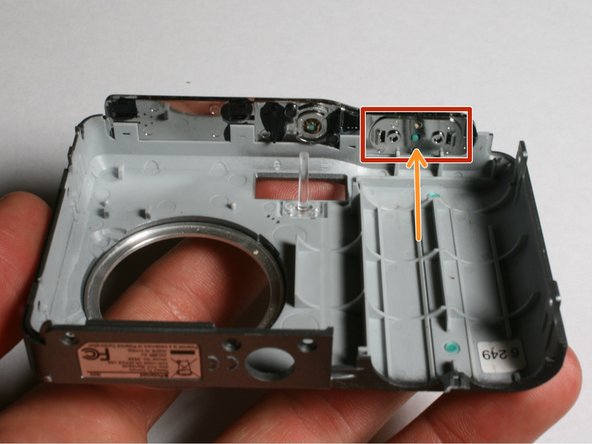
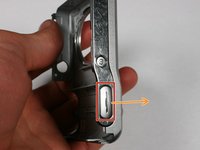
    • Locate the button that will be removed.

    • To remove: gently push outward on the button from the inside of the casing.

  9. Polaroid i533 Button Replacement: passo 9, imagem 1 %32
    • Remove spring from bottom of broken button.

    • Remove and replace defective button.

    • Do not lose spring as it is needed for replacement button.

Conclusão

To reassemble your device, follow these instructions in reverse order.

Equipe

Cal Poly, Team 3-4, Johann Summer 2010 Membro de Cal Poly, Team 3-4, Johann Summer 2010

CPSU-JOHANN-R10S3G4

4 Membros

Autoria de 9 guias

0Comentários do guia

Comentar

Visualizações:

Últimas 24 horas: 1

Últimos 7 dias: 4

Últimos 30 dias: 7

Ao todo: 2,446