Esta versão pode conter edições incorretas. Mude para o último instantâneo verificado.
O que você precisa
-
Este passo não foi traduzido. Ajude a traduzi-lo
-
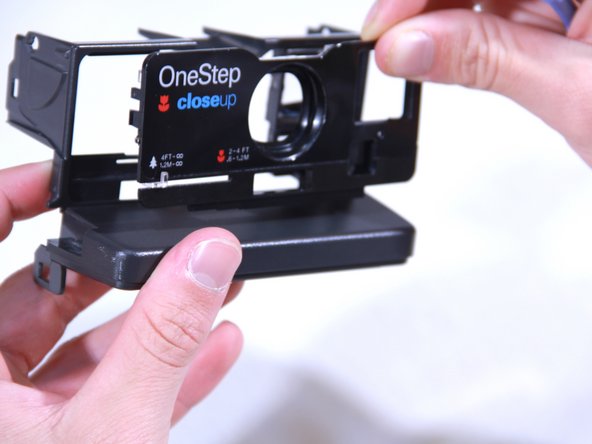
Begin by opening the top of the camera (flash assembly) to a slight angle.
-
Next, angle the flash assembly slightly upward and pry off the connections carefully.
-
-
Este passo não foi traduzido. Ajude a traduzi-lo
-
Slide the action button, on the bottom of the camera, to open the bottom.
-
-
Este passo não foi traduzido. Ajude a traduzi-lo
-
Insert the blue plastic opening tool between the rear case and the plastic tabs directly under the shelf, and pry it loose.
-
Pull off the face plate.
-
-
-
Este passo não foi traduzido. Ajude a traduzi-lo
-
Pry off the slider (the light gray piece) by slipping it out from beneath the tabs (their location is indicated by the two red circles).
-
-
Este passo não foi traduzido. Ajude a traduzi-lo
-
Pry off the face plate at the locations shown by using a rigid prying tool (either tweezers or the blue plastic opening tool). These spaces can be very tight.
-
You'll know if you were successful if you can fully remove the face plate.
-
-
Este passo não foi traduzido. Ajude a traduzi-lo
-
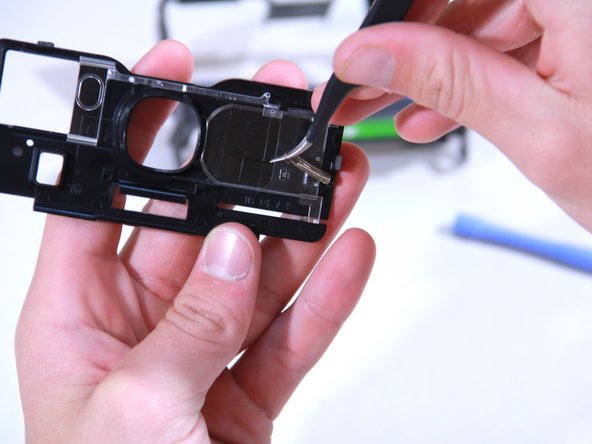
Use tweezers to lift the ring of the spring off of the hook it is attached to.
-
Gently loosen and remove the spring.
-
-
Este passo não foi traduzido. Ajude a traduzi-lo
-
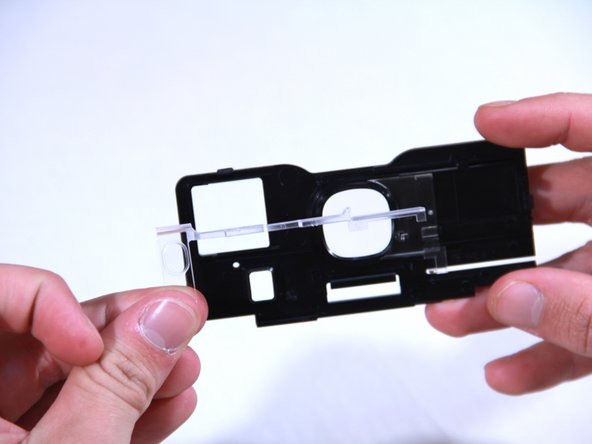
Slide the CloseUp lens piece all the way to the left. It should separate without any resistance.
-
-
Este passo não foi traduzido. Ajude a traduzi-lo
-
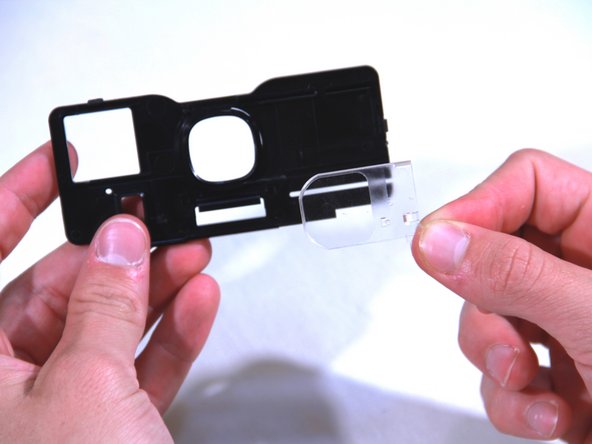
Make sure the last plastic piece is set all the way to the right. Using the blue plastic tool, pry it loose. It should easily pop out.
-


Cancelar: não concluí este guia.
2 outras pessoas executaram este guia.
Equipe

USF Tampa, Team 3-5, Brown Fall 2014 Membro de USF Tampa, Team 3-5, Brown Fall 2014
USFT-BROWN-F14S3G5
Membros da 3
Autoria de 6 guias
2 comentários
anyone know where i can buy the close up lens?