Ir para o conteúdo principal

Plum Optimax 10 Battery Replacement

O que você precisa

  1. Plum Optimax 10 Battery Replacement, Back Cover: passo 1, imagem 1 %32 Plum Optimax 10 Battery Replacement, Back Cover: passo 1, imagem 2 %32
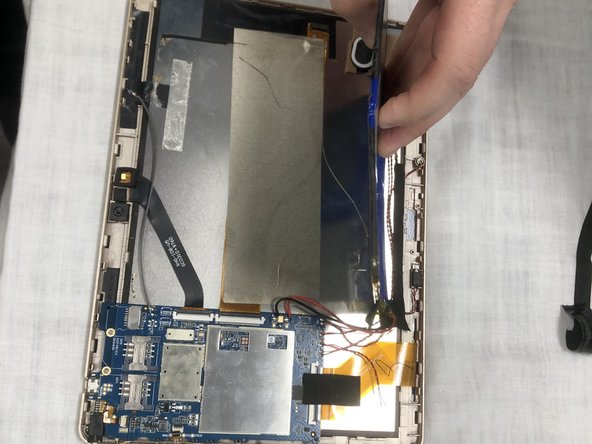
    • Use a metal spudger to remove the small panels to the immediate left and right side of the camera.

  2. Plum Optimax 10 Battery Replacement: passo 2, imagem 1 %32 Plum Optimax 10 Battery Replacement: passo 2, imagem 2 %32
    • Use a metal spudger to begin lifting the back cover.

    • Then, create leverage and gently remove the entire cover.

  3. Plum Optimax 10 Battery Replacement, Battery: passo 3, imagem 1 %32 Plum Optimax 10 Battery Replacement, Battery: passo 3, imagem 2 %32
    • Remove electrical tape placed around the battery to keep it in place.

  4. Plum Optimax 10 Battery Replacement: passo 4, imagem 1 %32 Plum Optimax 10 Battery Replacement: passo 4, imagem 2 %32
    • Use the spudger as a wedge underneath the battery to assist in removal.

    • Once loosened with the spudger, the battery is now removed from the device.

    • Always use a plastic opening tool or nylon spudger to remove batteries. Metal tools can puncture a battery and potentially catch on fire.

Conclusão

To reassemble your device, follow these instructions in reverse order.

Samantha Wright

Membro desde: 11/06/18

243 Reputação

Autoria de 2 guias

Equipe

IUPUI, Team S1-G4, Hovde Fall 2018 Membro de IUPUI, Team S1-G4, Hovde Fall 2018

IUPUI-HOVDE-F18S1G4

Membros da 3

Autoria de 6 guias

0 comentários

Adicione um comentário

Exibir estatísticas:

Últimas 24 horas: 0

Últimos 7 dias: 3

Últimos 30 dias: 5

Duração total: 424