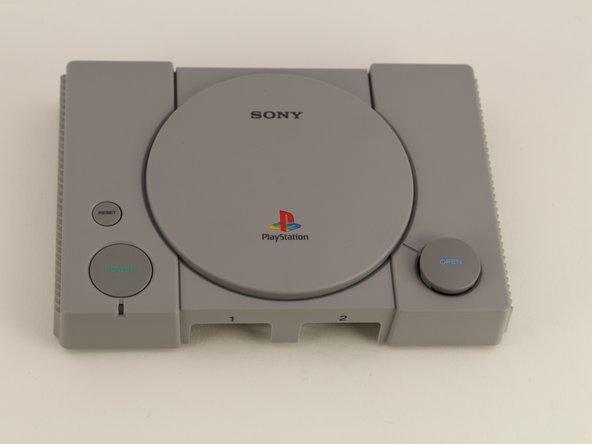
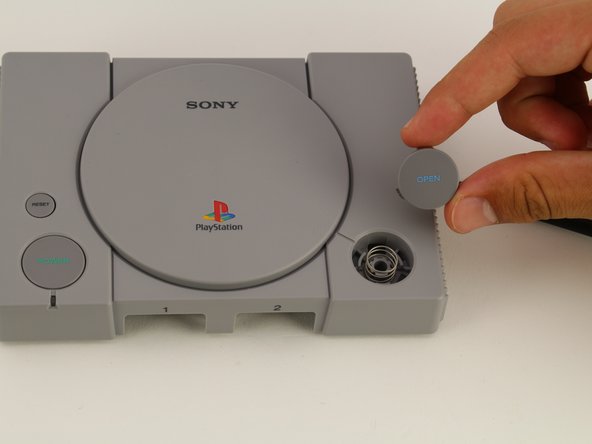
Ir para o conteúdo principal

Playstation Classic Open Button Replacement

O que você precisa

  1. Playstation Classic Open Button Replacement, Motherboard: passo 1, imagem 1 %32
    • Flip the console so its back is facing up.

  2. Playstation Classic Open Button Replacement: passo 2, imagem 1 %32
    • Remove the five 3mm screws using the Phillips #00 screwdriver.

    • Make sure to keep your screws together in a secure location to avoid misplacement.

  3. Playstation Classic Open Button Replacement: passo 3, imagem 1 %32 Playstation Classic Open Button Replacement: passo 3, imagem 2 %32 Playstation Classic Open Button Replacement: passo 3, imagem 3 %32
    • Remove the back plate from the rest of the console using your hands or the Jimmy tool.

  4. Playstation Classic Open Button Replacement: passo 4, imagem 1 %32
    • Unscrew the motherboard's five 3mm screws with the Phillips #00 screwdriver.

    • Be careful not to apply too much force. The motherboard is flimsy and easy to break.

    • Keep track of your screws once they are removed.

  5. Playstation Classic Open Button Replacement: passo 5, imagem 1 %32 Playstation Classic Open Button Replacement: passo 5, imagem 2 %32 Playstation Classic Open Button Replacement: passo 5, imagem 3 %32
    • Carefully remove the motherboard from the the rest of the console using your hands or the Jimmy tool.

  6. Playstation Classic Open Button Replacement: passo 6, imagem 1 %32 Playstation Classic Open Button Replacement: passo 6, imagem 2 %32 Playstation Classic Open Button Replacement: passo 6, imagem 3 %32
    • The motherboard is connected to its metal protective casing with sticky pads. No tools are required to remove it.

    • Pull the metal casing off the motherboard.

    • Remember to be gentle when handling the motherboard.

  7. Playstation Classic Open Button Replacement, Open Button: passo 7, imagem 1 %32 Playstation Classic Open Button Replacement, Open Button: passo 7, imagem 2 %32 Playstation Classic Open Button Replacement, Open Button: passo 7, imagem 3 %32
    • Remove the motherboard using the previous guide and isolate the top shell of the casing.

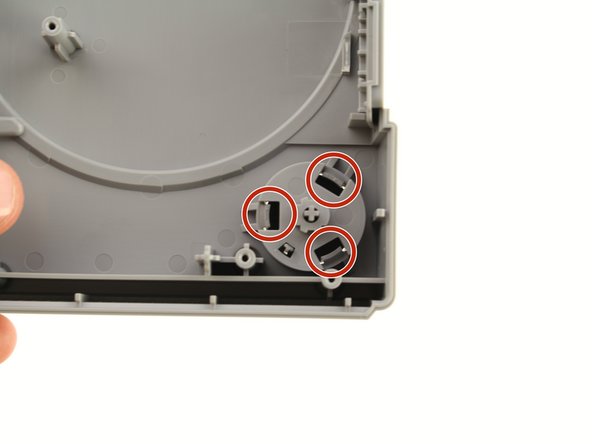
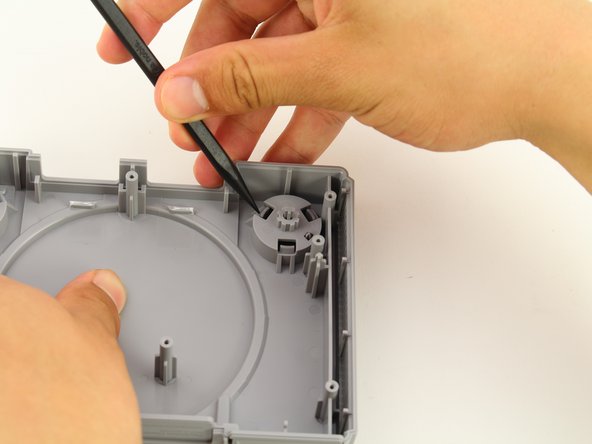
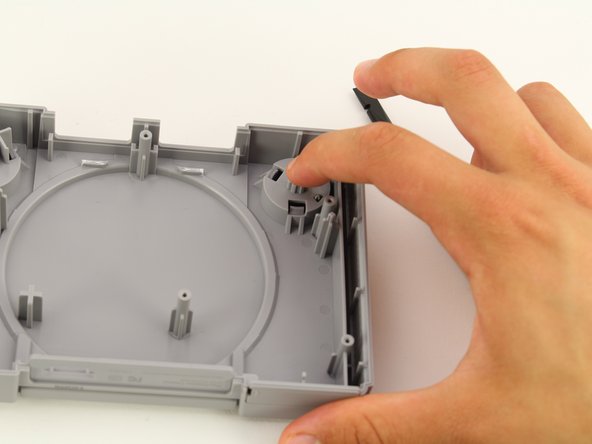
    • Use the Spudger to apply pressure inwards on the three plastic clips highlighted in the red circles.

  8. Playstation Classic Open Button Replacement: passo 8, imagem 1 %32 Playstation Classic Open Button Replacement: passo 8, imagem 2 %32 Playstation Classic Open Button Replacement: passo 8, imagem 3 %32
    • After all three clips are pushed in, apply pressure on the cylindrical piece circled in red.

    • Push softly on the button till a small gap is created on the other side.

    • You are not trying to fully remove the Open Button in this step.

  9. Playstation Classic Open Button Replacement: passo 9, imagem 1 %32 Playstation Classic Open Button Replacement: passo 9, imagem 2 %32 Playstation Classic Open Button Replacement: passo 9, imagem 3 %32
    • Use the black spudger to softly pry out the open button from the top of the casing.

    • Once enough of a gap has been created, use your fingers to grab and slowly remove the open piece.

    • An unrestrained string is under the open button and can fall out easily. To avoid losing the spring, complete this step on a flat surface and be gentle while removing the open button.

Conclusão

To reassemble your device, follow these instructions in reverse order.

Maxwell Webb

Membro desde: 04/22/19

631 Reputação

Autoria de 5 guias

Equipe

Cal Poly, Team S2-G8, Maness Spring 2019 Membro de Cal Poly, Team S2-G8, Maness Spring 2019

CPSU-MANESS-S19S2G8

Membros da 2

Autoria de 22 guias

0 comentários

Adicione um comentário

Exibir estatísticas:

Últimas 24 horas: 0

Últimos 7 dias: 6

Últimos 30 dias: 17

Duração total: 1,039