Este guia tem alterações mais recentes. Mudar para a última versão não verificada.
Introdução
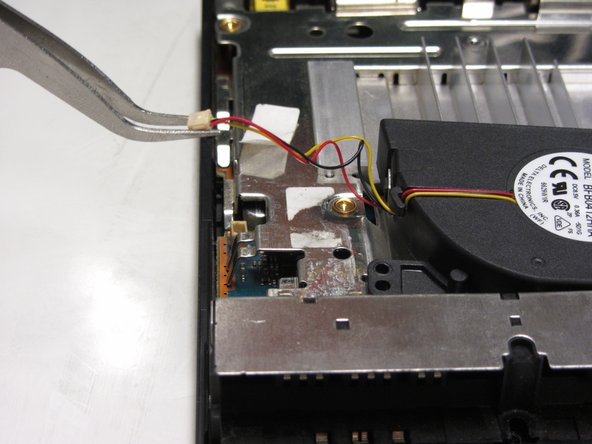
This guide will show you how to locate and replace the fan in the PlayStation 2 Slimline.
O que você precisa
-
-
Disconnect all cables from the console and flip the unit over to reveal its base.
-
-


Quase terminado!
To reassemble your device, follow these instructions in reverse order.
Conclusão
To reassemble your device, follow these instructions in reverse order.
Cancelar: não concluí este guia.
10 outras pessoas executaram este guia.