Introdução
This guide provides detailed instructions on how to remove and replace the battery from your Philips TAS7505 Speaker. It is vital to understand that this procedure requires you to detach the outside shell of the speaker, which may not reattach well. Proceed with caution.
Replacing worn-out batteries is crucial to maintaining the longevity of your speaker. By replacing the battery, you can ensure that the speaker continues to function optimally and extends its lifespan. If you do not mind minor cosmetic changes to your speaker, this procedure should not cause any issues.
O que você precisa
-
-
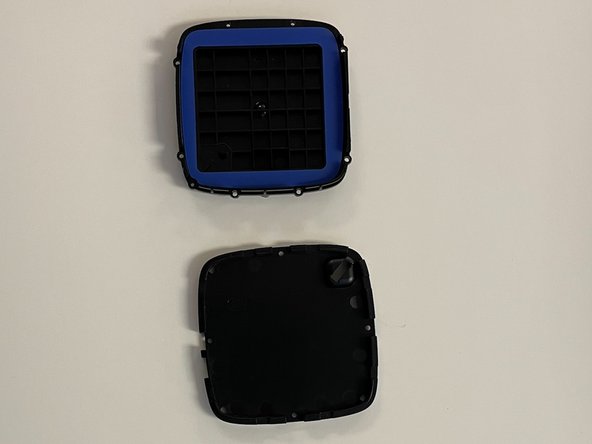
Remove the rubber dampener from the bottom of the speaker using your opening tool.
-
-


To reassemble your device, follow these instructions in reverse order.
To reassemble your device, follow these instructions in reverse order.
Cancelar: não concluí este guia.
Uma outra pessoa concluiu este guia.

Equipe

CSU Los Angeles, Team 5-2, Adachi Fall 2022 Membro de CSU Los Angeles, Team 5-2, Adachi Fall 2022
CSULA-ADACHI-F22S5G2
Membros da 5
Autoria de 5 guias