Introdução
The latch button on the Philips HD9252 air fryer allows the user to open and close the device. A faulty latch button will not allow the Philips HD9252 air fryer to open properly.
O que você precisa
-
-
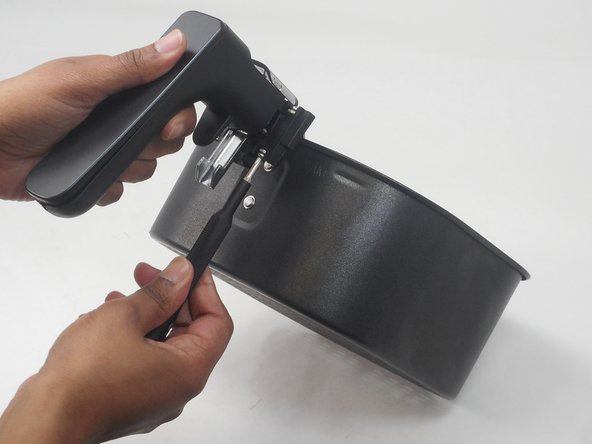
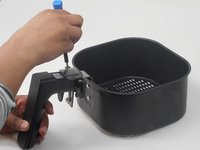
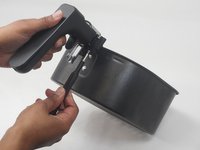
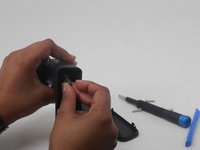
Remove the tray from the air fryer by pressing the latch button in, and pulling the handle away.
 Pergunte ao FixBot
-
-
-
Remove the two 14.8 mm screws placed in the top of the latch using a Phillips #00 screwdriver.
-
Remove the two 14.8 mm screws placed on the bottom of the latch using a Phillips #00 screwdriver.
-
-
-
-
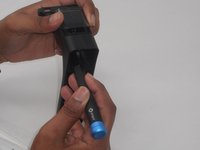
Remove the four 14.8 mm screws placed on front of the latch button using a Phillips #00 screwdriver.
-
-
-
Push the spring down with a nylon spudger so that it is underneath the button.
-
Slide the spring out of the back of the handle.
-


To reassemble your device, follow these instructions in reverse order.
Cancelar: não concluí este guia.
Uma outra pessoa concluiu este guia.
Equipe

University of Memphis, Team 3-1, Sneed Spring 2024 Membro de University of Memphis, Team 3-1, Sneed Spring 2024
UM-SNEED-S24S3G1
4 Membros
Autoria de 16 guias