Introdução
If you plan on replacing the joysticks in your Parrot Skycontroller 2, then please look at our troubleshooting page to help fix any issues. If the joysticks will not work or cannot be cleaned, then it is necessary to replace them. To replace the joysticks, use this guide.
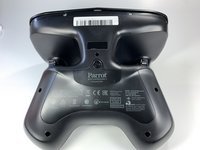
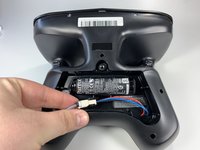
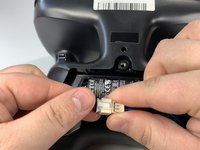
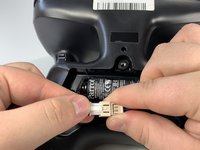
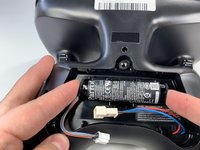
Before beginning this repair please reference our Battery Replacement Guide to properly disconnect the battery to allow for safe working conditions.
O que você precisa
-
-
-
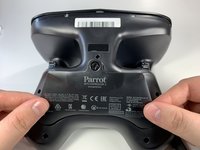
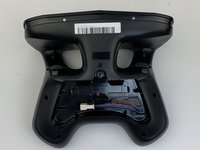
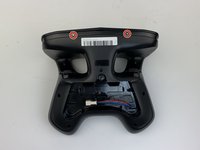
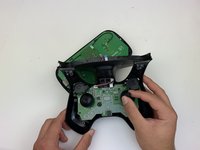
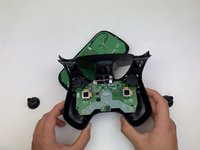
Remove the seven black 11mm screws using the Torx TR6 screwdriver
-
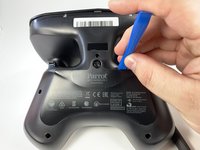
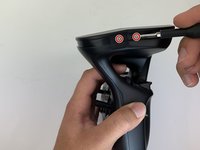
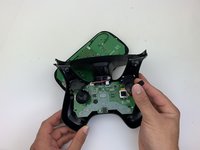
Pull back the sticker with your finger nail and remove the one black 11mm screws using the Torx TR6 screwdriver
-


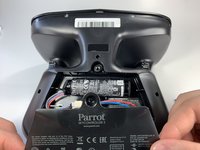


To reassemble your device, follow these instructions in reverse order.

Equipe

Embry-Riddle Aeronautical University, Team S6-G1, Watkins Spring 2020 Membro de Embry-Riddle Aeronautical University, Team S6-G1, Watkins Spring 2020
ERAU-WATKINS-S20S6G1
4 Membros
Autoria de 6 guias