Este guia tem alterações mais recentes. Mudar para a última versão não verificada.
Introdução
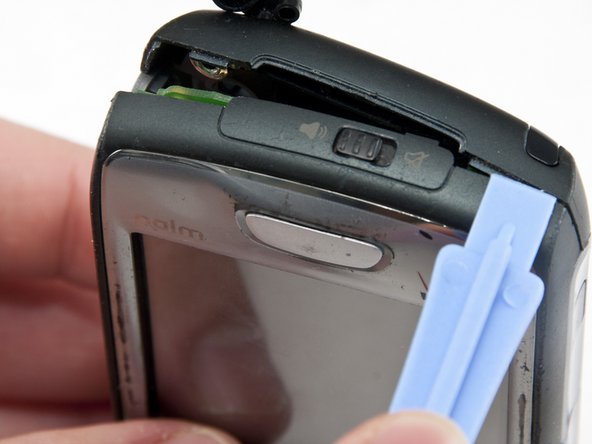
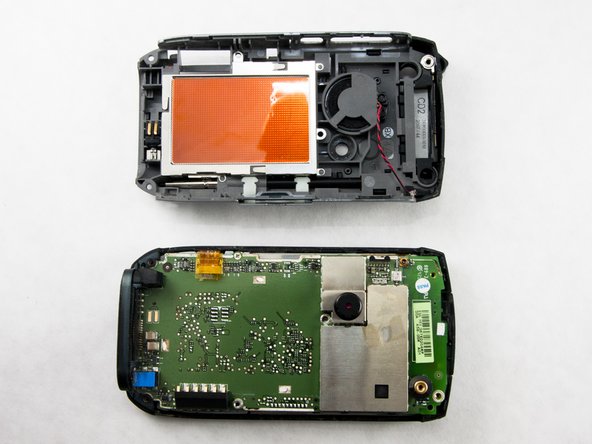
Remove the back cover to reveal internal components, such as the circuit board, keyboard and screen.
O que você precisa
-
-
Press the button on the back cover to release the battery cover.
-
Slide off the battery cover.
-
-
-
Remove the stylus by pulling up on the large top to reveal the top left case screw.
-
Pull away the black flap to reveal the top right case screw.
-
-
-
-
Use the T5 screwdriver attachment to remove the 5 black back case screws marked by the red and yellow circles. These screws are 0.274 inches long.
-
Use the same T5 screwdriver attachment to remove the middle screw marked by the blue circle. It is shorter than the other screws at 0.121 inches in length.
-


To reassemble your device, follow these instructions in reverse order.
To reassemble your device, follow these instructions in reverse order.

Equipe

Cal Poly, Team 14-6, Forte Winter 2011 Membro de Cal Poly, Team 14-6, Forte Winter 2011
CPSU-FORTE-W11S14G6
Membros da 6
Autoria de 12 guias