Ir para o conteúdo principal

Orbic Wonder Power Button Replacement

O que você precisa

  1. Orbic Wonder Power Button Replacement, Power Button: passo 1, imagem 1 %32 Orbic Wonder Power Button Replacement, Power Button: passo 1, imagem 2 %32 Orbic Wonder Power Button Replacement, Power Button: passo 1, imagem 3 %32
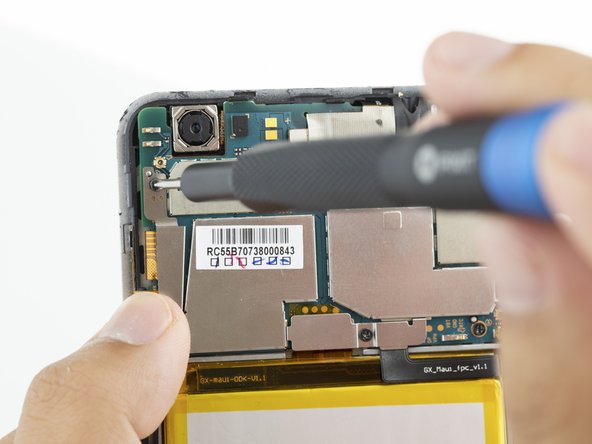
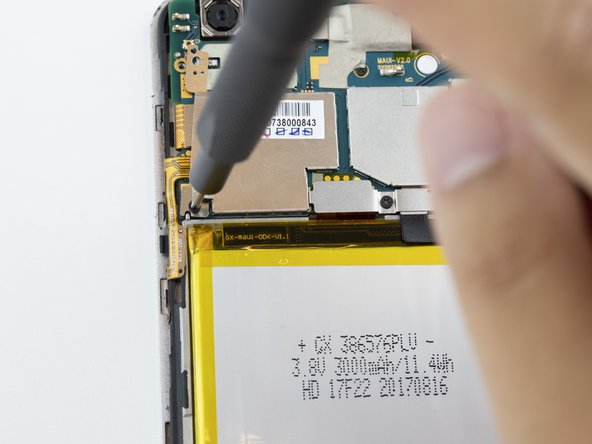
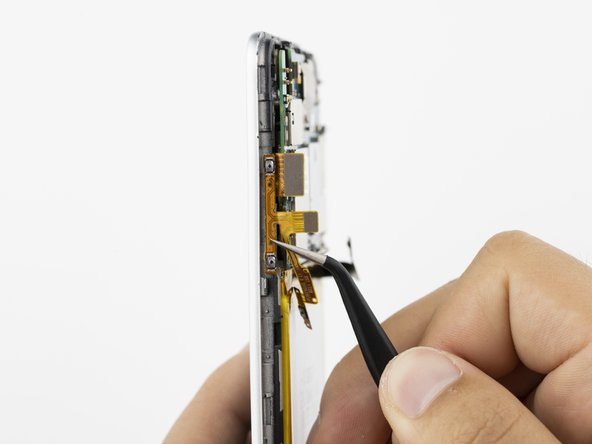
    • Remove the two 2 mm TR9 Torx head screws at the bottom of the device. The screws are located on the right and left side of the charging port.

  2. Orbic Wonder Power Button Replacement: passo 2, imagem 1 %32 Orbic Wonder Power Button Replacement: passo 2, imagem 2 %32 Orbic Wonder Power Button Replacement: passo 2, imagem 3 %32
    • Pry the phone’s metal backing away from the rest of the device by placing the Jimmy between the black phone backing and silver screen border and wiggling the Jimmy right and left.

  3. Orbic Wonder Power Button Replacement: passo 3, imagem 1 %32 Orbic Wonder Power Button Replacement: passo 3, imagem 2 %32 Orbic Wonder Power Button Replacement: passo 3, imagem 3 %32
    • Remove the metal plate protector held in place by two 2 mm Phillips #000 screws.

  4. Orbic Wonder Power Button Replacement: passo 4, imagem 1 %32 Orbic Wonder Power Button Replacement: passo 4, imagem 2 %32 Orbic Wonder Power Button Replacement: passo 4, imagem 3 %32
    • Using a pair of angled tweezers, remove the metal plate protector.

    • Unplug the connector with a pair of tweezers.

    • Unplug the second connector with a pair of tweezers.

  5. Orbic Wonder Power Button Replacement: passo 5, imagem 1 %32 Orbic Wonder Power Button Replacement: passo 5, imagem 2 %32 Orbic Wonder Power Button Replacement: passo 5, imagem 3 %32
    • Using a pair of angled tweezers, gently pull the orange power strip off of the phone housing.

Conclusão

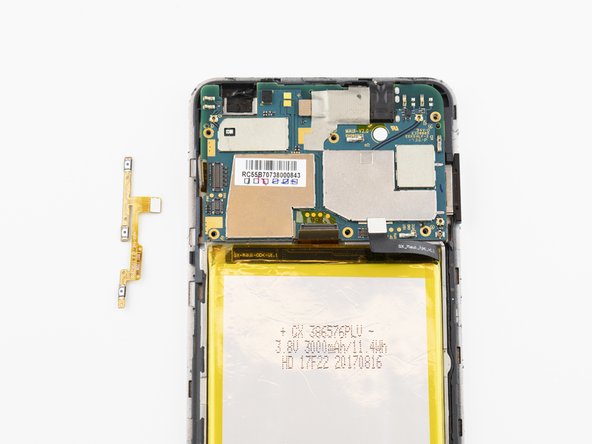
To reassemble your device, follow these instructions in reverse order.

3 outras pessoas executaram este guia.

0 comentários

Adicione um comentário

Exibir estatísticas:

Últimas 24 horas: 0

Últimos 7 dias: 0

Últimos 30 dias: 4

Duração total: 553