Esta versão pode conter edições incorretas. Mude para o último instantâneo verificado.
O que você precisa
-
Este passo não foi traduzido. Ajude a traduzi-lo
-
Slide the door located on the bottom of the camera in an outward direction
-
-
Este passo não foi traduzido. Ajude a traduzi-lo
-
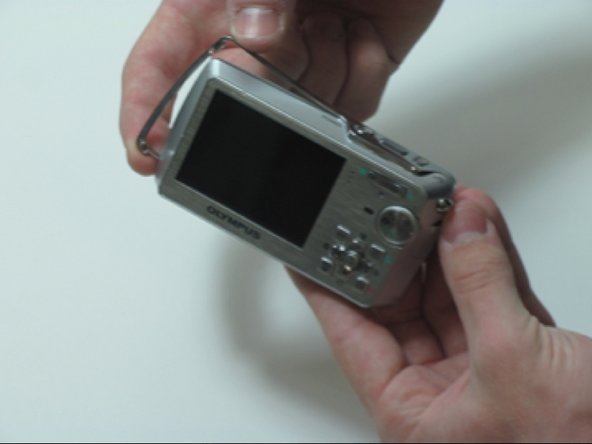
Pull back on the red release tab located on the left side of the battery.
-
-
Este passo não foi traduzido. Ajude a traduzi-lo
-
Using a Phillips head size 0 screwdriver, remove the screw from the right side of the camera
-
-
-
Este passo não foi traduzido. Ajude a traduzi-lo
-
Remove the 2 screws from the left side of the camera
-
-
Este passo não foi traduzido. Ajude a traduzi-lo
-
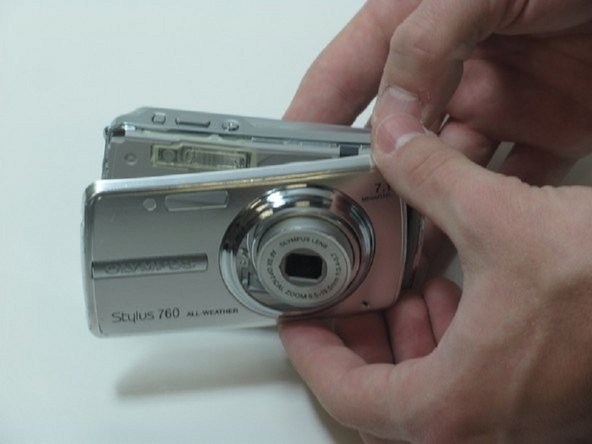
Separate the front casing from the back using a plastic opening tool, gently.
-
-
Este passo não foi traduzido. Ajude a traduzi-lo
-
Remove the 4 screws on the inner face of the camera.
-
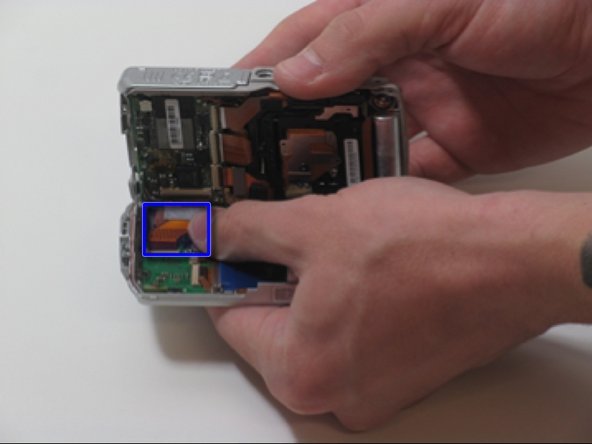
Circuit ribbon is attached at the top left of the camera. Be careful when separating the front and back of the camera.
-
Pull the camera apart into 2 separate pieces.
-
-
Este passo não foi traduzido. Ajude a traduzi-lo
-
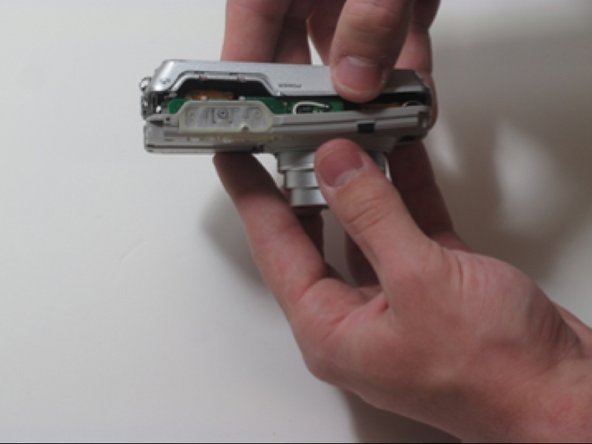
You should be left with 4 large pieces, the outer case, inner lens piece, outer silver band and back case containing the LCD display.
-
-
Este passo não foi traduzido. Ajude a traduzi-lo
-
Remove 4 screws holding the LCD screen in place.
-
LCD Screen is attached to 2 ribbon wires
-
-
Este passo não foi traduzido. Ajude a traduzi-lo
-
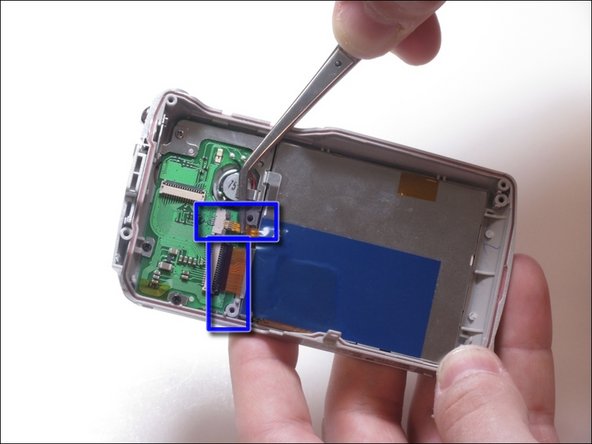
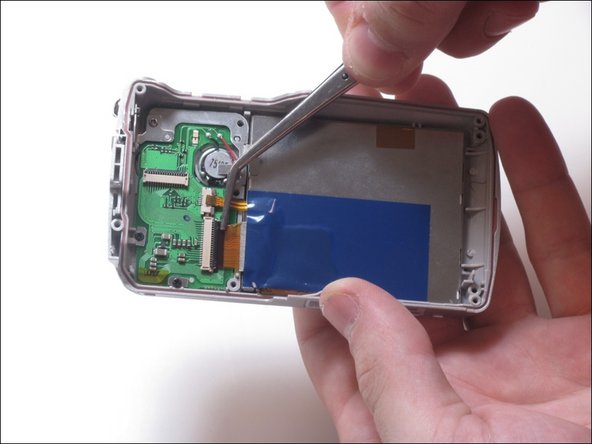
Pull up on the small ribbon wire to disconnect it from the circuit board
-
Flip the little black clip up to remove the larger ribbon wire from the circuit board.
-
-
Este passo não foi traduzido. Ajude a traduzi-lo
-
Using a plastic separating tool, remove the LCD screen from the plastic casing.
-


Cancelar: não concluí este guia.
Uma outra pessoa concluiu este guia.
Equipe

James Madison, Team 3-3, Klein Spring 2012 Membro de James Madison, Team 3-3, Klein Spring 2012
JMU-KLEIN-S12S3G3
Membros da 4
Autoria de 7 guias