Ir para o conteúdo principal

ORFELD EV-660-S222 Charging Port Replacement

O que você precisa

  1. ORFELD EV-660-S222 Charging Port Replacement, Charging Port: passo 1, imagem 1 %32
    • Separate the dust cover and the motor from the vacuum body by pressing the eject button.

  2. ORFELD EV-660-S222 Charging Port Replacement: passo 2, imagem 1 %32 ORFELD EV-660-S222 Charging Port Replacement: passo 2, imagem 2 %32
    • Place the vacuum on its side, with the screws facing towards you.

    • Remove the 11.5 mm screws using a Phillips #1 screwdriver.

  3. ORFELD EV-660-S222 Charging Port Replacement: passo 3, imagem 1 %32 ORFELD EV-660-S222 Charging Port Replacement: passo 3, imagem 2 %32
    Ferramenta utilizada nesse passo:
    Tweezers
    $4.99
    Comprar
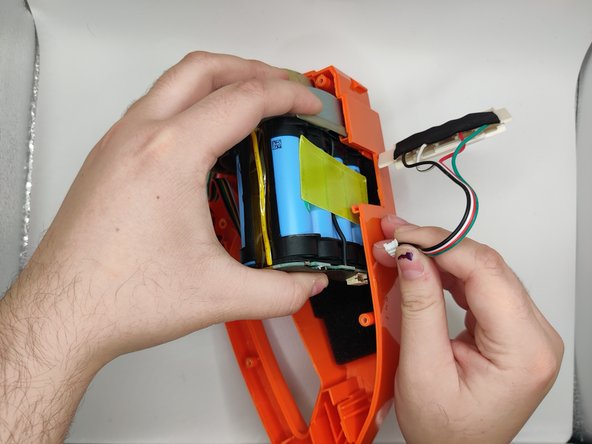
    • Using tweezers, remove the sticker connecting the two halves.

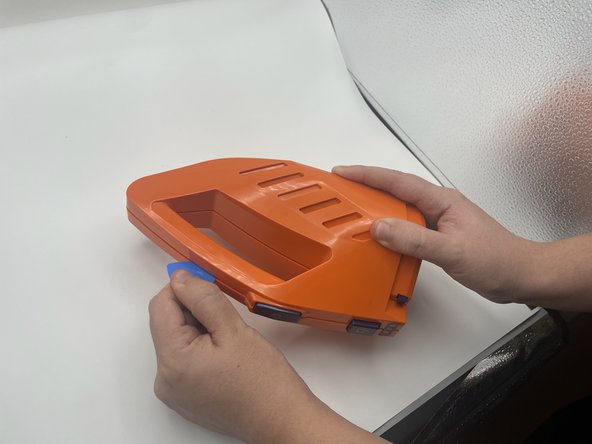
    • Use the opening pick to gently separate the top half and the bottom half of the vacuum.

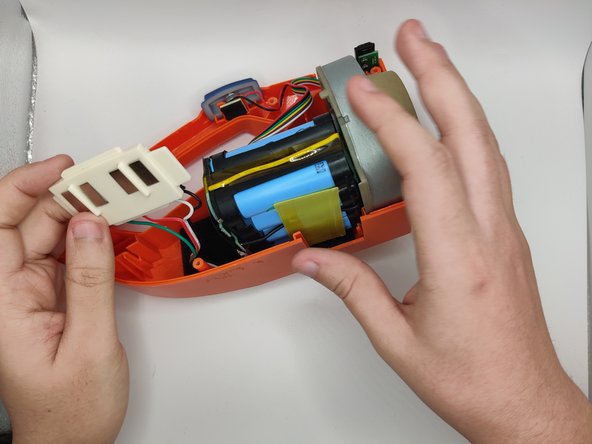
    • Press the blue buttons near the sides of the battery LEDs to remove the top half.

  4. ORFELD EV-660-S222 Charging Port Replacement: passo 4, imagem 1 %32 ORFELD EV-660-S222 Charging Port Replacement: passo 4, imagem 2 %32
    • Slide out the charging port.

  5. ORFELD EV-660-S222 Charging Port Replacement: passo 5, imagem 1 %32 ORFELD EV-660-S222 Charging Port Replacement: passo 5, imagem 2 %32 ORFELD EV-660-S222 Charging Port Replacement: passo 5, imagem 3 %32
    • Lift the battery slightly to reveal the pin connectors.

    • Gently remove the four-pin connector connecting the charging port.

Conclusão

To reassemble your device, follow these instructions in reverse order.

0 comentários

Adicione um comentário

Exibir estatísticas:

Últimas 24 horas: 0

Últimos 7 dias: 2

Últimos 30 dias: 3

Duração total: 68