Esta versão pode conter edições incorretas. Mude para o último instantâneo verificado.
O que você precisa
-
Este passo não foi traduzido. Ajude a traduzi-lo
-
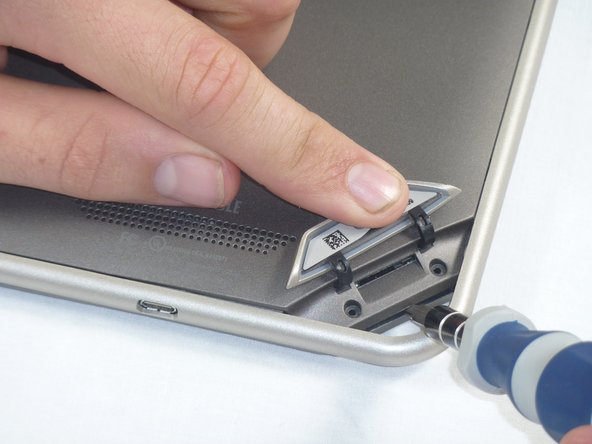
Lift the flap that reads "Nook" to reveal the tape that is underneath. Remove the memory card if one is present.
-
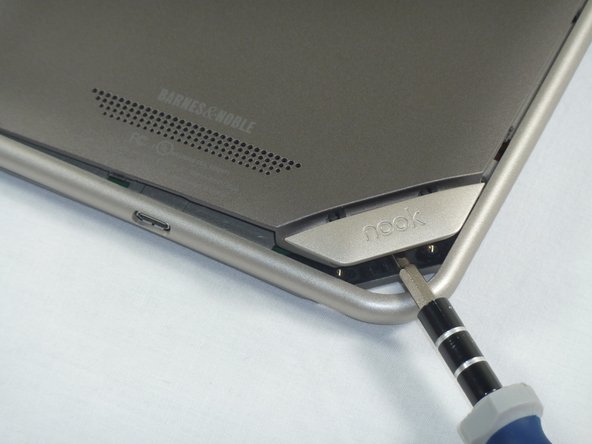
Remove the tape covering the round holes to reveal two T5 Torx screws.
-
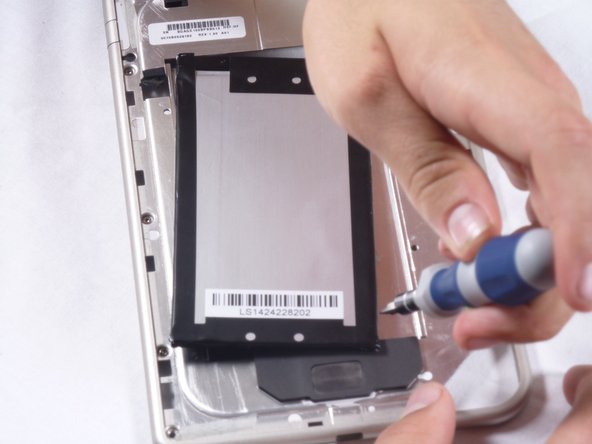
Remove the two T5 Torx screws securing the back cover.
-
-
Este passo não foi traduzido. Ajude a traduzi-lo
-
Insert the flat end of a spudger between the front panel and the rear assembly.
-
Use a spudger to lift the the back panel from the rest of the Nook.
-
-
Este passo não foi traduzido. Ajude a traduzi-lo
-
Slide the spudger around the edges of the Nook to loosen the back panel.
-
-
Este passo não foi traduzido. Ajude a traduzi-lo
-
Using the T5 Torx screwdriver, remove the ten T5 screws from around the edges of the silver midframe.
-
-
Este passo não foi traduzido. Ajude a traduzi-lo
-
Using a spudger or plastic opening tool, carefully pry the screen bezel away from the silver midframe.
-
-
Este passo não foi traduzido. Ajude a traduzi-lo
-
Lift up the foam pad at the corner of the battery to reveal the battery connector.
-
Use a spudger or plastic opening tool to disconnect the battery cable from the motherboard.
-
-
Este passo não foi traduzido. Ajude a traduzi-lo
-
Lift up the foam that covers the power connector and volume connector.
-
Disconnect the power and volume cables from their sockets on the motherboard.
-
-
Este passo não foi traduzido. Ajude a traduzi-lo
-
Carefully lift the silver midframe away from the motherboard and display assembly.
-
-
Este passo não foi traduzido. Ajude a traduzi-lo
-
Set aside the motherboard and focus on the metal backing containing the battery.
-
Use the screwdriver or plastic prying tool around the edges of the battery to pry it from its slot in the metal backing.
-
Pick up the battery and remove it making sure to free the cords in the upper left hand corner by sliding it out rather than lifting it.
-


Cancelar: não concluí este guia.
14 outras pessoas executaram este guia.
Equipe

Cal Poly, Team 1-4, Propen Fall 2012 Membro de Cal Poly, Team 1-4, Propen Fall 2012
CPSU-PROPEN-F12S1G4
Membros da 4
Autoria de 14 guias
2 comentários
How does one disconnect the battery connection in Step 8? The photo shows it miraculously disconnected and the head of a flathead screwdriver is visible, but it doesn't show how to actually remove that connector which has some sort of interlock. Do you just pry the connector away or do you pry it up? The new battery connector has the same interlock, but gives no clue as to how one would make or remove the connector.