Ir para o conteúdo principal
Nook Color Buttons Replacement

Nook Color Buttons Replacement

John Goly

John Goly e 4 outros colaboradores

Última atualização em May 7, 2024

10 - 15 minutos
Moderado
Precisa de mais images
Faltando Passos

Introdução

Ir para o passo 1

While removing faulty or damaged buttons, use caution as the buttons may fall out of place while removing the back panel. If buttons do not fall out, a little bit of force will be required in pulling them out of place.

O que você precisa

Ferramentas

Exibir mais…

  1. Nook Color Buttons Replacement, Back Cover: passo 1, imagem 1 %32 Nook Color Buttons Replacement, Back Cover: passo 1, imagem 2 %32
    • Remove the two 3.8 mm screws located in the back right corner of the device using the T5 Torx screwdriver.

  2. Nook Color Buttons Replacement: passo 2, imagem 1 %32 Nook Color Buttons Replacement: passo 2, imagem 2 %32
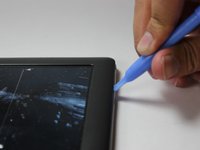
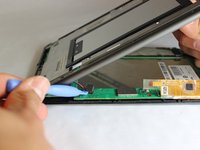
    • Pry off the back cover with the plastic opening tool. Go around the device with the tool to ensure complete detachment.

  3. Nook Color Buttons Replacement, Front Cover: passo 3, imagem 1 %32
    • Remove the ten 4.0 mm screws from the device's perimeter using the T5 Torx screwdriver.

  4. Nook Color Buttons Replacement: passo 4, imagem 1 %32 Nook Color Buttons Replacement: passo 4, imagem 2 %32
    • Pry off the front panel using the plastic opening tool.

  5. Nook Color Buttons Replacement: passo 5, imagem 1 %32 Nook Color Buttons Replacement: passo 5, imagem 2 %32
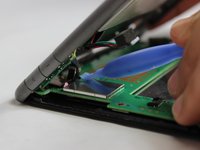
    • Lift up on the connectors to disconnect them using the plastic opening tool.

  6. Nook Color Buttons Replacement, Buttons: passo 6, imagem 1 %32 Nook Color Buttons Replacement, Buttons: passo 6, imagem 2 %32 Nook Color Buttons Replacement, Buttons: passo 6, imagem 3 %32
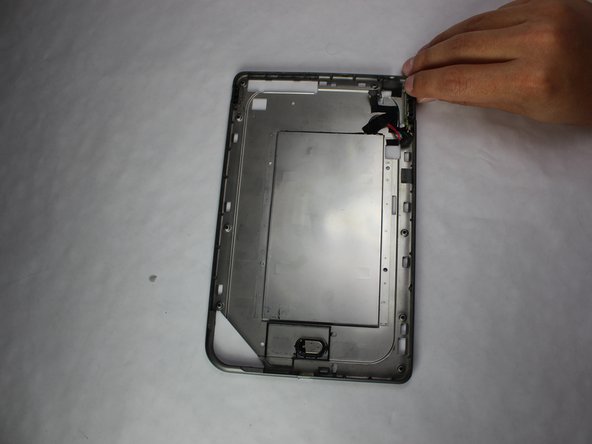
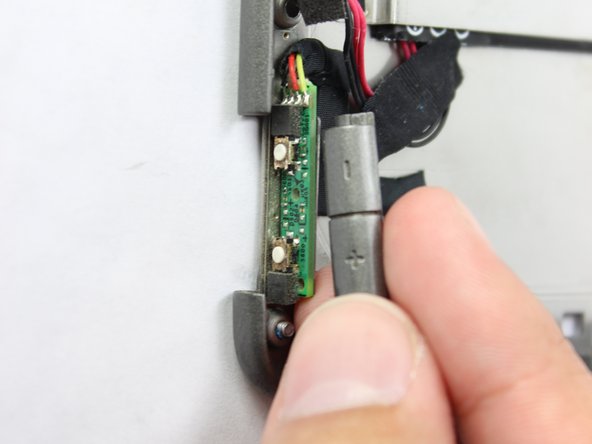
    • Once you have removed both the back and front panels of the device, you will isolate the panel which contains the buttons. You will remove the volume buttons on the top right first. Use some force upwards and the button will slide free.

  7. Nook Color Buttons Replacement: passo 7, imagem 1 %32 Nook Color Buttons Replacement: passo 7, imagem 2 %32 Nook Color Buttons Replacement: passo 7, imagem 3 %32
    Ferramenta utilizada neste passo:
    Tweezers
    $4.99
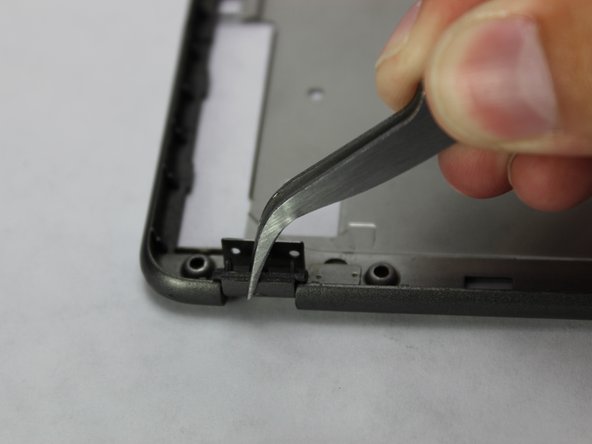
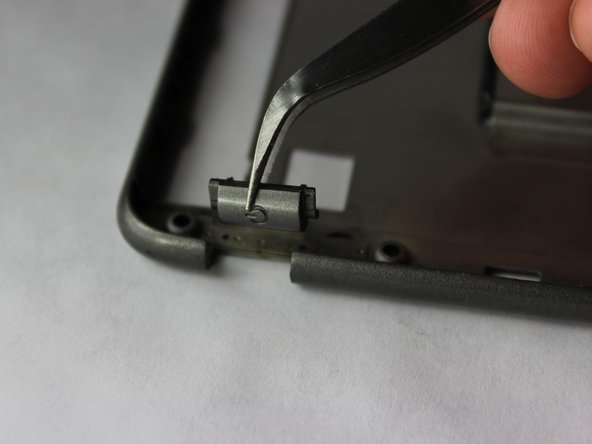
    • Next, you will remove the power button from the top left of the middle portion of your device. Using tweezers you will carefully lift the button from where it sits and remove it.

Conclusão

To reassemble your device, follow these instructions in reverse order.

Uma outra pessoa concluiu este guia.

John Goly

Membro desde: 01/20/15

508 Reputação

Autoria de 3 guias

Equipe

USF Tampa, Team 11-5, Blackwell Winter 2015 Membro de USF Tampa, Team 11-5, Blackwell Winter 2015

USFT-BLACKWELL-W15S11G5

3 Membros

Autoria de 14 guias

0Comentários do guia

Comentar

Visualizações:

Últimas 24 horas: 0

Últimos 7 dias: 0

Últimos 30 dias: 7

Ao todo: 896