Esta versão pode conter edições incorretas. Mude para o último instantâneo verificado.
O que você precisa
-
Este passo não foi traduzido. Ajude a traduzi-lo
-
Remove the battery and any SIM and memory cards.
-
Remove the black sticker at the bottom side of the phone.
-
-
Este passo não foi traduzido. Ajude a traduzi-lo
-
Use a screwdriver Torx T4 and remove the 7x screws.
-
There are two other smaller screws with the same head size – remove them as well.
-
-
-
Este passo não foi traduzido. Ajude a traduzi-lo
-
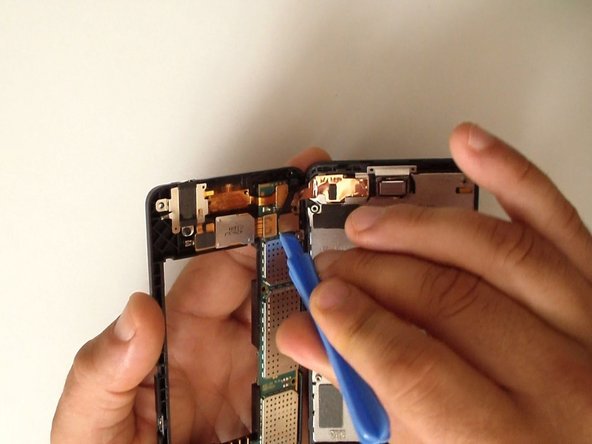
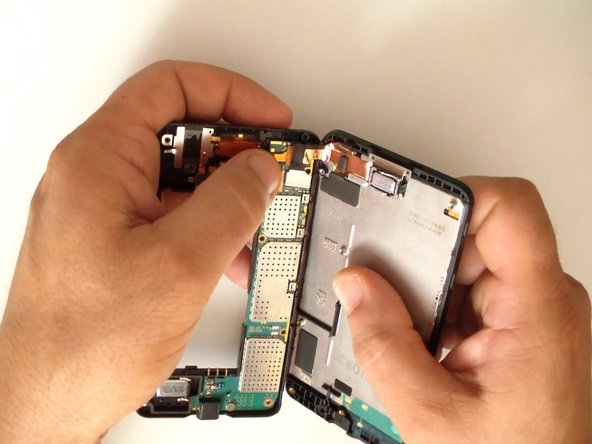
Lift the rear bezel and unhook the display assembly flex cable.
-
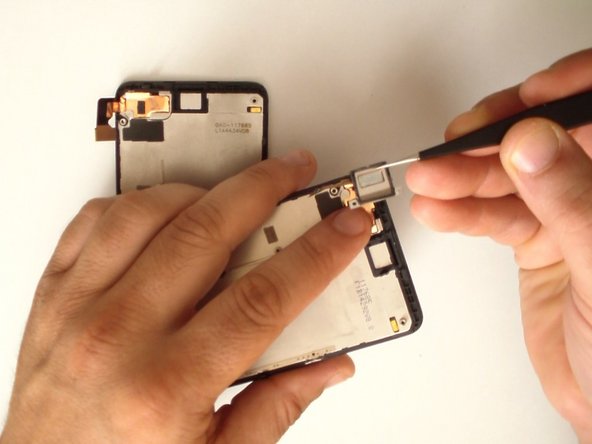
Now we have to transfer the earpiece.
-
-
Este passo não foi traduzido. Ajude a traduzi-lo
-
Put the earpiece on the new display assembly and start with reassembling.
-


Cancelar: não concluí este guia.
17 outras pessoas executaram este guia.

Equipe

2 comentários
Where do i get the part replacements from to replace the screen and what not?
Großes Lob an Nokia, das ist noch ein super zu öffnendes Smartphone gewesen! Touchdisplay tauschen war einfach.