Introdução
The motherboard is an essential, key component that gaming consoles revolve around. If troubleshooting does not help your Wii U and you are in need of a motherboard replacement, this guide will easily walk you through the process.
O que você precisa
-
-
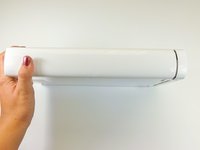
With the bottom of the console facing up, remove the following 6 screws hidden underneath the white square stickers:
-
Three 5.1mm Phillips #000 screws
-
Two 6.1mm Tri-wing Y0 screws
-
One 13.2mm Tri-wing Y1 screw
-
-
-
-
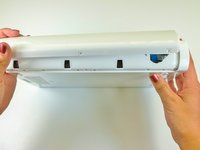
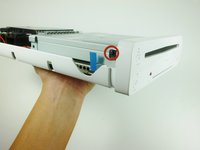
Rotate the device so that the front plate is facing you.
-
On each side of the console, remove the 3.5mm Phillips #0 screw connecting the DVD drive to the faceplate.
-
-
-
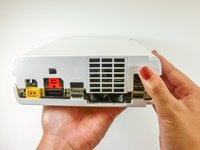
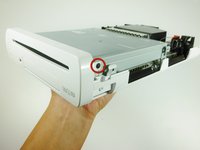
On each side of the DVD drive, remove the two 4.6mm Phillips #0 mounting screws.
-
-
-
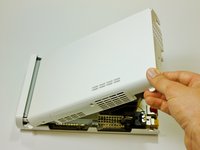
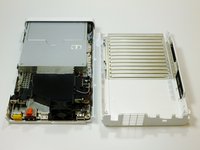
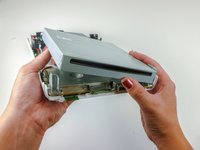
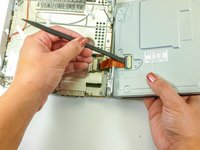
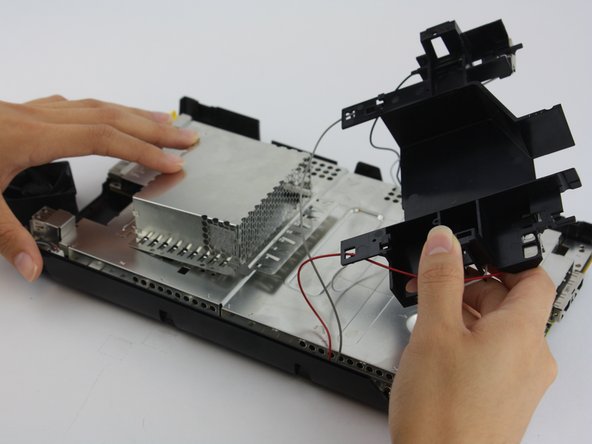
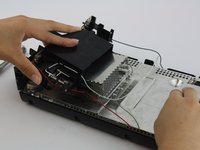
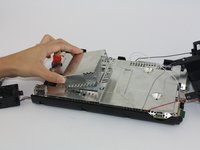
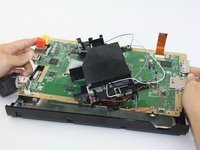
Remove the black plastic shielding by unscrewing connecting screws with a Phillip's Head screwdriver.
-
-
-
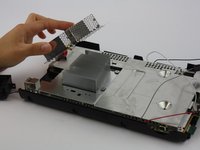
The metal cap does not require unscrewing and should lift up with ease.
-
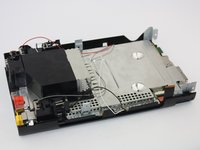
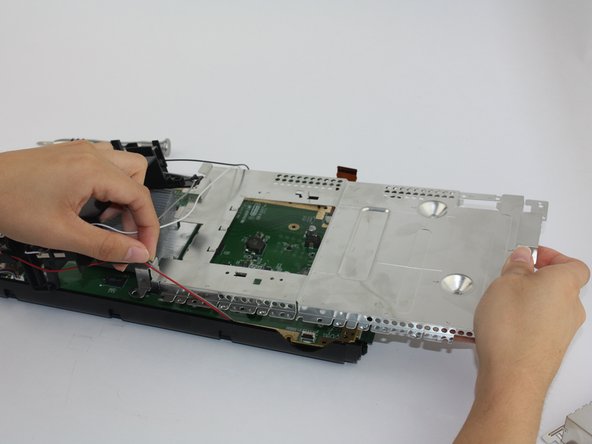
Unscrew all the screws that outline the perimeter of the board using a Phillips Head (PH1) screwdriver.
-
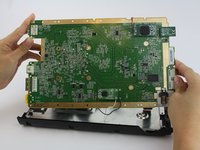
Remove the silver shielding plate once all screws are removed. Be careful when pulling it under the affixed antenna cables.
-


To reassemble your device, follow these instructions in reverse order.
To reassemble your device, follow these instructions in reverse order.
Cancelar: não concluí este guia.
15 outras pessoas executaram este guia.
Equipe

USF Tampa, Team 1-2, Leahy Spring 2016 Membro de USF Tampa, Team 1-2, Leahy Spring 2016
USFT-LEAHY-S16S1G2
Membros da 3
Autoria de 14 guias
3 comentários
Does anyone knows where I can buy a Wii U Motherboard? mine has a dead CPU/GPU :(((((
This really feels like a "draw the rest of the f***ing owl" kind of guide. "Remove the black plastic shielding by unscrewing connecting screws"? Which ones???
Everything from Step 12 on is honestly not helpful. Someone needs to address this, especially with the Wii U starting to gain in popularity and the number of known issues with the systems... Call out the screw locations like the earlier steps, show an actual top/bottom photo of the motherboard once it has been removed, etc...