Este guia tem alterações mais recentes. Mudar para a última versão não verificada.
Introdução
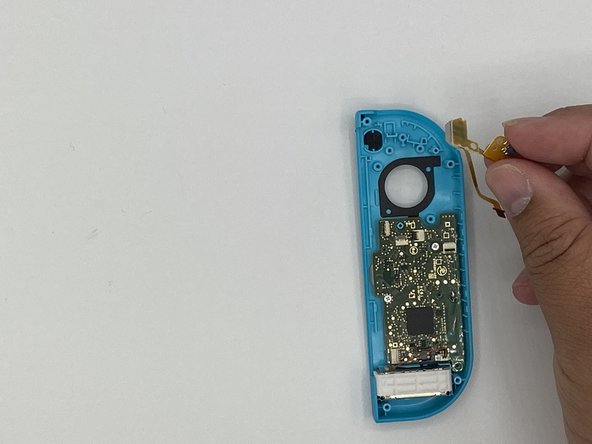
This guide will help you replace the shell of the Left Joy-Con on your Nintendo Switch (model HAC-015).
If your Joy-Con shell is cracked or showing discoloration, you may want to replace it. The Joy-Con shell protects its inner components while also giving it an aesthetic appeal. A damaged shell will eventually damage the inner components and can also make it uncomfortable to play.
You can find replacement shells on Amazon, where they are much cheaper than buying them through Nintendo. These come in many different colors and designs.
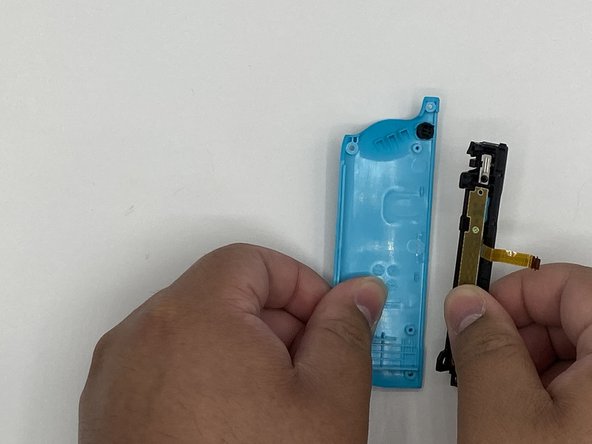
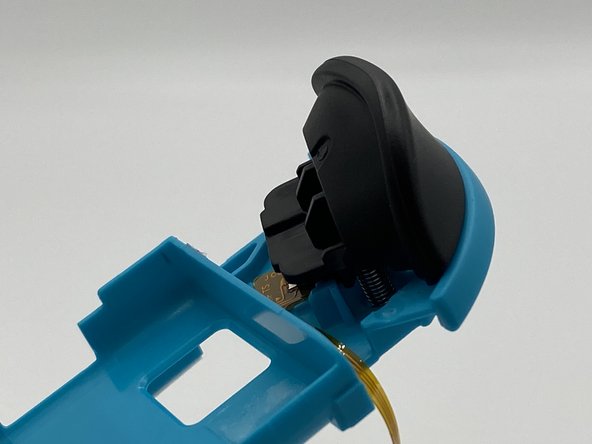
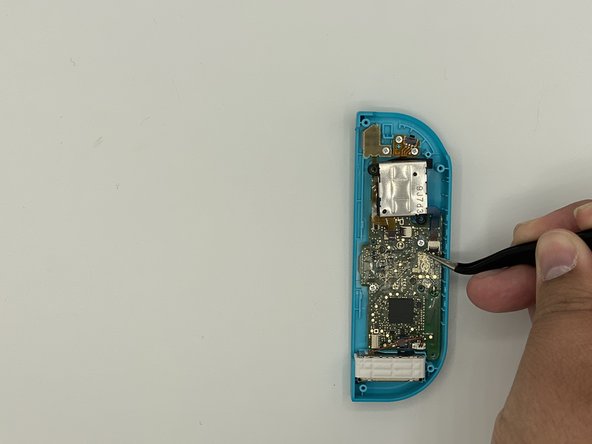
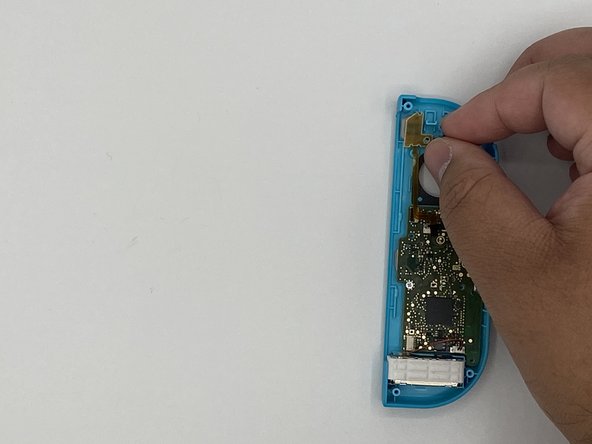
When following the steps, be sure not to strip any of the screws or remove any components using too much force. Any small damage can cause your Joy-Con to not work after reassembly.
If you would also like to replace the Right Joy-Con shell, there is a helpful guide on iFixit that can walk you through that process.
O que você precisa


To reassemble your device, follow these instructions in reverse order.
To reassemble your device, follow these instructions in reverse order.
Cancelar: não concluí este guia.
74 outras pessoas executaram este guia.
Equipe

University of North Texas, Team S1-G12, Raign Spring 2020 Membro de University of North Texas, Team S1-G12, Raign Spring 2020
UNT-RAIGN-S20S1G12
Membros da 2
Autoria de 7 guias
11 comentários
This guide was very helpful! A picture of the latch location on the trigger (step 12) would have been a big help, that step took a minute because I was putting pressure on the wrong spot.
I also noticed that most of the #00 screws were more receptive to a J00 bit. Might be worth noting in the tools section since swapping between them can strip a screw.
Used this guide for reference on the tools needed, someone else pointed out to use the J00 bit instead of the P00 and I’ll second that as the fit for the screws was much better, thanks for the guide much appreciated!
Exactly what I needed! Dropped a set of controllers on a tile flow and the rail popped out and pulled the ribbon cables too. I picked up another iFixit toolkit with some J bits to put it back together. I don’t know why I waited this long to fix it. Charged the controllers overnight and I’m up another set now!
Others above have mentioned that they needed to use a J00 bit instead of P00, but mine did not work with a J00 and was better with a P000
Small thing. In the tools list, it incorrectly says Y0 while the rest of the post correctly says Y00 for the back screws.