Esta versão pode conter edições incorretas. Mude para o último instantâneo verificado.
O que você precisa
-
Este passo não foi traduzido. Ajude a traduzi-lo
-
Use a push pin to remove the four plastic screw covers on the front bezel.
-
-
Este passo não foi traduzido. Ajude a traduzi-lo
-
Remove four Phillips screws securing the front bezel to the rear bezel.
-
-
Este passo não foi traduzido. Ajude a traduzi-lo
-
Using two hands, gently slide the rear bezel upwards.
-
-
-
Este passo não foi traduzido. Ajude a traduzi-lo
-
Insert a spudger into the gap between the front and rear bezel
-
Rotate the spudger away from the DSi XL, prying the two bezels apart.
-
-
Este passo não foi traduzido. Ajude a traduzi-lo
-
In the same manner as described above, continue prying along the top edge of the front and rear bezels.
-
-
Este passo não foi traduzido. Ajude a traduzi-lo
-
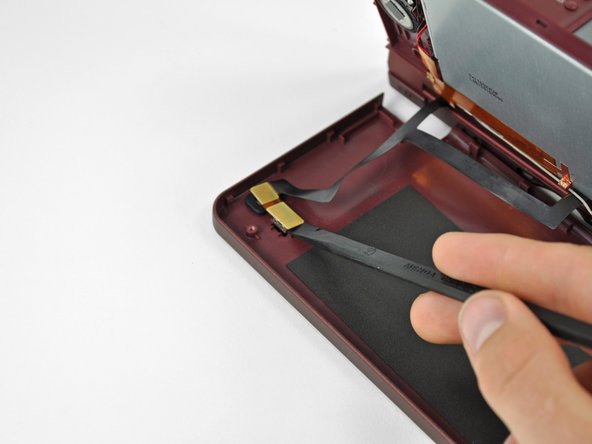
Use the flat end of a spudger to pry the rear camera off the rear bezel.
-
Remove the rear bezel.
-


Cancelar: não concluí este guia.
3 outras pessoas executaram este guia.
