Este guia tem alterações mais recentes. Mudar para a última versão não verificada.
Introdução
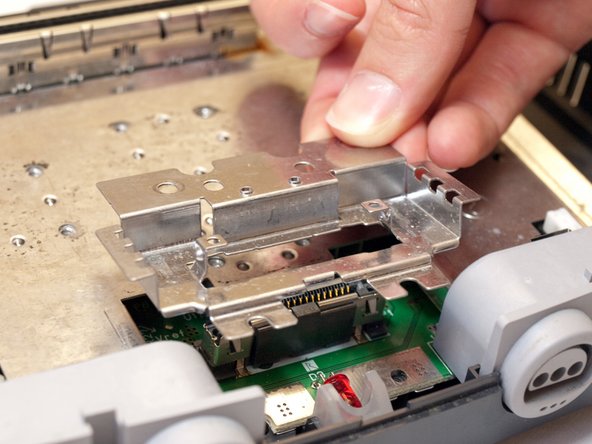
This guide shows how to remove the metal plate that covers the motherboard.
O que você precisa
-
-
-
Remove the fourteen screws indicated in the example using the larger Phillips screwdriver.
-


To reassemble your device, follow these instructions in reverse order.
To reassemble your device, follow these instructions in reverse order.
Cancelar: não concluí este guia.
5 outras pessoas executaram este guia.
Equipe

Cal Poly, Team 5-4, Regan Fall 2009 Membro de Cal Poly, Team 5-4, Regan Fall 2009
CPSU-REGAN-F09S5G4
Membros da 7
Autoria de 15 guias