Introdução
If your lower casing is broken you may need to replace it. Be careful to disconnect ribbon cables between the lower casing and the motherboard before removing the lower casing fully.
O que você precisa
-
-
Unscrew the two 3mm Phillips #1 head screws along the top edge of the device.
 Pergunte ao FixBot
-
-
-
Pull the top corner tabs of the front face plate outward and towards you.
-
Pull the faceplate up and out of the slots at the bottom of the device.
-
Set aside the back faceplate.
-
-
-
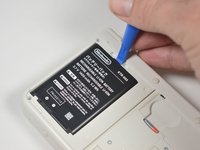
Insert a plastic opening tool into the notch at the top of the battery.
-
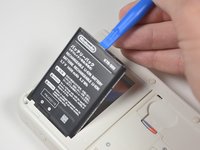
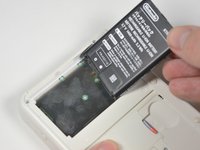
Pry the battery up with the plastic opening tool.
-
-
-
-
Unscrew the three 3mm Y0 screws along the right and bottom of the SD card reader.
-
-
-
Pull the SD card reader from the edge with two holes gently to free the tab at the top of the SD card reader.
-
Reorient the device so that the power jack faces you.
-
-
-
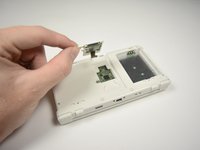
Lift the SD card reader gently.
-
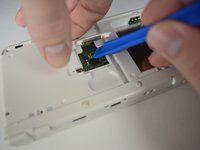
Use a plastic opening tool to pry the SD card ribbon cable off the socket on the motherboard.
-
Lift the SD card reader out off of the lower casing.
-
-
Ferramenta utilizada neste passo:Tweezers$4.99
-
Reorient the device so that the game slot now faces you.
-
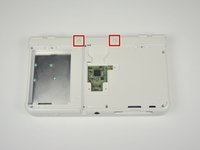
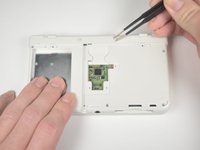
Remove the two rubber bumpers along the top of the device using tweezers.
-
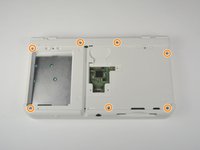
Unscrew the seven 6mm Phillips #00 screws along the top and bottom of the 3DS.
-
-
-
Lift the top edge of the lower case slightly off on the 3DS.
-
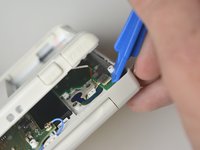
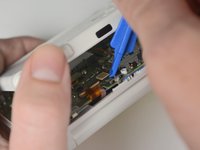
Pry the ribbon cable socket under the right trigger using a plastic opening tool.
-
Pry the ribbon cable socket under the infrared receiver cover using a plastic opening tool.
-
-
-
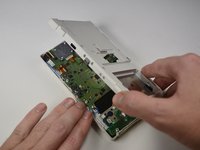
Open the device slowly from its top edge. Be careful not to tug the ribbon cable connected near the bottom edge of the device.
-
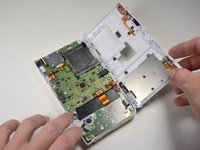
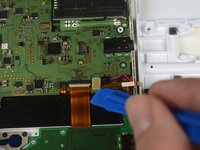
Pry the last ribbon cable attached to the lower case using a plastic opening tool.
-










To reassemble your device, follow these instructions in reverse order.
Cancelar: não concluí este guia.
Uma outra pessoa concluiu este guia.

Equipe

Cal Poly, Team 4-6, Livingston Fall 2016 Membro de Cal Poly, Team 4-6, Livingston Fall 2016
CPSU-LIVINGSTON-F16S4G6
4 Membros
Autoria de 45 guias
