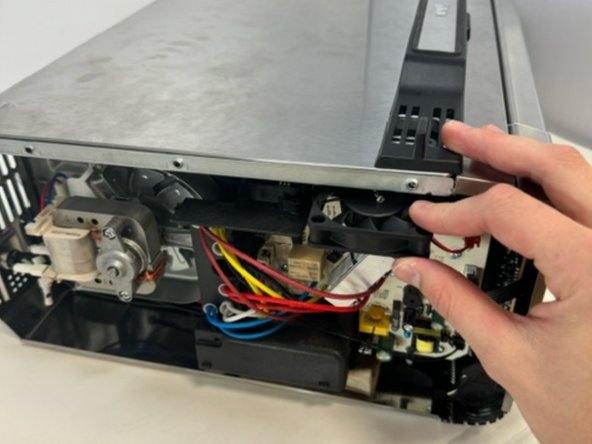
Ir para o conteúdo principal

Ninja Foodi SP101 Cooling Fan Replacement

O que você precisa

  1. Ninja Foodi SP101 Cooling Fan Replacement, Feet: passo 1, imagem 1 %32 Ninja Foodi SP101 Cooling Fan Replacement, Feet: passo 1, imagem 2 %32
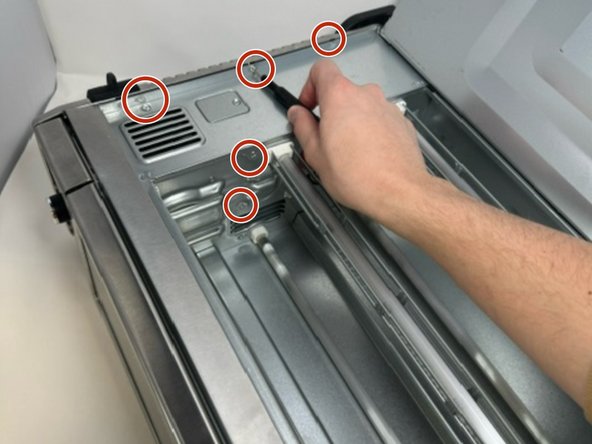
    • Use a TR10 screwdriver to remove the four 11mm screws holding the black lever bar in place.

  2. Ninja Foodi SP101 Cooling Fan Replacement: passo 2, imagem 1 %32
    • Remove the black lever bar.

  3. Ninja Foodi SP101 Cooling Fan Replacement, Side Panels: passo 3, imagem 1 %32
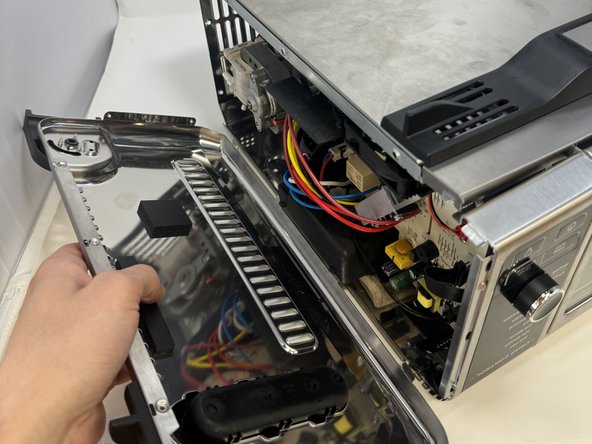
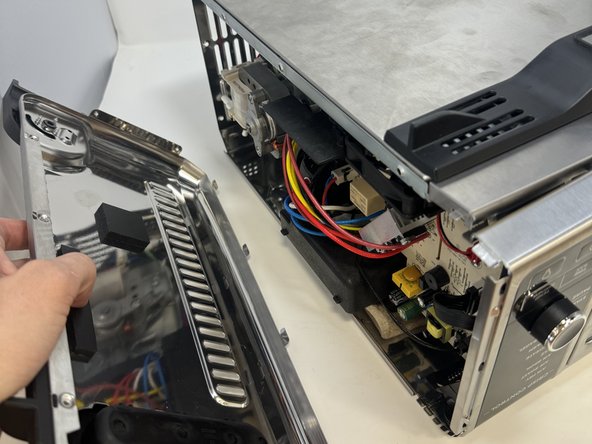
    • Use a Phillips #1 screwdriver to remove the three 8mm screws on each side of the back panel.

  4. Ninja Foodi SP101 Cooling Fan Replacement: passo 4, imagem 1 %32 Ninja Foodi SP101 Cooling Fan Replacement: passo 4, imagem 2 %32
    • Flip the device upside down and open the bottom panel.

    • Remove the five 8 mm screws on each side of the interior using a Phillips #1 screwdriver.

  5. Ninja Foodi SP101 Cooling Fan Replacement: passo 5, imagem 1 %32 Ninja Foodi SP101 Cooling Fan Replacement: passo 5, imagem 2 %32 Ninja Foodi SP101 Cooling Fan Replacement: passo 5, imagem 3 %32
    • Remove the control side panel.

    • Lift the siding outward to remove the metal tab connection on the bottom.

  6. Ninja Foodi SP101 Cooling Fan Replacement: passo 6, imagem 1 %32 Ninja Foodi SP101 Cooling Fan Replacement: passo 6, imagem 2 %32
    • Lift the handle and pull the side panel out.

    • Remove the handle side panel.

  7. Ninja Foodi SP101 Cooling Fan Replacement, Cooling Fan: passo 7, imagem 1 %32 Ninja Foodi SP101 Cooling Fan Replacement, Cooling Fan: passo 7, imagem 2 %32 Ninja Foodi SP101 Cooling Fan Replacement, Cooling Fan: passo 7, imagem 3 %32
    • Remove the black cooling fan by bending the metal slightly upwards.

  8. Ninja Foodi SP101 Cooling Fan Replacement: passo 8, imagem 1 %32
    • Remove the red cable that attaches the cooling fan to the motherboard.

  9. Ninja Foodi SP101 Cooling Fan Replacement: passo 9, imagem 1 %32
    • Remove the cooling fan.

    • Replace the fan in its location before plugging it in.

Conclusão

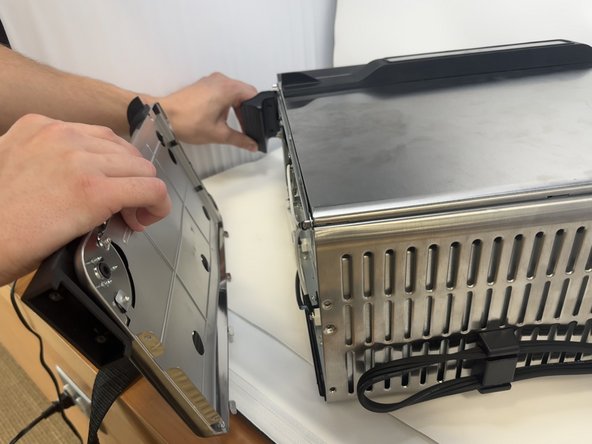
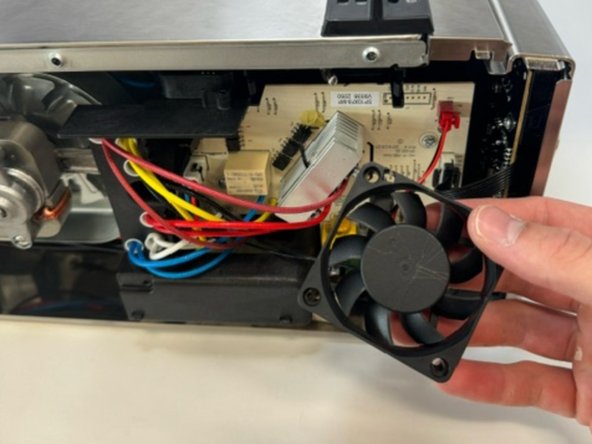
To reassemble your device, follow these instructions in reverse order.

2 outras pessoas executaram este guia.

ben

Membro desde: 01/30/24

419 Reputação

Autoria de 3 guias

Equipe

0 comentários

Adicione um comentário

Exibir estatísticas:

Últimas 24 horas: 5

Últimos 7 dias: 40

Últimos 30 dias: 170

Duração total: 229