Esta versão pode conter edições incorretas. Mude para o último instantâneo verificado.
O que você precisa
-
Este passo não foi traduzido. Ajude a traduzi-lo
-
Insert the battery into the battery compartment at the bottom of the camera.
-
-
Este passo não foi traduzido. Ajude a traduzi-lo
-
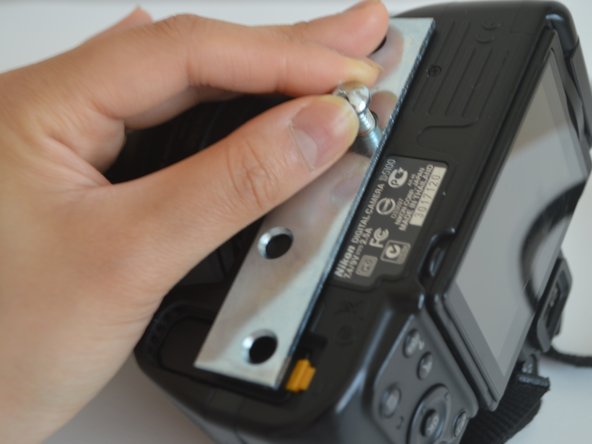
Take the mending plate and place it over the threaded hole at the bottom of the camera.
-
Make sure the mending plate is covering the battery compartment.
-
Hold the mending plate in position.
-
-
-
Este passo não foi traduzido. Ajude a traduzi-lo
-
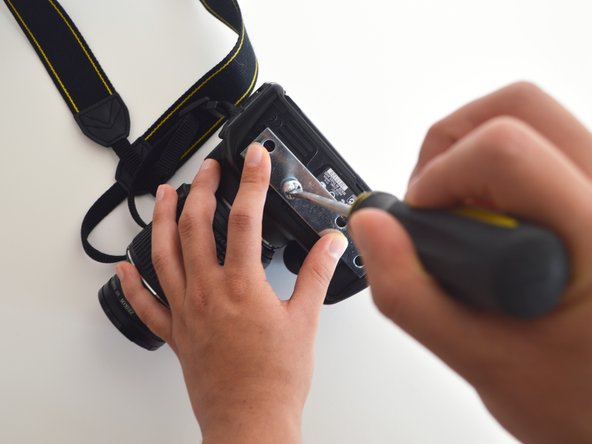
While holding down the mending plate, take the screw and place it on top of the mending plate and over the threaded hole.
-
Push the screw into the threaded hole and turn clockwise to screw in.
-
Tighten the screw by using a screwdriver.
-
-
Este passo não foi traduzido. Ajude a traduzi-lo
-
The metal bar should be attached and tightly secured.
-
-
Este passo não foi traduzido. Ajude a traduzi-lo
-
Turn on the camera to check that the battery is properly secure.
-


Equipe

Cal Poly, Team 23-1, Green Winter 2015 Membro de Cal Poly, Team 23-1, Green Winter 2015
CPSU-GREEN-W15S23G1
Membros da 4
Autoria de 4 guias