Este guia tem alterações mais recentes. Mudar para a última versão não verificada.
Introdução
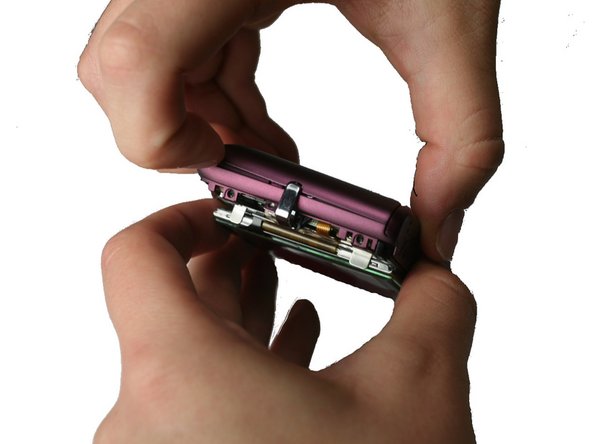
If you need to replace the video record, playback, or camera mode buttons, then you must follow these steps to replace the metal plate with the mounted wiring.
O que você precisa
-
-
Using a Philips #000 head screwdriver, remove the 8 screws (3.30 mm) visible on the external part of the camera.
-
There are 2 on each side, and 4 on the bottom.
-
-
-
-
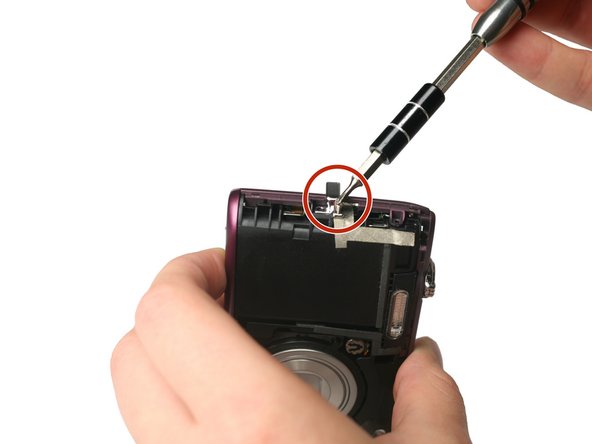
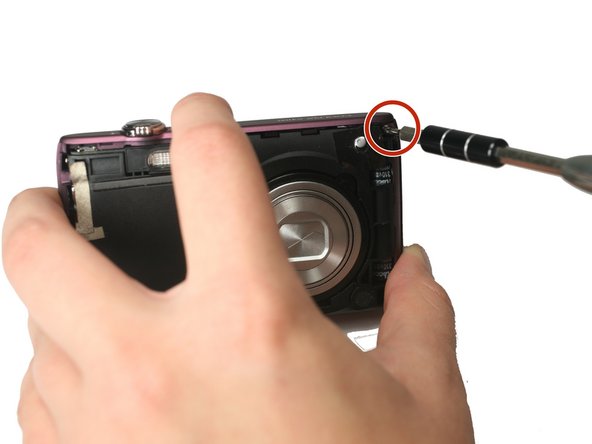
Using the Philips #000 head screwdriver, remove the 3.40 mm screw located near the functional buttons.
-


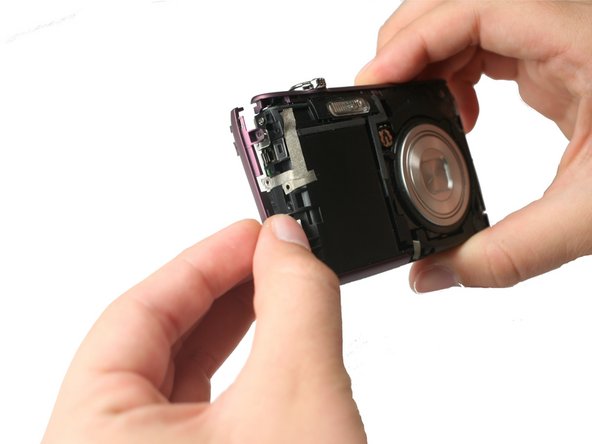
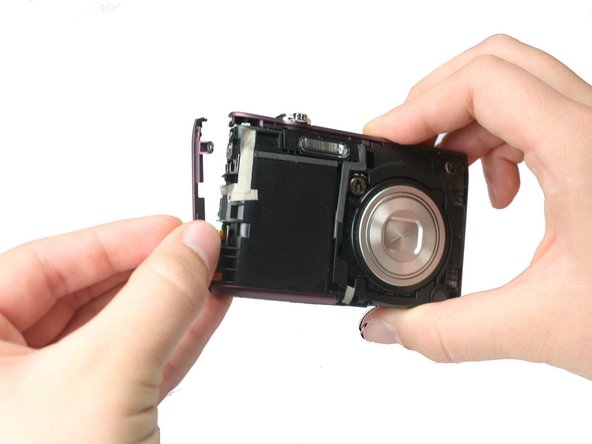


To reassemble your device, follow these instructions in reverse order.
To reassemble your device, follow these instructions in reverse order.
Cancelar: não concluí este guia.
Uma outra pessoa concluiu este guia.
Equipe

Baylor, Team 4-2, Williams Fall 2015 Membro de Baylor, Team 4-2, Williams Fall 2015
BU-WILLIAMS-F15S4G2
Membros da 4
Autoria de 8 guias