Esta versão pode conter edições incorretas. Mude para o último instantâneo verificado.
O que você precisa
-
Este passo não foi traduzido. Ajude a traduzi-lo
-
Using a Philips #000 head screwdriver, remove the 8 screws (3.30 mm) visible on the external part of the camera.
-
There are 2 on each side, and 4 on the bottom.
-
-
Este passo não foi traduzido. Ajude a traduzi-lo
-
Remove the black casing on the back of the camera that runs around the LCD screen.
-
-
Este passo não foi traduzido. Ajude a traduzi-lo
-
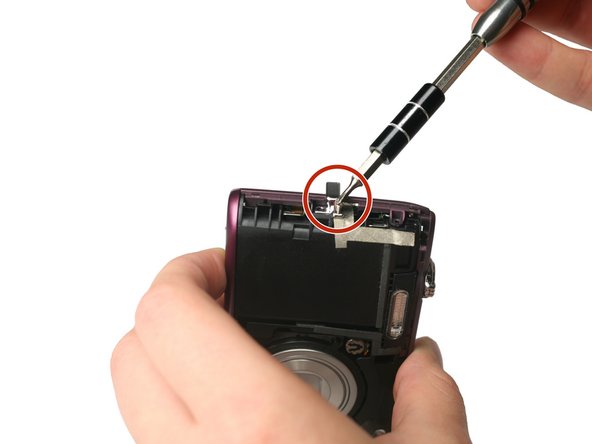
Using the Philips #000 head screwdriver, remove the 1.90 mm internal screw located just above the lanyard mount.
-
-
-
Este passo não foi traduzido. Ajude a traduzi-lo
-
Using the Philips #000 head screwdriver, remove the 3.30 mm screw located on the side of the camera near the lanyard mount.
-
-
Este passo não foi traduzido. Ajude a traduzi-lo
-
Using the Philips #000 head screwdriver, remove 2 additional 3.30 mm screws holding the lanyard mount in place.
-
-
Este passo não foi traduzido. Ajude a traduzi-lo
-
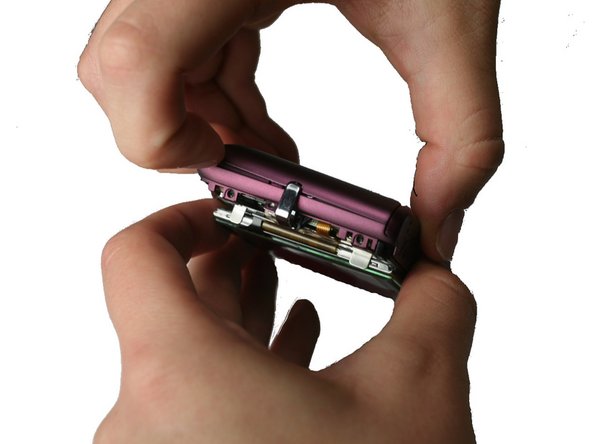
Remove the lanyard mount and accompanying side shell casing off of the camera.
-
-
Este passo não foi traduzido. Ajude a traduzi-lo
-
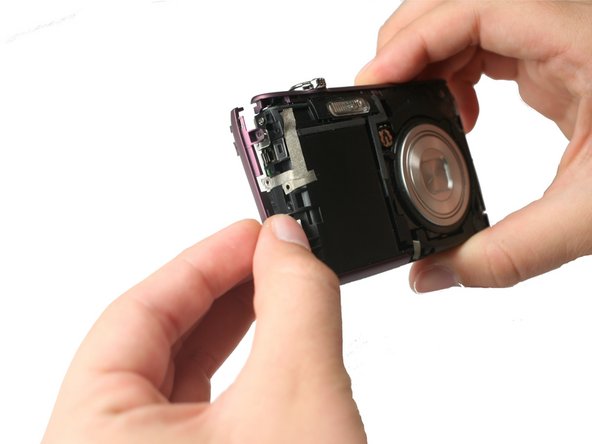
Using the Philips #000 head screwdriver, remove the 3.30 mm screw securing the top shell casing.
-
-
Este passo não foi traduzido. Ajude a traduzi-lo
-
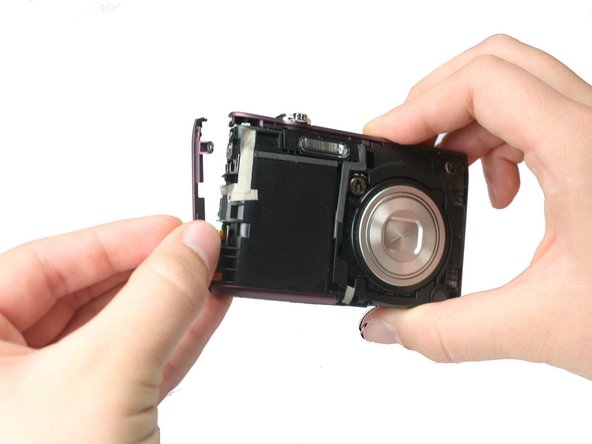
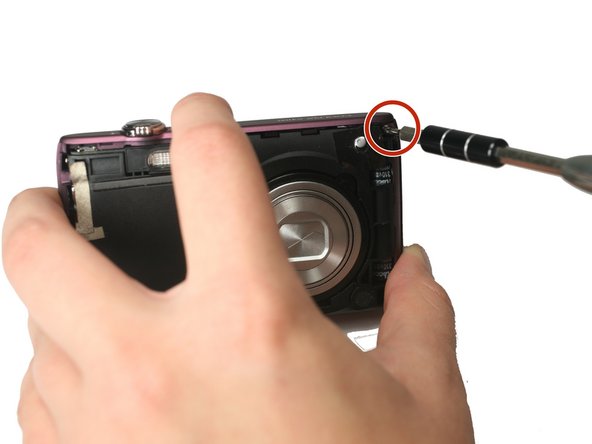
Using the Philips #000 head screwdriver, remove the 3.40 mm screw located on the front of the camera in the upper corner by the LED light.
-


Cancelar: não concluí este guia.
2 outras pessoas executaram este guia.
Equipe

Baylor, Team 4-2, Williams Fall 2015 Membro de Baylor, Team 4-2, Williams Fall 2015
BU-WILLIAMS-F15S4G2
Membros da 4
Autoria de 8 guias