Introdução
This guide shows how to replace the flash assembly on a Nikon Coolpix B700 when the bulb stops working.
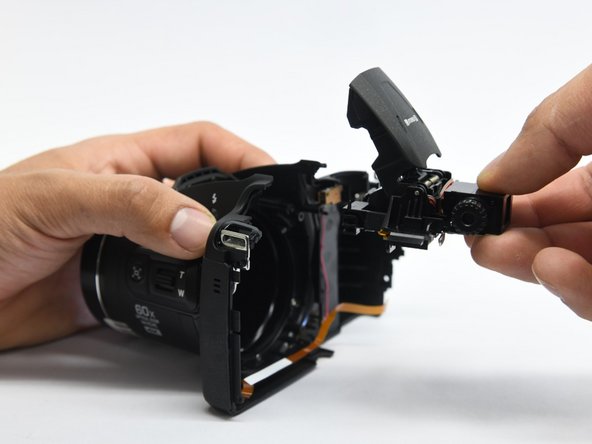
We have to separate the Nikon Coolpix B700 camera starting with the back frame, then we can open the camera and take internal parts out. After that, you can see the flash unit from inside and replace it easily. Make sure to remove the battery before beginning the work on the flash unit.
For the old flash unit, you can see https://www.epa.gov/recycle/electronics-... so you could recycle
O que você precisa
-
-
Use the Phillips screwdriver to remove the two 5.5 mm screws on the left side of the camera.
-
-
-
Use the Phillips screwdriver to remove the remaining five 5.55mm screws.
-
Remove the single 6mm screw.
-
-
-
-
Use the Phillips screwdriver to remove the four 6 mm screw that hold on the bracket housing.
-
-
-
Using a Phillips screwdriver, remove the two 6 mm screws that hold the flash assembly.
-


To reassemble your device, follow these instructions in reverse order.
To reassemble your device, follow these instructions in reverse order.
Cancelar: não concluí este guia.
Uma outra pessoa concluiu este guia.
Equipe

Purdue University Northwest, Team S4-G5, Hingst Spring 2019 Membro de Purdue University Northwest, Team S4-G5, Hingst Spring 2019
PNW-HINGST-S19S4G5
Membros da 4
Autoria de 14 guias