Introdução
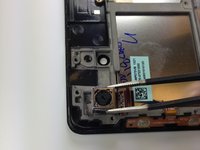
If your Nexus 7 2nd Generation rear facing camera happens to stop working or is in need of replacement, look no further than this guide. You will need to remove the battery and motherboard in order to access the camera. Also worth noting, the rear facing camera may not come up with the motherboard during removal. The camera is adhered to the front case, so if it isn’t present on the motherboard, look to the recess in the front case. Make sure to attach the camera’s ribbon connector to the motherboard during replacement.
O que você precisa
-
-
Power down your device.
-
Use your plastic opening tool to wedge between the seams around the sides of the device. Pry open each side, one at a time. For some a finger nail may be best. The case comes up quite high to the glass.
-
-
-
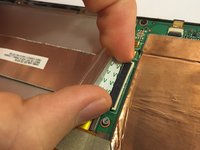
Insert the plastic opening tool under the side edge of the battery connector, and gently pry upward to disconnect it.
-
-
-
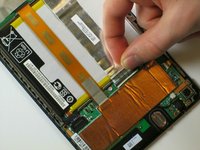
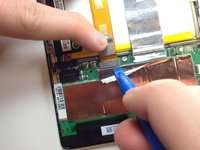
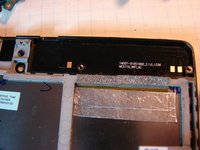
Use the flat end of a spudger or your fingernail to flip up the clear protective flap on the ribbon cable ZIF socket.
-
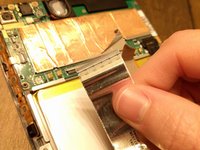
Using the flat end of a spudger or your fingernail, flip up the thin portion of the connector (the white part, opposite of the side where the cable inserts) to release the cable from its socket.
-
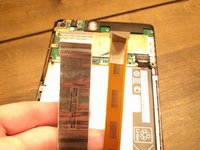
Slide the cable out of the ZIF socket.
-
-
-
Ferramenta utilizada neste passo:Tweezers$4.99
-
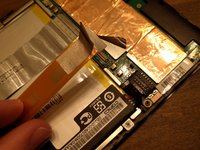
Use the tweezers to peel the seal sticker off of the center screw that is closest to the battery.
-
-
-
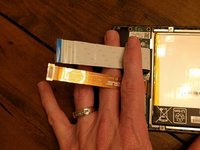
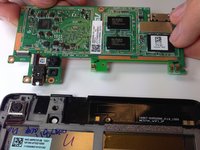
Flip the motherboard over.
-
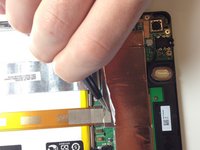
Using your black nylon spudger, pop up the locking bar of the camera's ZIF connector.
-
Remove the rear facing camera from the motherboard.
-


To reassemble your device, follow these instructions in reverse order.
To reassemble your device, follow these instructions in reverse order.

