Ir para o conteúdo principal

Nextbook Flexx 10 Camera Replacement

O que você precisa

  1. Nextbook Flexx 10  Camera Replacement, Front and Rear Camera: passo 1, imagem 1 %32 Nextbook Flexx 10  Camera Replacement, Front and Rear Camera: passo 1, imagem 2 %32 Nextbook Flexx 10  Camera Replacement, Front and Rear Camera: passo 1, imagem 3 %32
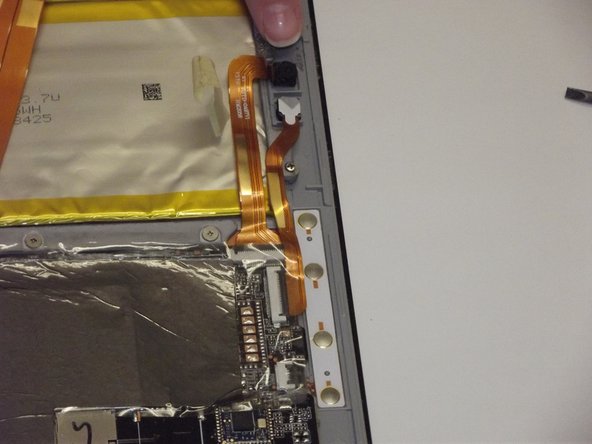
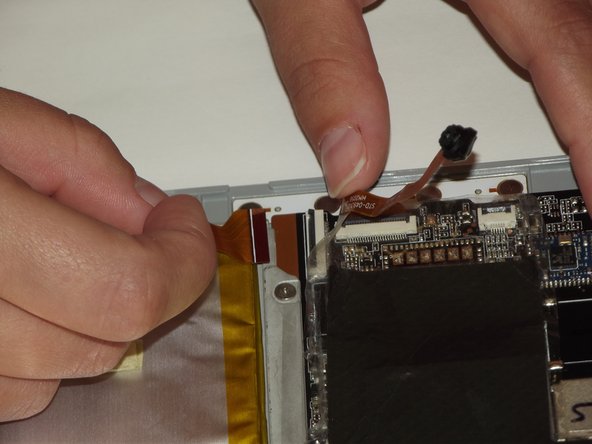
    • Remove the top section by pushing the middle button in the center of the base and lift on the screen.

  2. Nextbook Flexx 10  Camera Replacement: passo 2, imagem 1 %32 Nextbook Flexx 10  Camera Replacement: passo 2, imagem 2 %32 Nextbook Flexx 10  Camera Replacement: passo 2, imagem 3 %32
    • Remove the black back panel of the screen.

  3. Nextbook Flexx 10  Camera Replacement: passo 3, imagem 1 %32 Nextbook Flexx 10  Camera Replacement: passo 3, imagem 2 %32
    • Place the panel screen down.

    • Identify the cameras at the top center.

  4. Nextbook Flexx 10  Camera Replacement: passo 4, imagem 1 %32 Nextbook Flexx 10  Camera Replacement: passo 4, imagem 2 %32 Nextbook Flexx 10  Camera Replacement: passo 4, imagem 3 %32
    • Find the front camera.

    • Follow the gold strip to where it connects to the device.

    • There is a black piece that is holding the gold strip. Flip this up to release the camera.

    • Follow bullets above for the rear facing camera.

  5. Nextbook Flexx 10  Camera Replacement: passo 5, imagem 1 %32 Nextbook Flexx 10  Camera Replacement: passo 5, imagem 2 %32
    • Insert new camera into each slot, make connections, and close the black flap.

    • Snap back panel back onto the back of the screen.

    • Put screen and the keyboard back together.

Conclusão

To reassemble your device, follow these instructions in reverse order.

0 comentários

Adicione um comentário

Exibir estatísticas:

Últimas 24 horas: 2

Últimos 7 dias: 4

Últimos 30 dias: 8

Duração total: 310