Introdução
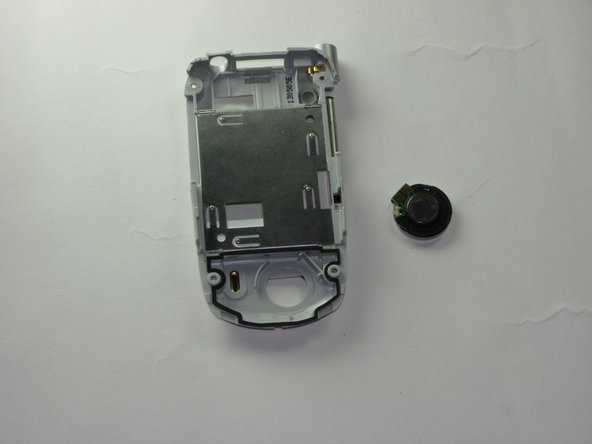
This repair guide shows how to replace a bad speaker.
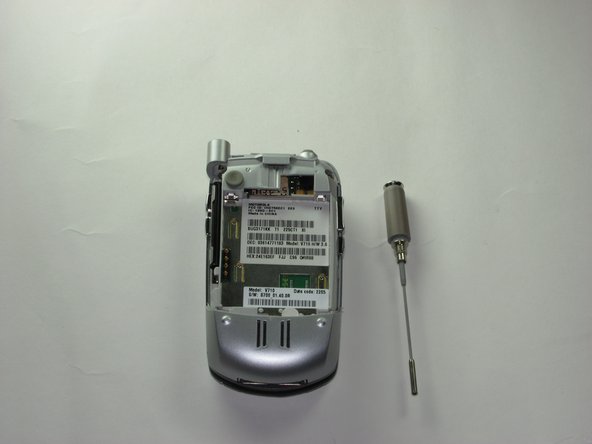
O que você precisa
-
-
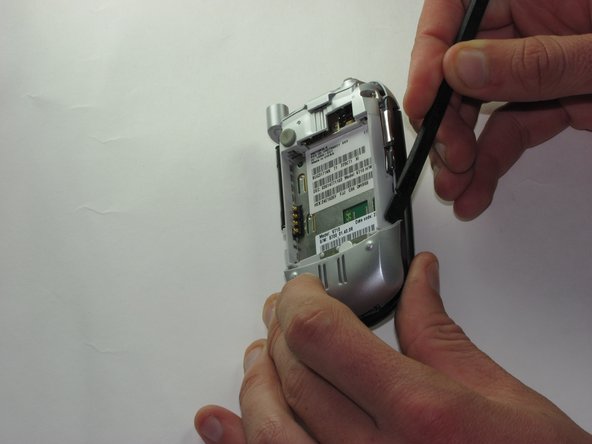
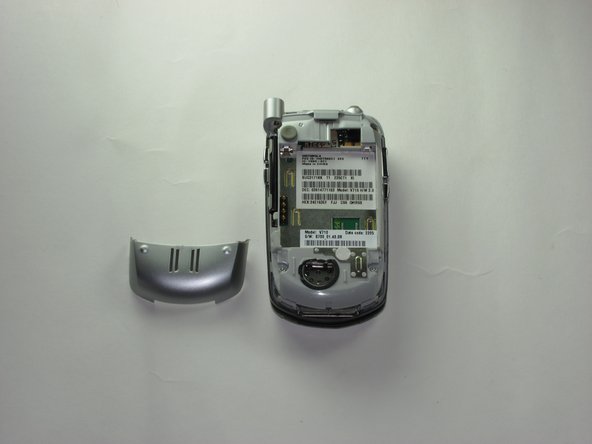
Press down on the back button while pulling away from the body of the phone to release the back cover.
-
-
-
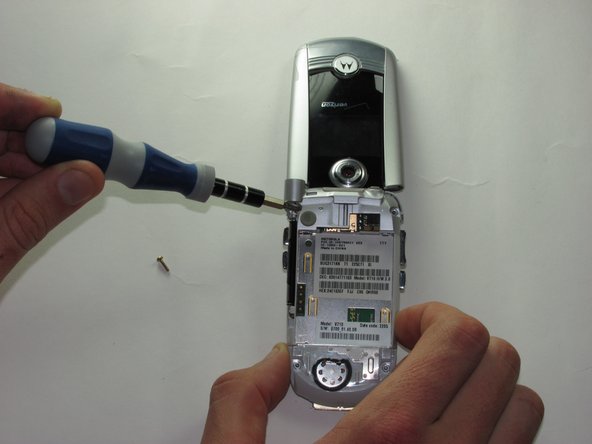
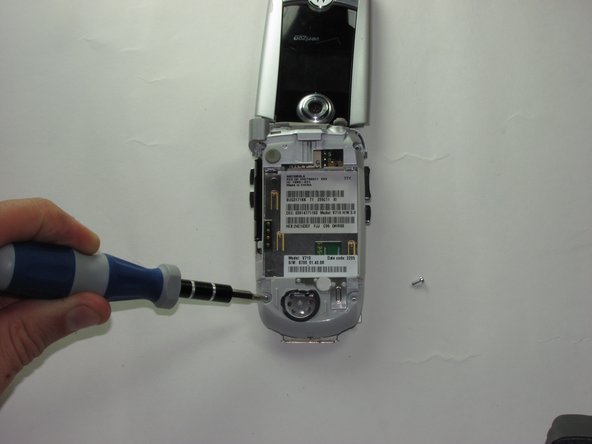
Unscrew and remove the antenna by gripping the base and twisting clockwise.
-
Once the antenna has passed the threading, pull out.
-
-


Quase terminado!
To reassemble your device, follow these instructions in reverse order.
Conclusão
To reassemble your device, follow these instructions in reverse order.
Equipe

Cal Poly, Team 8-49, Regan Winter 2010 Membro de Cal Poly, Team 8-49, Regan Winter 2010
CPSU-REGAN-W10S8G49
Membros da 5
Autoria de 16 guias