Esta versão pode conter edições incorretas. Mude para o último instantâneo verificado.
O que você precisa
-
Este passo não foi traduzido. Ajude a traduzi-lo
-
Insert a SIM card eject tool, bit, or a straightened paperclip into the small hole in the SIM card tray.
-
Press to eject the tray.
-
-
Este passo não foi traduzido. Ajude a traduzi-lo
-
Prepare an iOpener and heat the back of the phone along its right edge for about five minutes. This will help soften the adhesive securing the back cover.
-
-
Este passo não foi traduzido. Ajude a traduzi-lo
-
In the following steps, you'll be cutting through the adhesive securing the back cover.
-
Avoid slicing in this area to avoid damaging delicate ribbon cables.
-
-
Este passo não foi traduzido. Ajude a traduzi-lo
-
Hold a pair of pointed tweezers closed, and insert them into the small hole on the edge of the back cover near the SIM card slot.
-
Use the tweezers to lift the cover up slightly, and slide an opening pick into the gap between the cover and the frame.
-
-
Este passo não foi traduzido. Ajude a traduzi-lo
-
Slide the opening pick along the edge of the phone to slice through the back cover adhesive.
-
Try to insert the pick as far as you can underneath the cover, toward the center of the cover. There's thick adhesive on the middle of the cover that must be separated.
-
-
Este passo não foi traduzido. Ajude a traduzi-lo
-
Prepare an iOpener and heat the back of the phone along its left edge for about five minutes. This will help soften the adhesive securing the rest of the back cover.
-
-
Este passo não foi traduzido. Ajude a traduzi-lo
-
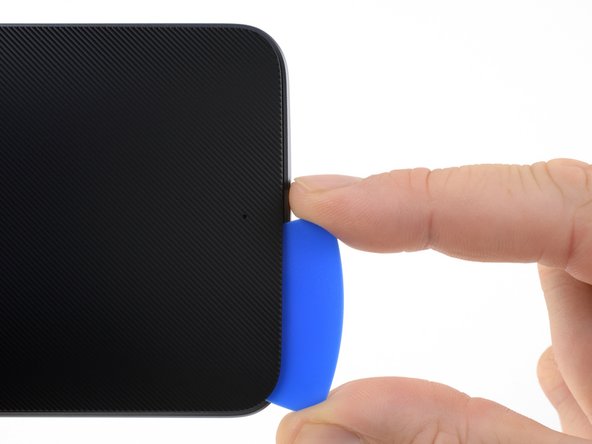
Slice through the adhesive along the bottom edge of the phone.
-
-
-
Este passo não foi traduzido. Ajude a traduzi-lo
-
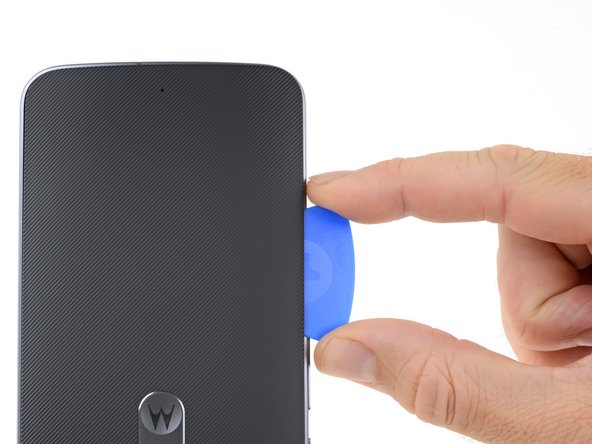
Slice through the adhesive along the left side of the phone.
-
Try to insert the pick as far as you can underneath the cover, toward the center of the cover. There's thick adhesive on the middle of the cover that must be separated.
-
-
Este passo não foi traduzido. Ajude a traduzi-lo
-
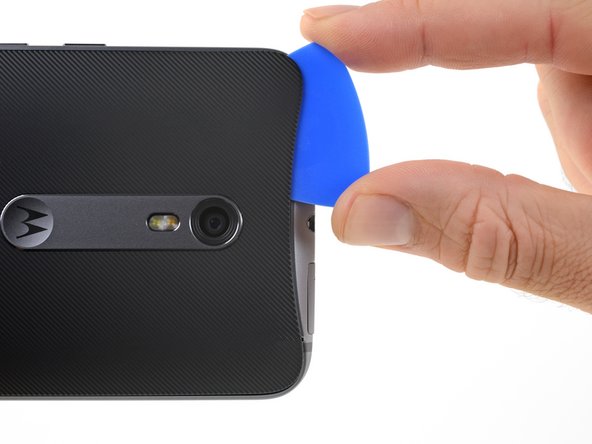
Slice through the adhesive along the top edge of the phone, pulling the pick out slightly to guide it around the rear-facing camera.
-
-
Este passo não foi traduzido. Ajude a traduzi-lo
-
Carefully pry the cover away from the phone.
-
First use tweezers and a spudger to peel and scrape away any remaining adhesive from both the back cover and the phone's chassis.
-
Then, clean the adhesion areas with high concentration isopropyl alcohol (at least 90%) and a lint-free cloth. Swipe in one direction only, not back and forth. This will help prep the surface for the new adhesive.
-
Replacement adhesive comes in a pre-cut sheet to match the exact contours of the back cover. If that's not available, you can use a high-bond double-sided tape, such as Tesa 61395. Before installing the precut adhesive on the back cover, remove the metal insert. Install the adhesive, then replace the insert.
-
After installing the back cover, apply strong, steady pressure to your phone for several minutes to help the adhesive form a good bond.
-
-
Este passo não foi traduzido. Ajude a traduzi-lo
-
Use the point of a spudger to pry up the rubber cover over the battery connector.
-
Remove the rubber cover.
-
-
Este passo não foi traduzido. Ajude a traduzi-lo
-
Use the flat end of a spudger to pry the battery connector straight up and out of its socket.
-
-
Este passo não foi traduzido. Ajude a traduzi-lo
-
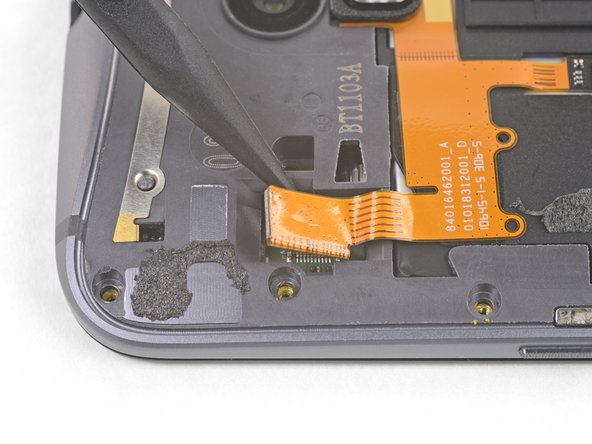
Use tweezers to lift away the rubber cover over the flash connector.
-
-
Este passo não foi traduzido. Ajude a traduzi-lo
-
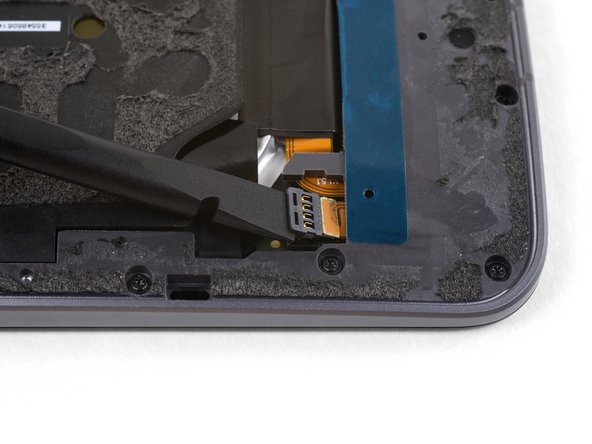
Use the tip of a spudger against the corner of the flash connector to pry the connecter straight up and out of its socket.
-
-
Este passo não foi traduzido. Ajude a traduzi-lo
-
Use a T3 Torx driver to remove twenty 2.4 mm screws.
-
-
Este passo não foi traduzido. Ajude a traduzi-lo
-
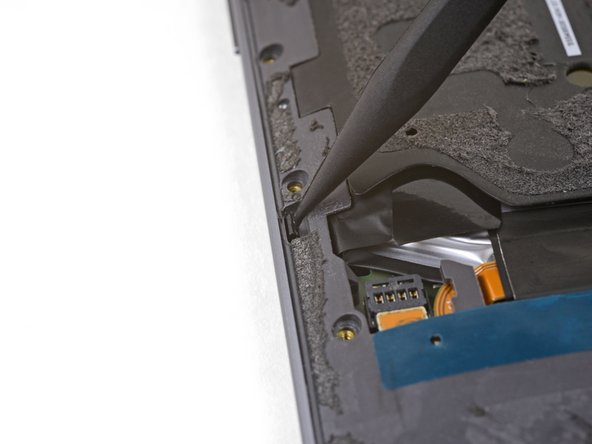
Use the point of a spudger to push the small clip securing the left side of the midframe toward the edge of the phone, releasing the clip.
-
-
Este passo não foi traduzido. Ajude a traduzi-lo
-
Repeat the previous step to release the right side midframe clip.
-
-
Este passo não foi traduzido. Ajude a traduzi-lo
-
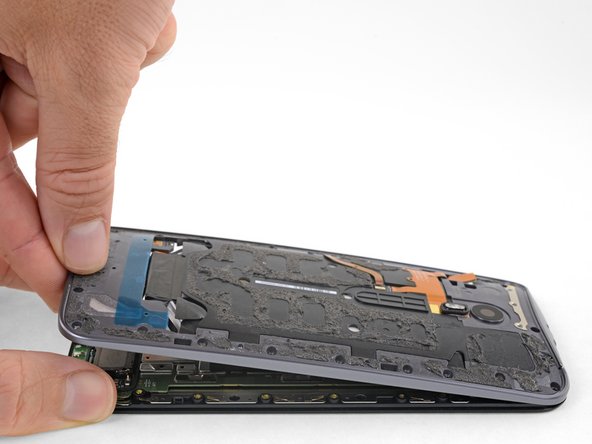
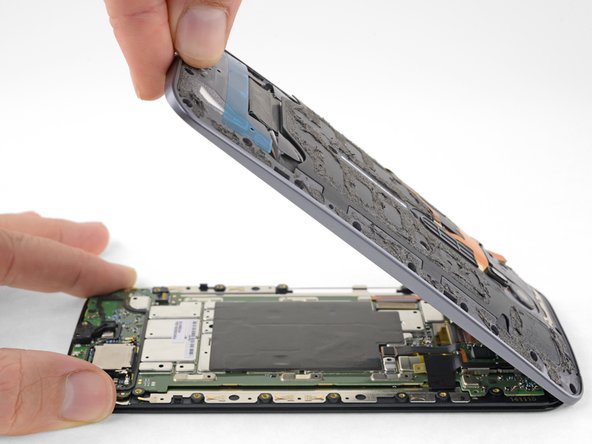
Holding the display by the edges, gently lift the midframe away from the display.
-
Remove the midframe from the display.
-
-
Este passo não foi traduzido. Ajude a traduzi-lo
-
Gently slide the point of a spudger underneath the corner of the volume button connector board, which is adhered to the battery.
-
Lift the board slightly to separate it from the battery.
-
-
Este passo não foi traduzido. Ajude a traduzi-lo
-
Grasp one of the battery adhesive tabs with your fingers and slowly pull it away from the battery, towards the bottom of the phone.
-
Pull steadily, maintaining constant tension on the strip until it slips out from between the battery and the midframe. For best results, pull the strip at as low an angle as possible, without snagging it on any other components.
-
If the battery adhesive tabs break during the removal process, use your fingers or blunt tweezers to retrieve the remaining length of adhesive, and continue pulling.
-
-
Este passo não foi traduzido. Ajude a traduzi-lo
-
Repeat the previous step to remove the remaining adhesive strip.
-
-
Este passo não foi traduzido. Ajude a traduzi-lo
-
Slide an opening pick under the NFC connector to remove it from the battery.
-
-
Este passo não foi traduzido. Ajude a traduzi-lo
-
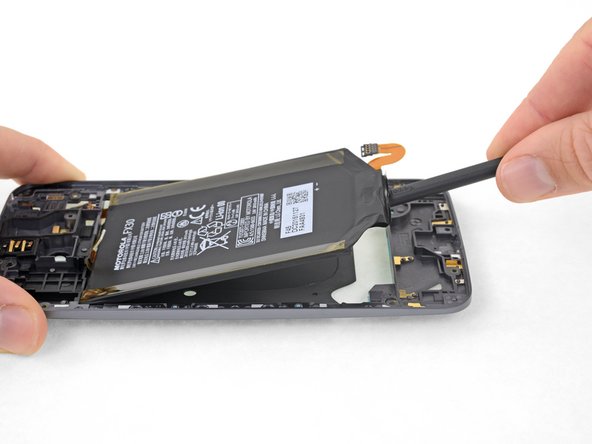
Use the flat end of a spudger to lift the battery out of the midframe.
-
If there is still adhesive holding the battery down, slowly pry the battery away from the midframe, taking care not to bend the battery.
-
Cancelar: não concluí este guia.
70 outras pessoas executaram este guia.
42 comentários
Rayan thank you, although I am not yet ready to replace the battery (about a year to go) yet, I would like to know if there are better batteries than those that came with the unit from the manufacturer? An upgrade that holds a better charge on a daily basis? Marty
Do you have a link to buy a battery? I've been looking but I'm still not confident with me results. Preferably one that includes the necessary tools, but so long as it's definitely the correct battery. I need to replace my battery, NOW!
Battery now available. Please see link on this page or here:Moto X Pure Edition Battery - Genuine
Has anyone bought a 3rd party battery for this phone? I got one from Germany brand name "vhbw", however it is not curved and so will not fit. It is quite soft and so am wondering if it is safe to bend such batteries? Not sure if I should risk it, though.
Alex, I bent my new battery to make it fit. It seems to be working just fine.


