Introdução
For the official, updated iFixit guide, click here. This guide is archived for historical purposes.
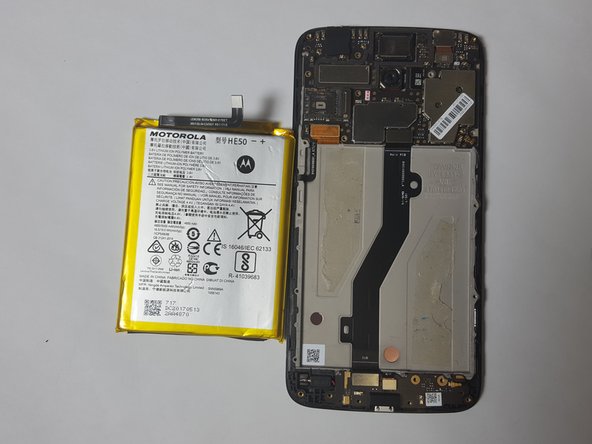
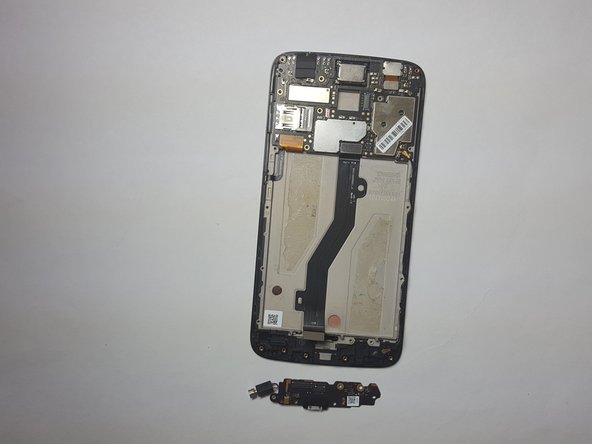
This guide will be helpful for when you are having problems with the battery life or charging capability of the phone.
O que você precisa
-
-
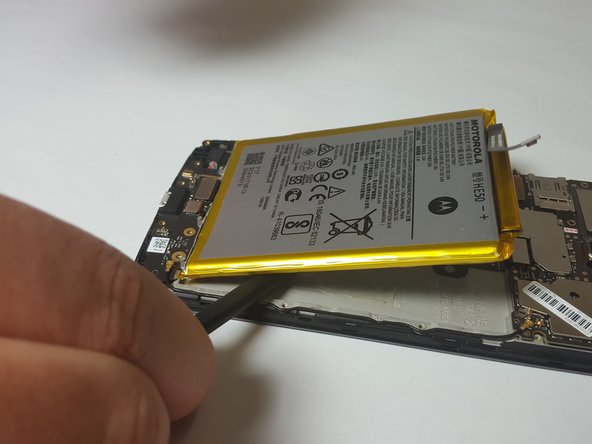
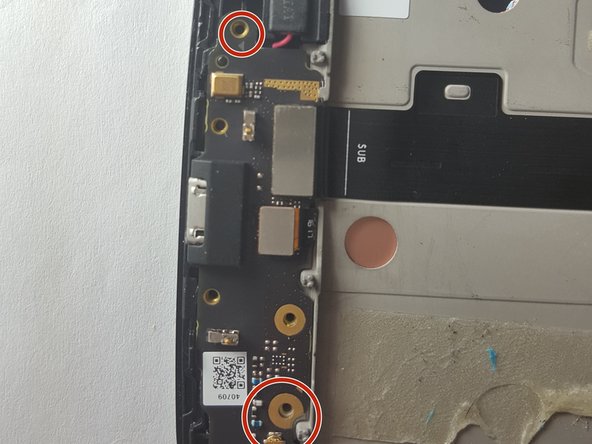
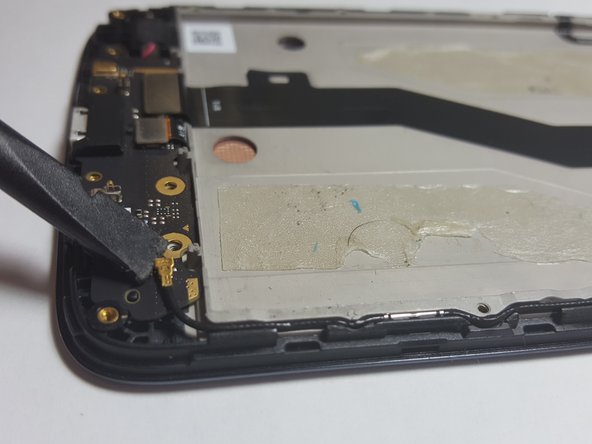
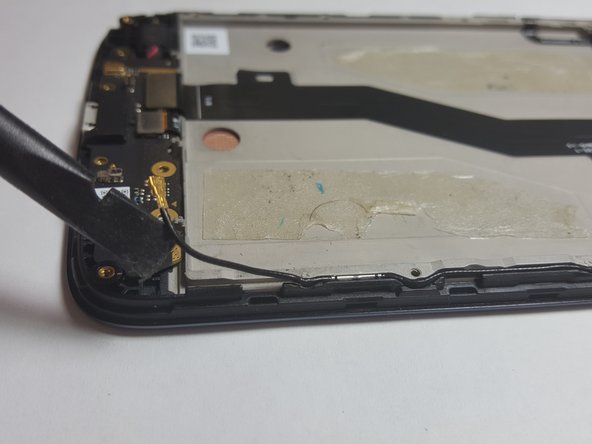
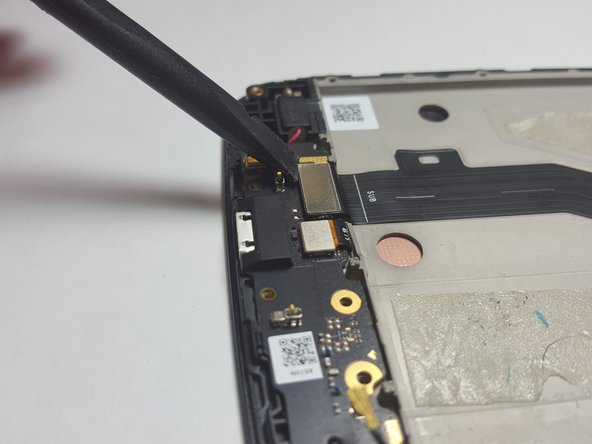
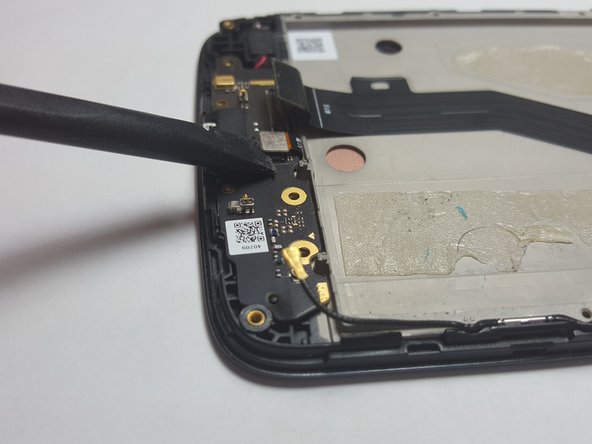
Insert the spudger into the notch on the corner of the phone and lift up to remove the back case.
-
-


To reassemble your device, follow these instructions in reverse order.
To reassemble your device, follow these instructions in reverse order.
Cancelar: não concluí este guia.
6 outras pessoas executaram este guia.
Equipe

Baylor, Team S3-G2, Williams Spring 2018 Membro de Baylor, Team S3-G2, Williams Spring 2018
BU-WILLIAMS-S18S3G2
Membros da 4
Autoria de 13 guias