Introdução
If your Motorola Moto 360 3rd Gen smartwatch isn’t charging and you've ruled out battery failure, you can use this guide to replace the charging coil.
Before using this guide, inspect the smartwatch’s charging pins and charging port– ensure no debris prevents proper connections with the charging dock. Furthermore, you might also want to replace the battery; a damaged one can prevent the device from holding and charging correctly.
Make sure to power off your smartwatch completely and disconnect it from any external power source.
O que você precisa
-
-
Use a T4 Torx screwdriver to remove the four 4.2 mm screws securing the lower case.
-
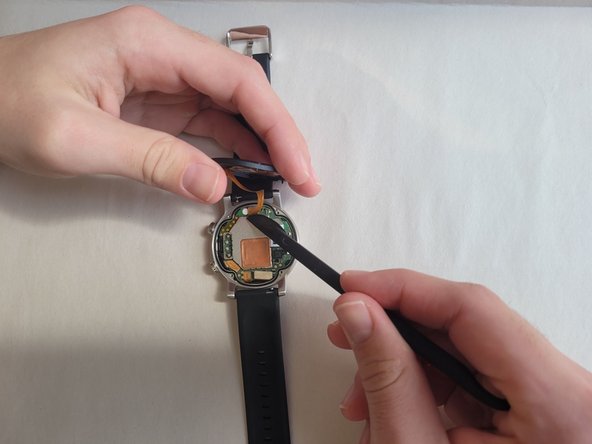
Gently pry the case open with a halberd spudger if the case will not release after removing the bolts.
-
-
-
-
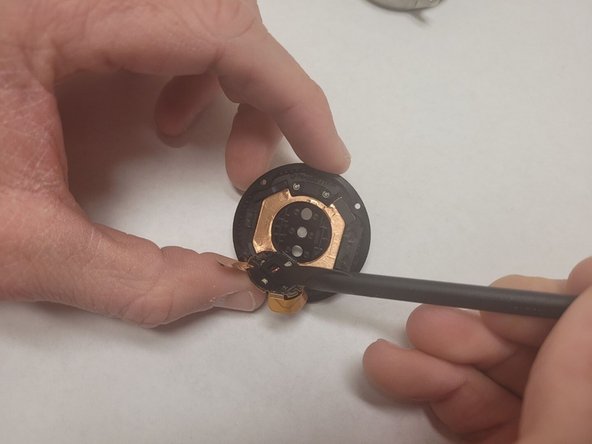
Gently wedge a spudger underneath the charging coil ribbon.
-
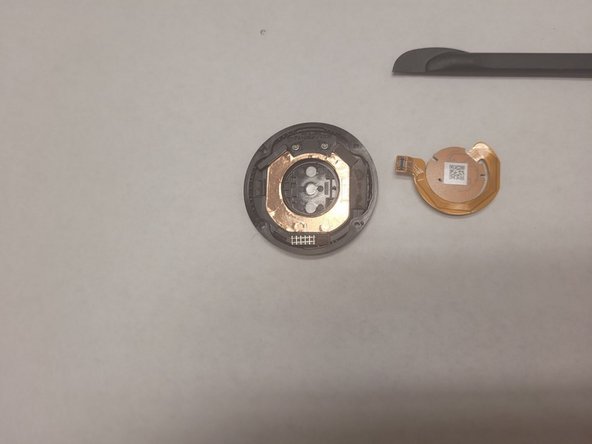
Carefully pry the charging coil up and remove it from the assembly.
-


To reassemble your device, follow these instructions in reverse order.
To reassemble your device, follow these instructions in reverse order.
Equipe

Western Carolina University, Team 1-4, Virtue Spring 2023 Membro de Western Carolina University, Team 1-4, Virtue Spring 2023
WCU-VIRTUE-S23S1G4
Membros da 4
Autoria de 5 guias