Ir para o conteúdo principal

Motorola Droid RAZR HD Front Panel Replacement

O que você precisa

  1. Motorola Droid RAZR HD Front Panel Replacement, Front Panel Assembly: passo 1, imagem 1 %32
    • Power off the device before disassembly to avoid damage or harm from electrical surges.

    • Remove the two 4.5mm screws in the bottom left and right corners of the device using a T4 Torx Screwdriver.

  2. Motorola Droid RAZR HD Front Panel Replacement: passo 2, imagem 1 %32
    • Holding the device in your hand, push the screen towards the top of the phone until it disconnects from the base of the phone.

  3. Motorola Droid RAZR HD Front Panel Replacement: passo 3, imagem 1 %32
    • Use a plastic opening tool to lift the screen from the phone.

    • Do not try to completely detach the screen; cables are still connected to the device and can be damaged.

  4. Motorola Droid RAZR HD Front Panel Replacement: passo 4, imagem 1 %32 Motorola Droid RAZR HD Front Panel Replacement: passo 4, imagem 2 %32
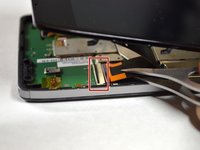
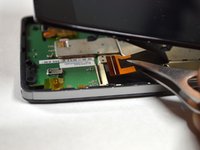
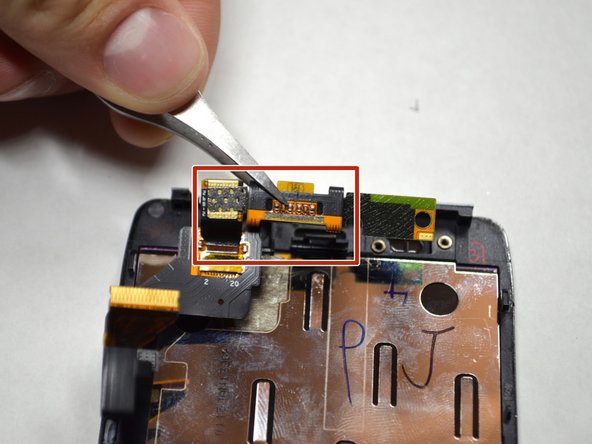
    • Use tweezers to remove the yellow tape covering the lcd/digitizer cable connector.

    • Carefully lift up the black locking tab to release the lcd/digitizer cable.

    • The cable connector is located on the bottom right section of the phone.

  5. Motorola Droid RAZR HD Front Panel Replacement: passo 5, imagem 1 %32
    • Lift up the screen further to reveal another cable at the top of the device connecting the motherboard to the screen.

    • This connector is located on the top right section of the phone.

    • Use tweezers to lift the black bar on top of the ZIF connector.

    • Pull the ribbon cable out of the connector with tweezers.

    • Now that there are no cables connecting the screen to the motherboard, remove the screen.

  6. Motorola Droid RAZR HD Front Panel Replacement, Front Panel: passo 6, imagem 1 %32 Motorola Droid RAZR HD Front Panel Replacement, Front Panel: passo 6, imagem 2 %32
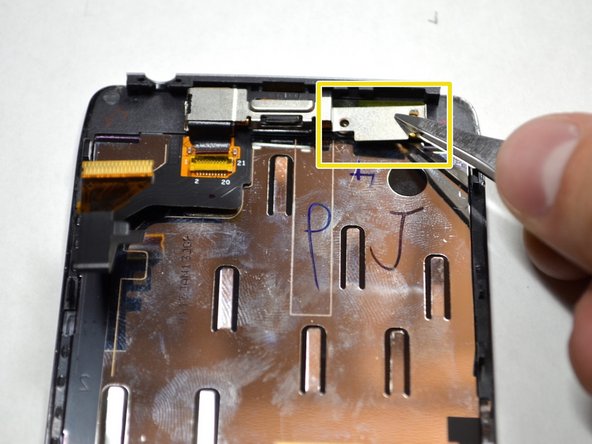
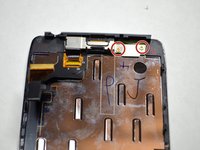
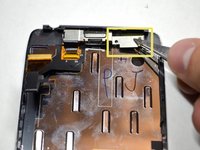
    • Remove the two 2.0mm T4 Torx screws near the top of the screen.

    • Remove the metal plate protecting the front camera and ear speaker with tweezers.

  7. Motorola Droid RAZR HD Front Panel Replacement: passo 7, imagem 1 %32 Motorola Droid RAZR HD Front Panel Replacement: passo 7, imagem 2 %32
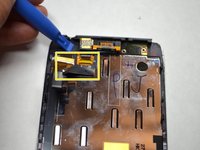
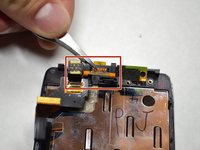
    • Using a plastic openining tool, lift up the front camera and ear speaker assembly.

    • Remove the assembly with tweezers.

Conclusão

To reassemble your device, follow these instructions in reverse order.

2 outras pessoas executaram este guia.

Brendan Baronia

Membro desde: 04/14/15

678 Reputação

Autoria de 2 guias

Equipe

Cal Poly, Team 4-4, Maness Spring 2015 Membro de Cal Poly, Team 4-4, Maness Spring 2015

CPSU-MANESS-S15S4G4

Membros da 5

Autoria de 12 guias

0 comentários

Adicione um comentário

Exibir estatísticas:

Últimas 24 horas: 1

Últimos 7 dias: 2

Últimos 30 dias: 12

Duração total: 1,614