Ir para o conteúdo principal

Este guia tem alterações mais recentes. Mudar para a última versão não verificada.

Mitsubishi Diamondpoint NXM76LCD Speaker Replacement

O que você precisa

  1. Mitsubishi Diamondpoint NXM76LCD Speaker Replacement, Removing the stand.: passo 1, imagem 1 %32 Mitsubishi Diamondpoint NXM76LCD Speaker Replacement, Removing the stand.: passo 1, imagem 2 %32 Mitsubishi Diamondpoint NXM76LCD Speaker Replacement, Removing the stand.: passo 1, imagem 3 %32
    • Lift the black cover off.

    • Remove all 4 Phillips #2 screws.

  2. Mitsubishi Diamondpoint NXM76LCD Speaker Replacement, Remove the 5 screws: passo 2, imagem 1 %32
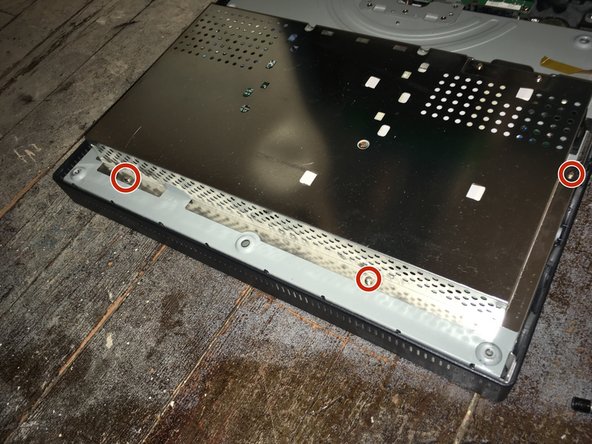
    • Remove the two 24mm Phillips #2 screws.

    • Remove the three 8mm Phillips #2 screws.

  3. Mitsubishi Diamondpoint NXM76LCD Speaker Replacement, Remove the back panel: passo 3, imagem 1 %32 Mitsubishi Diamondpoint NXM76LCD Speaker Replacement, Remove the back panel: passo 3, imagem 2 %32 Mitsubishi Diamondpoint NXM76LCD Speaker Replacement, Remove the back panel: passo 3, imagem 3 %32
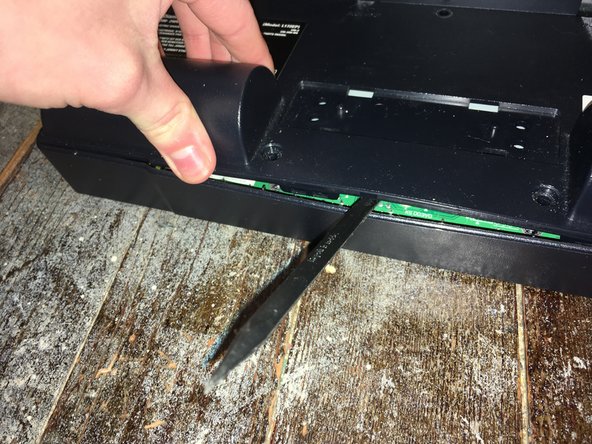
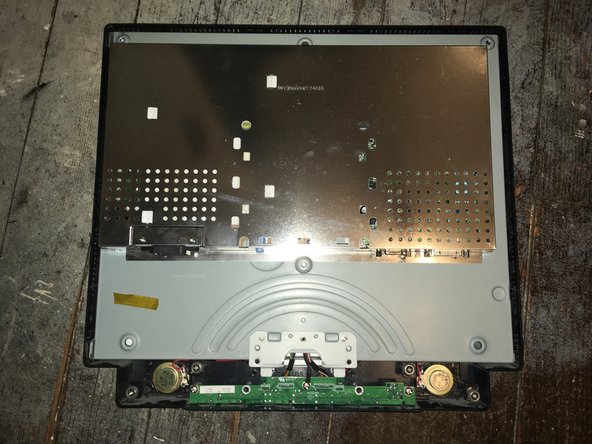
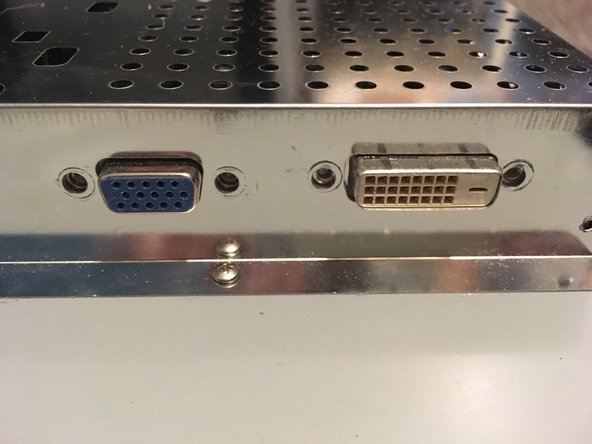
    • Lift the back and pry the back off.

    • The panel is held in with clips on the side. It needs a lot of force the take it off.

  4. Mitsubishi Diamondpoint NXM76LCD Speaker Replacement, Remove the four screws: passo 4, imagem 1 %32 Mitsubishi Diamondpoint NXM76LCD Speaker Replacement, Remove the four screws: passo 4, imagem 2 %32
    • Remove the four 5mm nut screws.

  5. Mitsubishi Diamondpoint NXM76LCD Speaker Replacement: passo 5, imagem 1 %32 Mitsubishi Diamondpoint NXM76LCD Speaker Replacement: passo 5, imagem 2 %32
    • Remove the seven Phillips #1 screws.

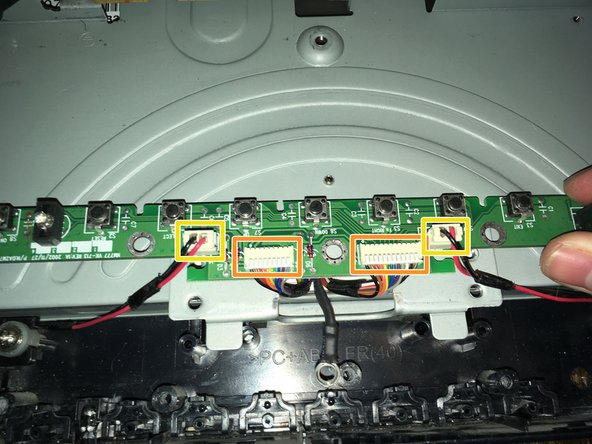
  6. Mitsubishi Diamondpoint NXM76LCD Speaker Replacement, Remove the front board: passo 6, imagem 1 %32 Mitsubishi Diamondpoint NXM76LCD Speaker Replacement, Remove the front board: passo 6, imagem 2 %32
    • Remove the three Phillips #2 screws.

    • Remove the two data/power cables.

    • Remove the two speaker cables.

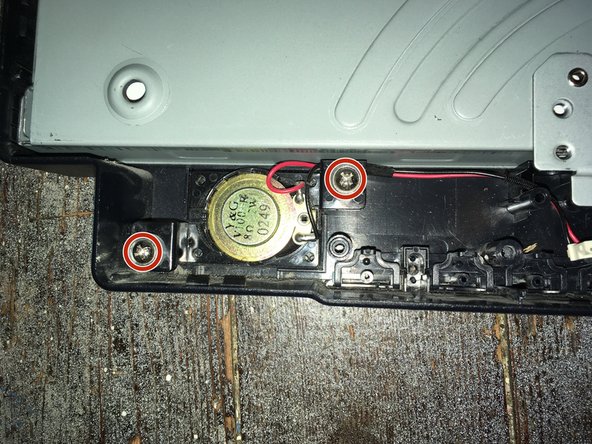
  7. Mitsubishi Diamondpoint NXM76LCD Speaker Replacement: passo 7, imagem 1 %32 Mitsubishi Diamondpoint NXM76LCD Speaker Replacement: passo 7, imagem 2 %32
    • Remove the Phillips #2 screws from the speaker(s).

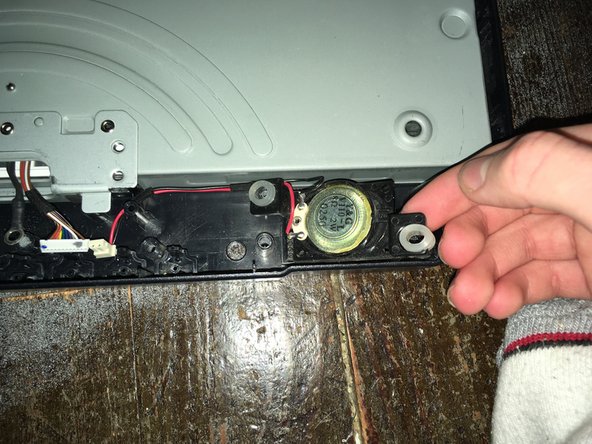
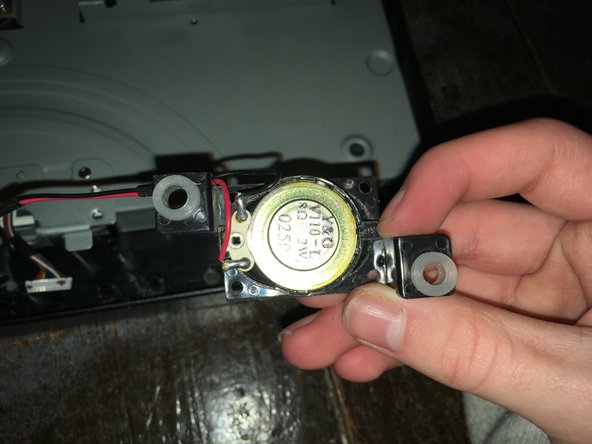
  8. Mitsubishi Diamondpoint NXM76LCD Speaker Replacement: passo 8, imagem 1 %32 Mitsubishi Diamondpoint NXM76LCD Speaker Replacement: passo 8, imagem 2 %32 Mitsubishi Diamondpoint NXM76LCD Speaker Replacement: passo 8, imagem 3 %32
    • Pull the speaker off the slots.

Conclusão

To reassemble your device, follow these instructions in reverse order.

Uma outra pessoa concluiu este guia.

Padraic Hoselton

Membro desde: 08/22/17

4.180 Reputação

Autoria de 12 guias

Equipe

Master Techs Membro de Master Techs

Community

Membros da 322

Autoria de 2.521 guias

0 comentários

Adicione um comentário

Exibir estatísticas:

Últimas 24 horas: 0

Últimos 7 dias: 0

Últimos 30 dias: 0

Duração total: 81