Introdução
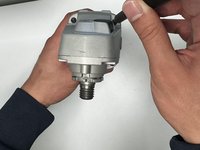
If you notice handling issues with the fan casing of your Milwaukee (6130-33), use this guide. You'll need a TR10 and TR20 screwdriver to replace the casing parts.
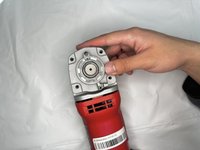
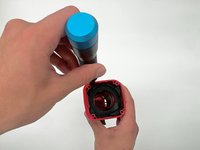
The fan casing helps to reduce noise, stability and preventing overheating. Before accessing the casing follow the Safety Brush Springs guide in order to access the interior of the device.
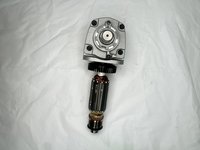
Before replacing the casing, also check the interior once the fan casing is removed. Over time debris and other build up can be the cause of malfunctioning.
O que você precisa
-
-
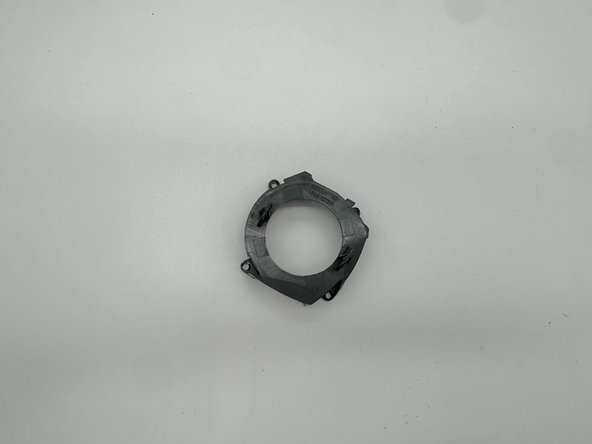
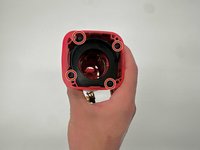
Remove both 3.5 mm TR10 Torx screws from the carbon brush locks.
-
-


To reassemble your device, follow these instructions in reverse order.
To reassemble your device, follow these instructions in reverse order.

Equipe

University of North Texas, Team 1-7, Kilpatrick Fall 2024 Membro de University of North Texas, Team 1-7, Kilpatrick Fall 2024
UNT-KILPATRICK-F24S1G7
4 Membros
Autoria de 5 guias