Introdução
Disassembly to allow cleaning the mouse wheel. A #8 Torx Tamper Proof Bit will be needed.
O que você precisa
-
-
Remove the battery door and use a #8 Torx Tamper Proof Bit to remove the center screw. Pry the cover of the mouse starting from the back and lifting it up toward the wheel.
-
-
-
-
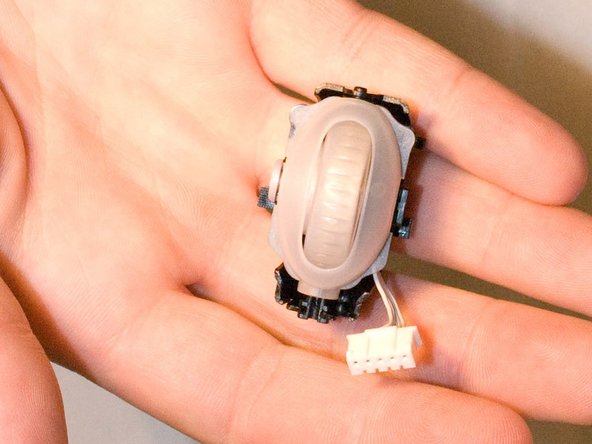
Be Extremely Careful There is a small spring between the housing and the base plate of the mouse. The ribbon cable that attachs the mouse wheel is tough to remove. It is compression fit without tabs. I needed to use a small flat blade screw driver to pry it out of the socket. The mouse wheel housing that clicks to the left and right is compression fitted on the bottom only. You can separate it from the other housing by lifting up on the bottom "hinge". The bottom housing is again a compression fit hinge attaching it to the base plate with spring.
-
-
-
Cleaning Time! Now all the plastic parts are separated you can clean them. I used a crest spin brush with simple green. Spray the large parts and then brush and rinse in the sink. For the smaller parts spray and brush over a container and then rinse in water in another container. Let all the parts air dry and use compressed air for the small parts before reassembling.
-


To reassemble your device, follow these instructions in reverse order.
To reassemble your device, follow these instructions in reverse order.
Cancelar: não concluí este guia.
8 outras pessoas executaram este guia.
10 comentários
Very thorough, thanks, but would like to offer a simple alternative that may apply. After several years, my MLM 5000 scroll wheel became very difficult to turn; thought I'd have to disassemble and clean it. Actually, the rubbery plastic coating on the wheel was shredding and rubbing against the outer casing, so I pried up a section of the coating with a small screwdriver, cut through its width with cuticle scissors, and peeled/rolled it off the wheel completely. The scroll wheel is now PERFECTLY smooth -- better than it ever was or than ANY other mouse I ever tried. Really love the feel of it now. And without the extra padding, my index finger now rests 1 or 2 mm lower, which I find a little more comfortable. The only drawback is with the slightly reduced height, it's very minimally more difficult to scroll horizontally (tilt scroll). The resistance is unchanged, but there's that much less surface to push against horizontally. Vertical scrolling (rolling) is great now.
Great advice from @mlm5000. Just rip off the rubber wheel cover!
Don't do this!! My wheel does not work at all now!
This looks nothing like my Microsoft 5000 mouse.
I also ripped off the shredding wheel cover. It works fine, however, it is painful to use. There are raised edges on either side of the wheel that poke into my finger. For now, I am wearing a fingertip protector, however it is not optimal.